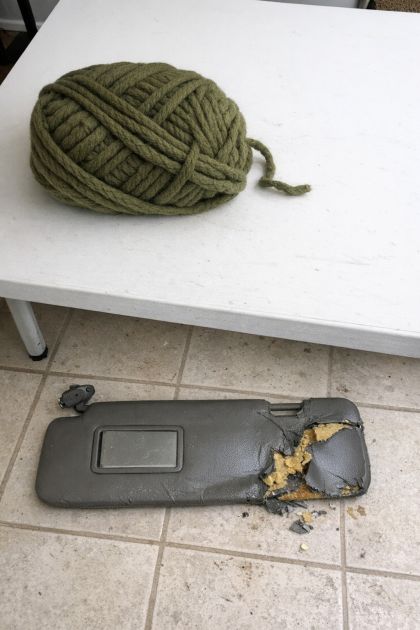
Crocheting offers a versatile way to transform old, worn-out items into something new and functional. This DIY project showcases a creative way to repurpose a torn vinyl car sun visor into a practical spring garden tool belt. By crocheting chunky olive green yarn through the existing structure of the visor, we can create a sturdy and aesthetically pleasing tool belt that stands up to outdoor use. This project not only solves the problem of discarding damaged car accessories but also provides a chic, handmade solution for gardeners looking for functional storage while working in the garden.
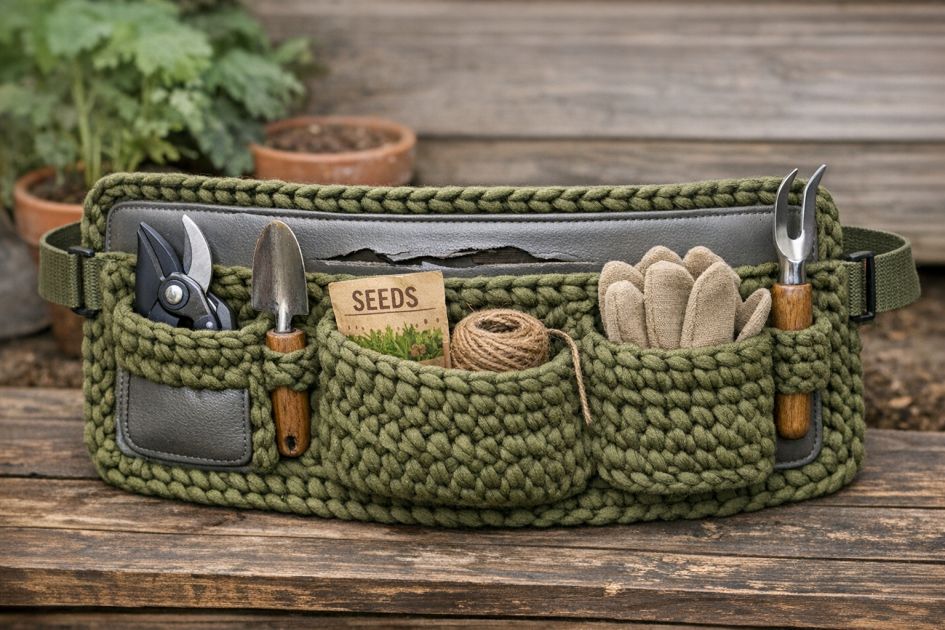
The finished crochet spring garden tool belt can be styled as a functional accessory for gardening enthusiasts. The olive green yarn adds an earthy tone that complements outdoor environments, while the chunky texture provides durability. Hang the tool belt on a garden shed hook when not in use, or display it on a patio chair to keep it within reach. Pair it with matching olive green garden gloves or a sun hat for a coordinated look.
Crochet Garden Tool Belt from a Vinyl Car Sun Visor
Materials
Chunky olive green yarn (100% cotton, weight: 6 - super bulky)
5mm crochet hook
Torn vinyl car sun visor
Scissors
Tapestry needle
Measuring tape
Stitch markers
Directions
1. Inspect the torn vinyl car sun visor and decide which sections will serve as the base for your tool belt. Cut away any irreparable pieces, leaving a stable structure.
2. Using the 5mm crochet hook and chunky olive green yarn, begin with a slip knot and chain enough to cover the full length of the visor's edge you plan to crochet through.
3. Align the chain with the edge of the visor and use single crochet (sc) stitches to attach the yarn to the visor. Insert the hook into any existing holes or gaps in the vinyl.
4. Continue single crocheting around the entire edge of the visor, ensuring an even tension and secure attachment.
5. Once the edges are covered, start crocheting pockets: Chain 15, then join with a slip stitch to form a loop. Work in rounds to build up the pocket using single crochet stitches.
6. Attach the pocket to the visor by crocheting or sewing it in place with a tapestry needle and yarn.
7. Repeat step 5 to create additional pockets as needed, ensuring they are evenly spaced along the visor.
8. Add finishing touches by weaving in any loose ends using the tapestry needle. Ensure all yarn is securely fastened to withstand outdoor use.
Variations & Tips
For variations, consider using different yarn types such as acrylic for a lighter weight option. Experiment with color schemes by using natural shades like brown or beige to complement the garden setting. Adjust the size by increasing or decreasing chain lengths and pocket dimensions, accommodating various tools. Try incorporating different stitches, such as half double crochet or double crochet, to add texture and interest while preserving the core structure of the tool belt.