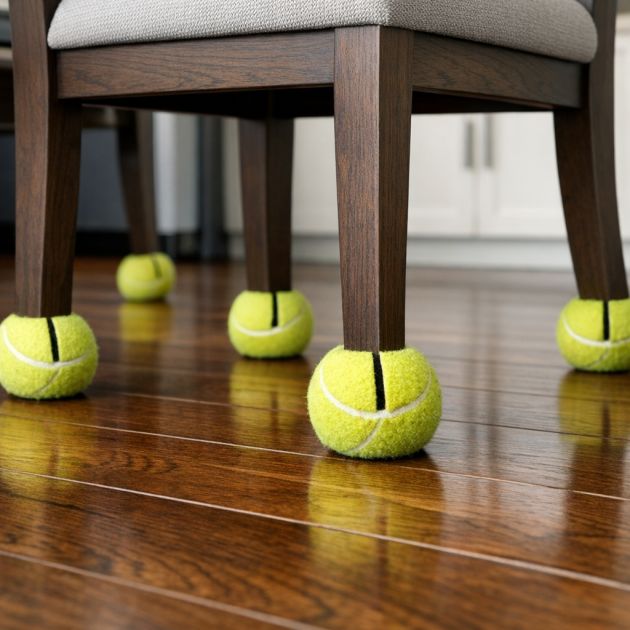
Transform your old, unused tennis balls into a chic and functional set of floor protectors that will not only save your floors from scratches and scuffs but also add a touch of quirky charm to your home. This DIY project is perfect for anyone looking to repurpose materials sustainably, while also achieving a practical home improvement solution. These tennis ball floor protectors are ideal for protecting hardwood floors from the legs of chairs, tables, or any furniture that tends to scrape the floor.
Place the tennis ball furniture floor protectors under the legs of dining chairs or a coffee table in a modern living room with light wood flooring. The yellow hue of the tennis balls adds a playful contrast to neutral tones and complements a minimalist or contemporary interior. For a cohesive look, coordinate with other small yellow accents throughout the room, such as throw pillows or vases.
Tennis Ball Furniture Floor Protectors
Materials
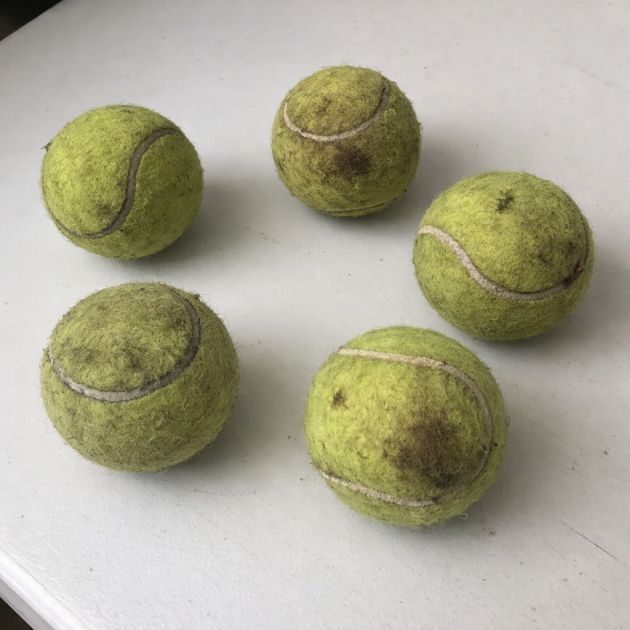
5 old tennis balls
Utility knife
Cutting mat
Ruler
Marker
Directions
Place a tennis ball on the cutting mat to ensure stability and safety.
Using a ruler and marker, draw a straight line across the top of the tennis ball where you intend to cut a slit.
With the utility knife, carefully cut a slit approximately 1 inch long along the marked line. Ensure the slit is deep enough to fit the leg of the furniture snugly.
Repeat steps 1-3 for each of the remaining four tennis balls.
Once all tennis balls have slits, gently test each one by inserting a furniture leg into the slit to check for a secure fit.
Variations & Tips
For a colorful variation, consider painting the tennis balls with acrylic paint to match your room's theme before cutting the slits. Use painter's tape to create patterns, like stripes or polka dots, for added visual interest. Alternatively, you can use different colored tennis balls for a vibrant mix-and-match look that adds a playful touch to children's rooms or creative spaces.