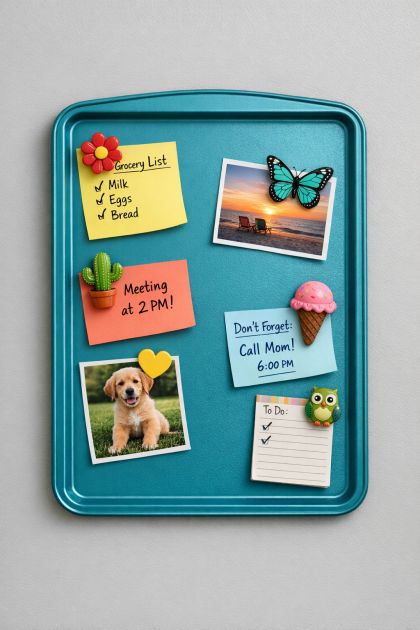
In this clever DIY project, we transform a simple metal cookie sheet into a stylish and functional magnetic memo board. This upcycled creation offers an innovative way to organize your notes, reminders, and small items in a visually appealing manner. The magnetic memo board is perfect for those looking to add a personalized touch to their home office or kitchen while keeping important information easily accessible.
The finished magnetic memo board should be styled in a minimalist setting, perhaps hung on a neutral-colored wall for a clean, modern look. It can be surrounded by framed art or photographs with simple black or white frames to enhance its metallic texture. The board can also be placed in a home office, paired with a sleek desk and a matching metal lamp for a cohesive aesthetic. Consider using colorful magnets for a pop of color that complements the surrounding decor.
Metal Cookie Sheet Magnetic Memo Board
Materials
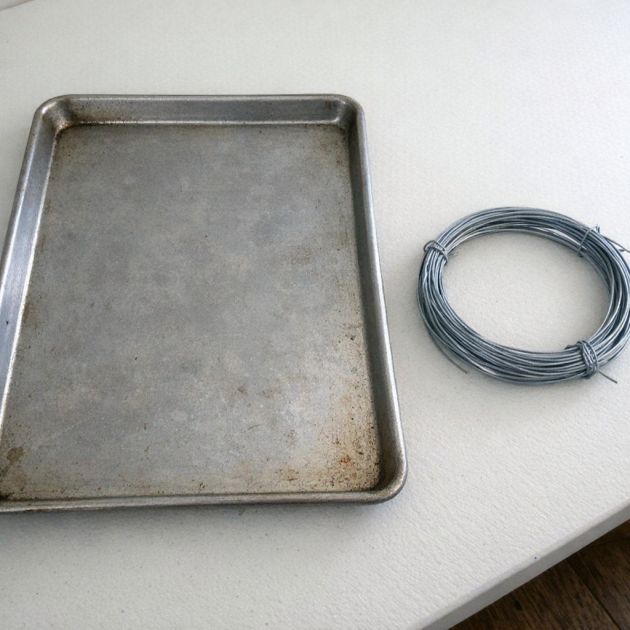
1 metal cookie sheet (approximately 13 x 9 inches)
Spray paint suitable for metal (color of your choice)
Sandpaper (fine grit)
Command hooks or adhesive strips
Decorative magnets
Directions
Lightly sand the surface of the metal cookie sheet to ensure the spray paint adheres well.
Wipe the cookie sheet clean with a damp cloth to remove any dust or particles.
In a well-ventilated area, apply an even coat of spray paint to the cookie sheet. Allow it to dry completely before applying a second coat if necessary.
Once the paint is fully dried, attach command hooks or adhesive strips to the back of the cookie sheet for wall mounting.
Hang the cookie sheet on your desired wall space and use decorative magnets to attach notes, photos, or small items to the board.
Variations & Tips
To personalize this DIY further, consider using patterned or textured spray paint to give the memo board a unique finish. For a more rustic look, you can wrap the edges of the cookie sheet with twine or add wooden trim to create a framed appearance. Additionally, experimenting with different cookie sheet sizes or shapes can adapt the board for different spaces or uses, such as a smaller version for a desk accessory or a larger one for a family command center.