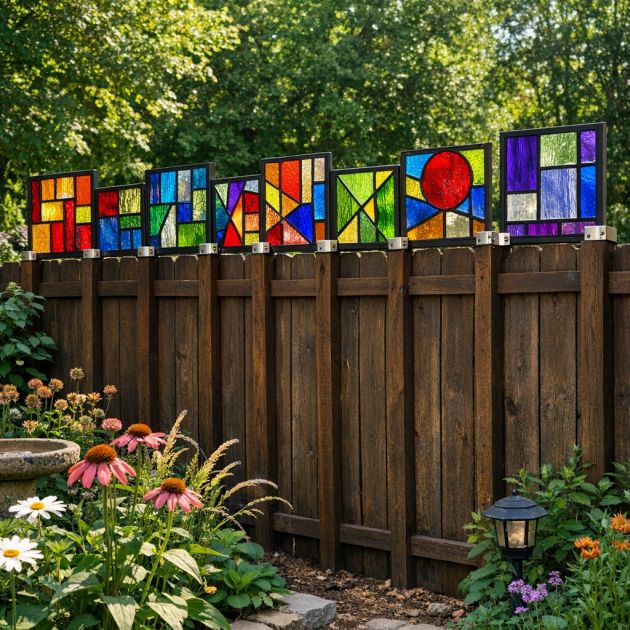
This DIY project involves creating a stunning garden fence topper by attaching stained glass panels onto wooden posts. It's perfect for homeowners looking to add a vibrant and artistic touch to their backyard. By capturing and diffusing sunlight, these panels not only enhance the visual appeal of your outdoor space but also create a unique and colorful lighting effect that changes throughout the day.
This stained glass fence topper blends beautifully with rustic and modern outdoor designs, offering a touch of elegance and color to gardens. It complements wooden or metal fences and can serve as a focal point in a minimalist or bohemian-style garden. When placed along the perimeter of a yard, it adds height and privacy while maintaining an open, airy feel. The colorful glass panels can be coordinated with existing garden decor, such as vibrant planters or patio furniture cushions.
Stained Glass Garden Fence Topper
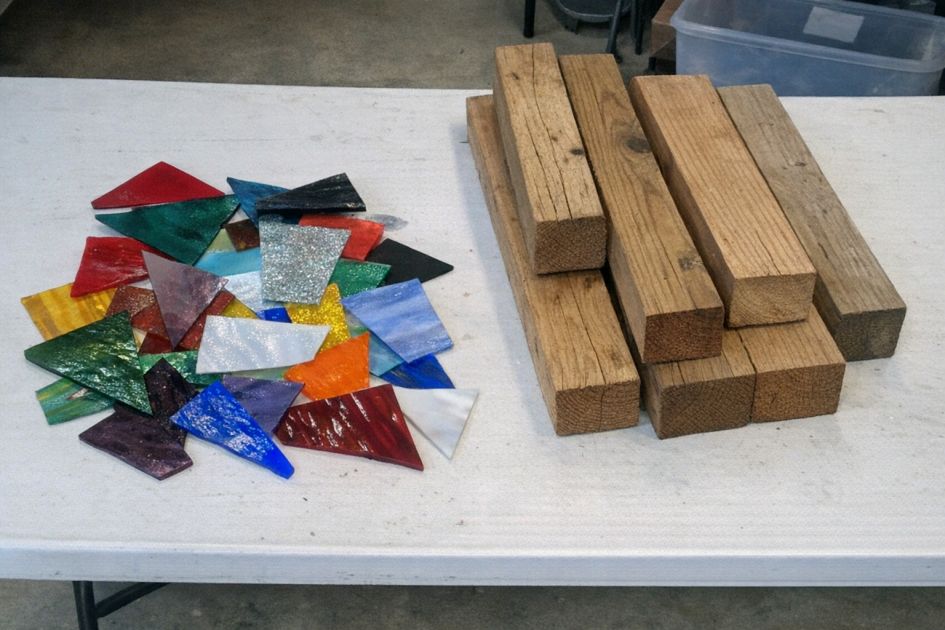
Materials
Stained glass panels (varied colors, approximately 12x24 inches each)
Wooden fence posts (brown, 4x4 inches, length to match existing fence)
Outdoor wood screws (1.5 inches)
Stainless steel brackets (L-shaped, for securing panels)
Electric drill with screwdriver bit
Measuring tape
Level
Weatherproof wood sealant
Paintbrush
Directions
Measure the length of your existing fence and determine how many stained glass panels you need to cover the desired area.
Prepare the wooden fence posts by applying a coat of weatherproof wood sealant to protect against outdoor elements. Allow to dry completely.
Using the measuring tape and level, mark the positions on the wooden posts where the stained glass panels will be attached. Ensure they are evenly spaced and aligned.
Attach the stainless steel brackets to the wooden posts at marked positions using the electric drill and outdoor wood screws. Ensure the brackets are secure and can hold the weight of the glass panels.
Carefully place each stained glass panel onto the brackets. Secure the panels with additional screws if necessary, ensuring they are tightly fitted and stable.
Once all panels are attached, use the level to double-check alignment and make adjustments if needed.
Inspect the entire structure for stability and clean any fingerprints from the glass with a soft cloth.
Variations & Tips
For a more personalized touch, consider using custom-designed stained glass panels featuring motifs that match your garden's theme, such as floral or geometric patterns. You can also opt for different shapes or sizes of glass panels for a more eclectic look. For added durability, ensure all materials are rated for outdoor use, especially in areas with harsh weather conditions. To enhance the nighttime ambiance, install solar-powered spotlights to illuminate the stained glass after dark, highlighting its colors and designs even when the sun isn’t shining.