Creating geometric candle holders using plastic cup molds is a fascinating DIY project that transforms simple materials into elegant home decor. This project is perfect for anyone looking to add a touch of modern design to their space without spending much. The process is straightforward, and the results are both functional and aesthetically pleasing. By using plastic cups as molds, you can achieve unique geometric shapes that give your candle holders a contemporary edge.
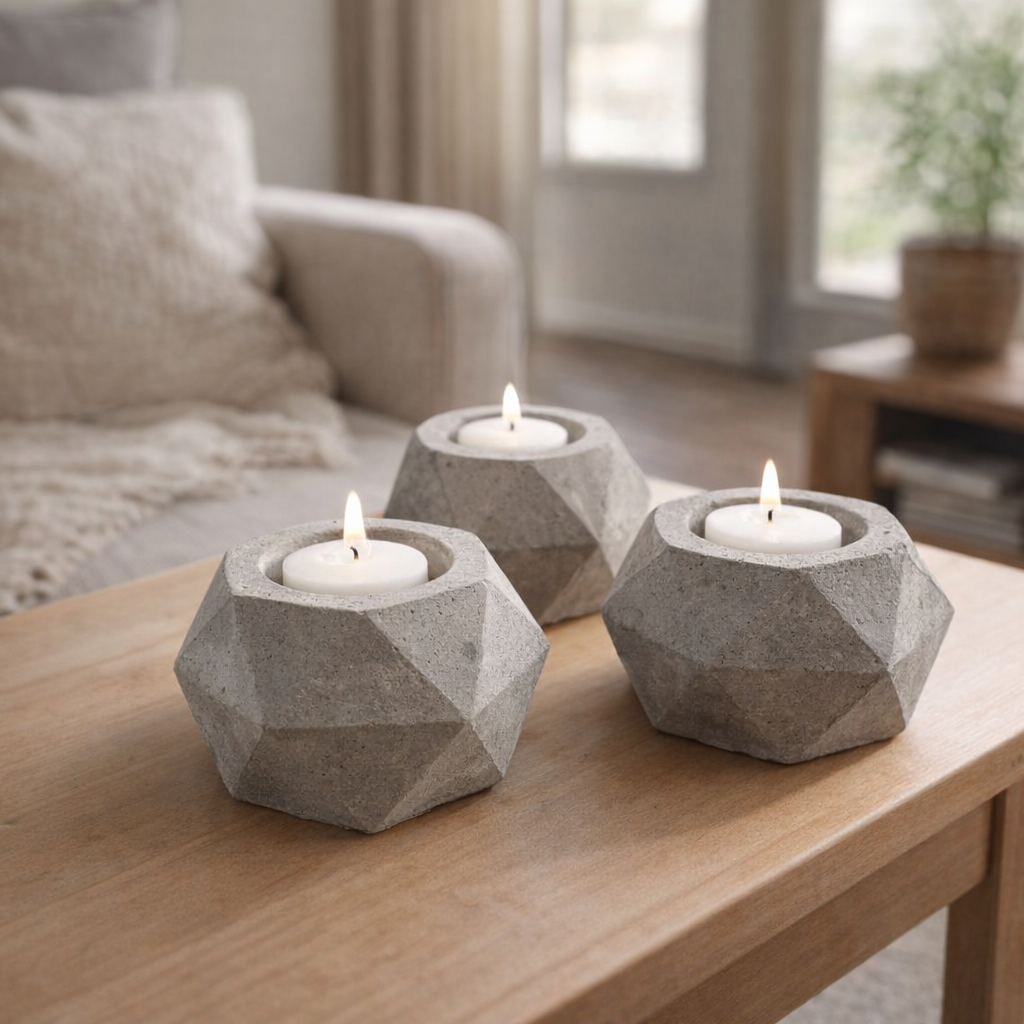
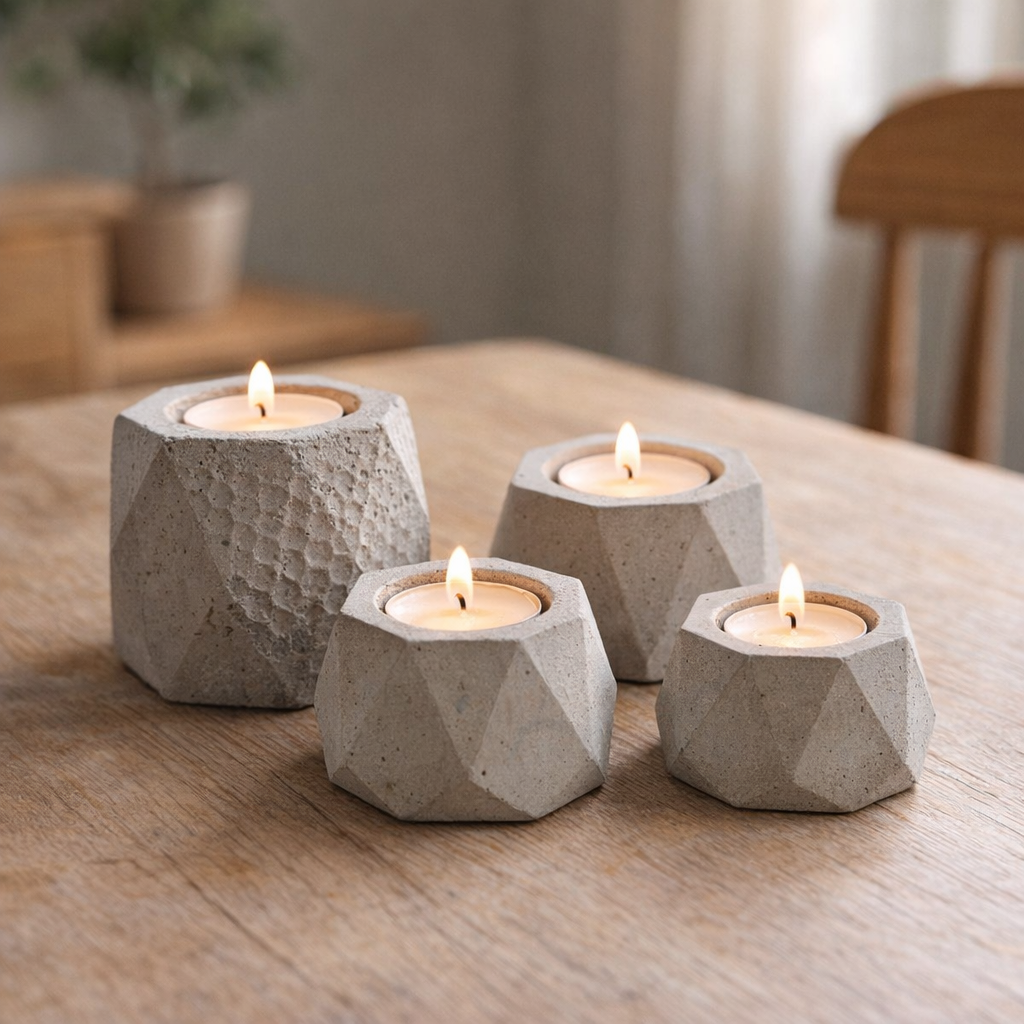
The finished candle holders should be styled in modern or minimalist interiors. Place them on a sleek coffee table or a wooden sideboard, where their geometric shapes can be appreciated. Pair them with similarly toned candles for a cohesive look, or choose contrasting colors to make them stand out. The cement's natural gray tones pair well with a variety of color palettes, making these candle holders versatile decorative pieces.
Geometric Cement Candle Holders
Materials
Red plastic solo cups (8 oz size or similar)
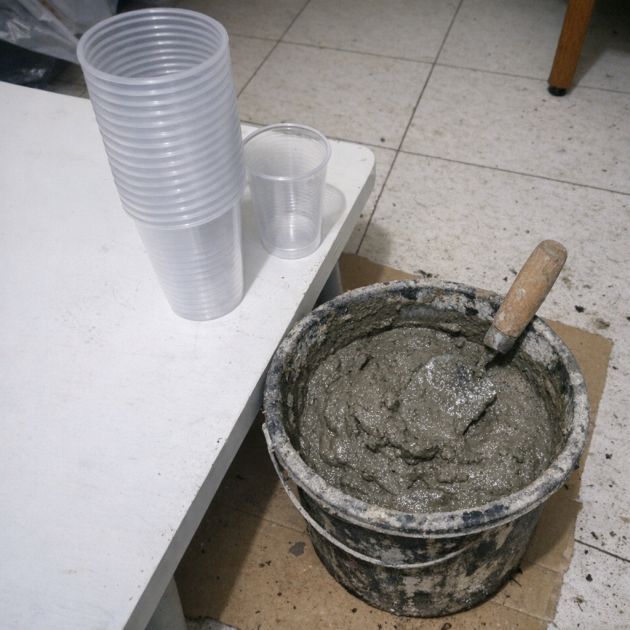
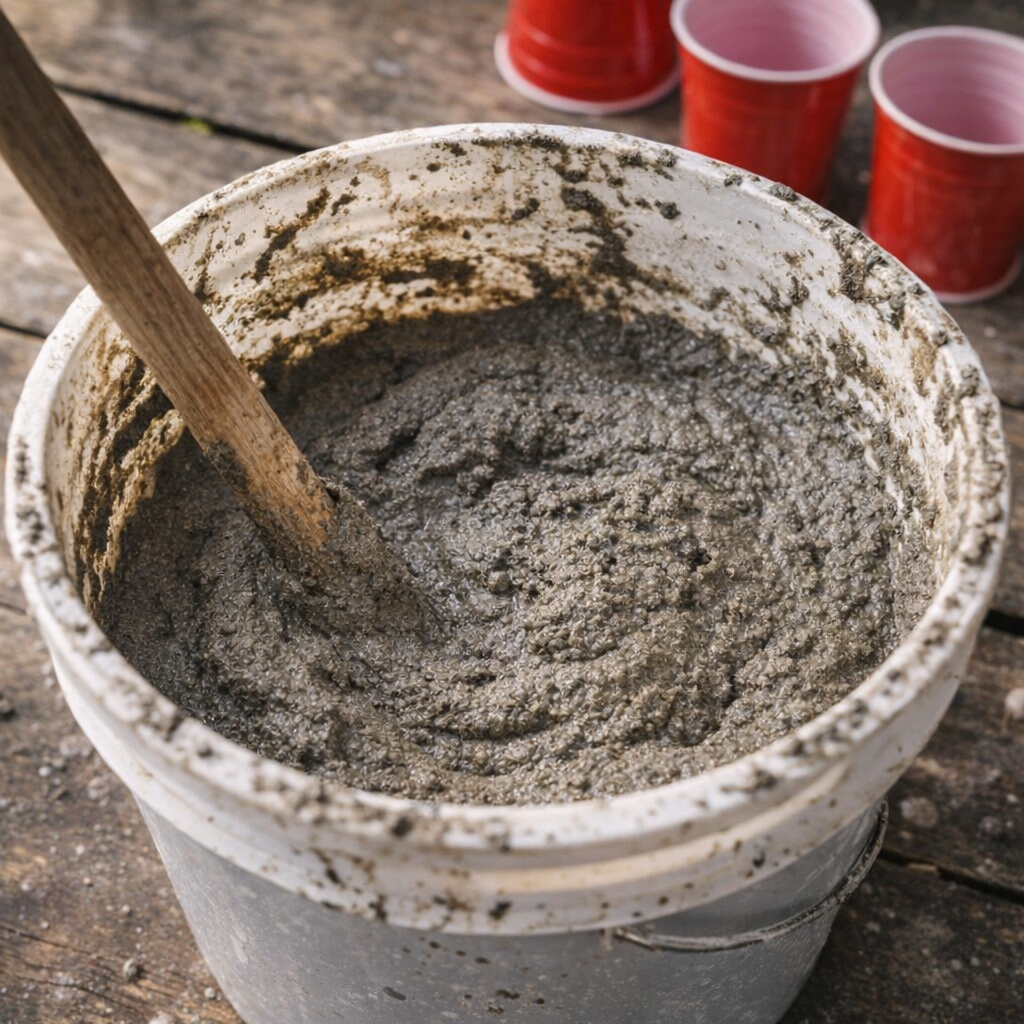
Quick-setting cement mix (1 kg or 2.2 lbs)
Cardboard box (to use as a form, approximately 12x12 inches)
Water (as required by cement instructions)
Mixing tool (e.g., a small trowel or stick)
Directions
1. Prepare your workspace with all materials within reach. Place the cardboard box on a flat, stable surface to act as a mold form.
2. Mix the quick-setting cement according to the package instructions in a separate container until it reaches a smooth consistency.
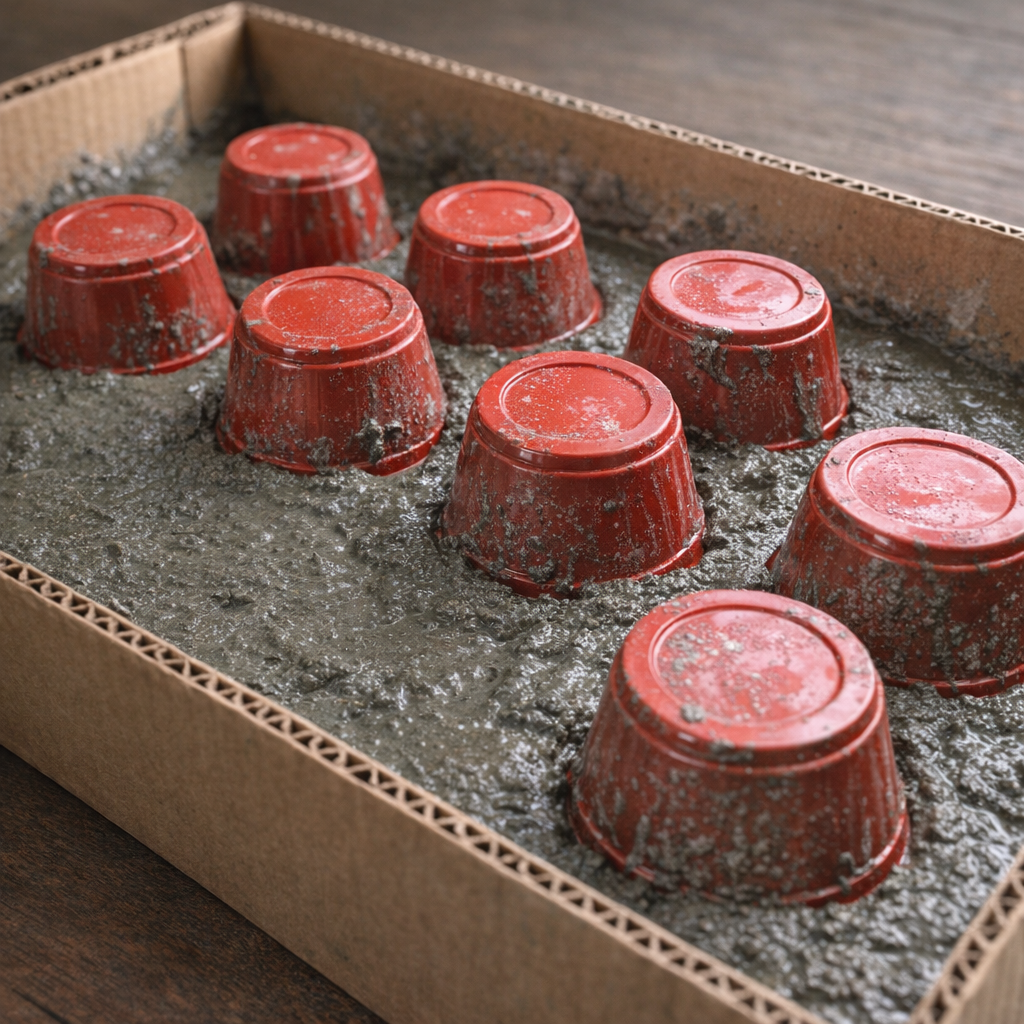
3. Pour the mixed cement into the cardboard box until it is about 2 inches deep, ensuring an even layer.
4. Take the red plastic solo cups and press them upside down into the wet cement, arranging them in a cluster. Ensure the cups are partially submerged and spaced evenly.
5. Allow the cement to set slightly, so it holds the shape of the cups without them sinking further. This typically takes about 15-20 minutes.
6. Once the cement has partially set and can hold its shape, carefully remove the plastic cups by twisting and gently pulling them out.
7. Let the cement fully cure, which may take several hours to overnight, depending on the product instructions.
8. Once cured, remove the cement piece from the cardboard box. You should have geometric recesses where the cups were, forming the candle holders.
9. If needed, sand any rough edges for a smoother finish.
Variations & Tips
For variations, consider using different sized cups to create candle holders of varying depths and diameters.
This adds visual interest when displayed together. You might also experiment with adding a pigment to the cement mix for colored holders that match your interior decor. For a textured finish, use textured plastic cups or lightly press a patterned fabric into the wet cement before it sets.
These modifications allow for a personalized touch while maintaining the geometric and minimalist essence of the original design.