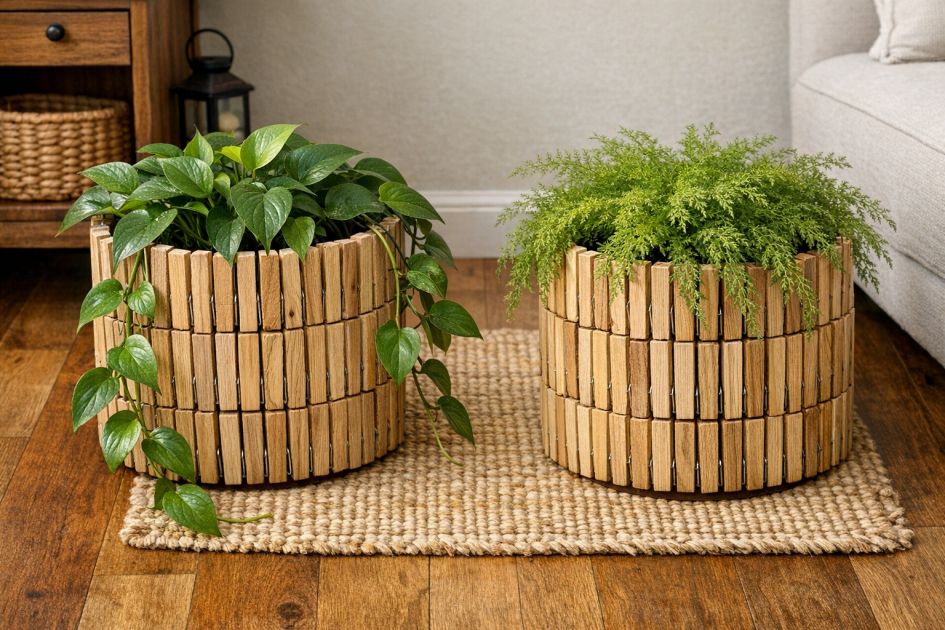
Transform plain plastic buckets into rustic living room planters by cleverly using wooden clothespins. This DIY project is perfect for adding a touch of warmth and charm to your home decor. By upcycling everyday items, you can create unique planters that look stylish and sophisticated without breaking the bank.
Place these rustic planters next to a cozy armchair or on either side of a fireplace. Pair them with rich, earth-toned cushions or throws to create a harmonious and inviting space. Choose plants with lush green leaves or vibrant flowers to complement the natural wood tones of the clothespins.
Rustic Clothespin Planters
Materials
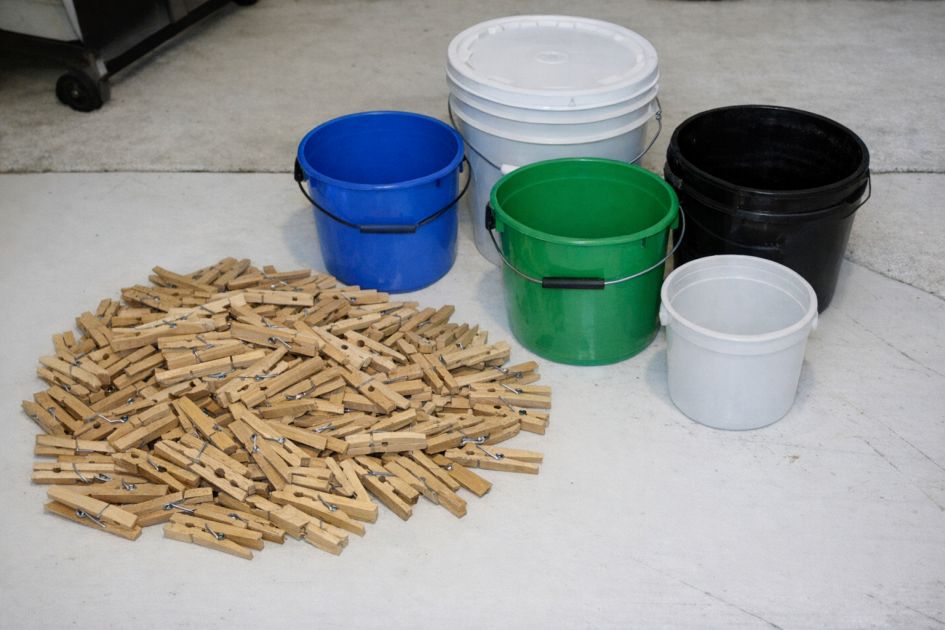
150 plain wooden clothespins
2 cheap plastic buckets (12-inch diameter)
Strong craft glue or hot glue gun
Directions
Gather all materials and ensure the plastic buckets are clean and dry.
Take a wooden clothespin and remove the metal spring to separate the two wooden pieces.
Apply a small amount of craft glue to the back of each wooden piece.
Start attaching the wooden pieces vertically around the exterior of the first plastic bucket, ensuring each piece is aligned and tightly spaced.
Continue gluing until the entire surface of the bucket is covered with clothespin pieces, creating a wooden shingle effect.
Repeat the process with the second bucket.
Allow the glue to dry completely before placing plants inside the buckets.
Variations & Tips
For a more colorful version, consider painting the clothespins in pastel shades before attaching them to the buckets. Alternatively, use a wood stain to darken the clothespins for a more sophisticated look. If you prefer a more industrial style, substitute the wooden clothespins with painted metal ones for a sleek, modern appearance.