
Transform your space with this creative DIY project that repurposes ordinary garage items and orange plastic sports cones into stylish solid cone forms. This project is perfect for those looking to add a modern, industrial touch to their home decor. By using cement to fill the cones, you'll create durable, unique pieces that can function as decorative elements or practical supports for various purposes. Enjoy the satisfaction of crafting something both functional and visually appealing, all from items you might already have at home.
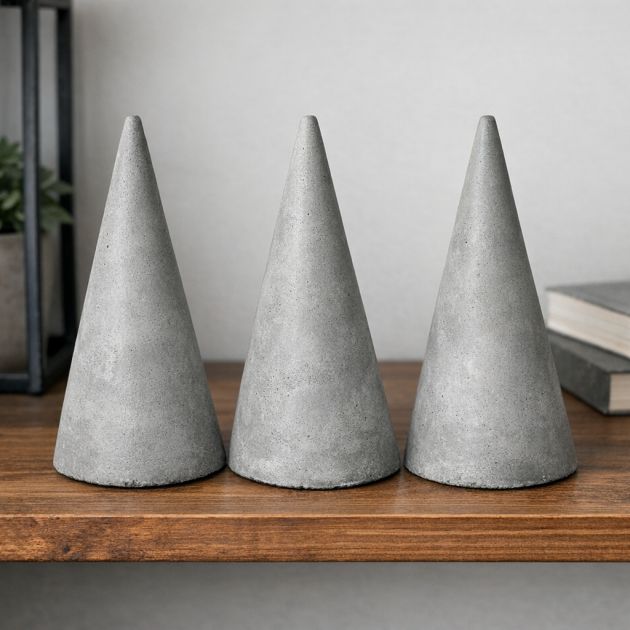
These solid cone forms can be placed in various settings around your home. For a sleek, minimalist look, arrange them in a trio on a wooden shelf or a glass coffee table. Their industrial texture pairs beautifully with natural elements like plants or wooden furniture, creating a balanced contrast. Consider using them as bookends or paperweights in a home office or study to add a touch of modernity and sophistication. Their neutral gray tones can complement a variety of color schemes, from monochrome to vibrant palettes.
Cement Cone Forms
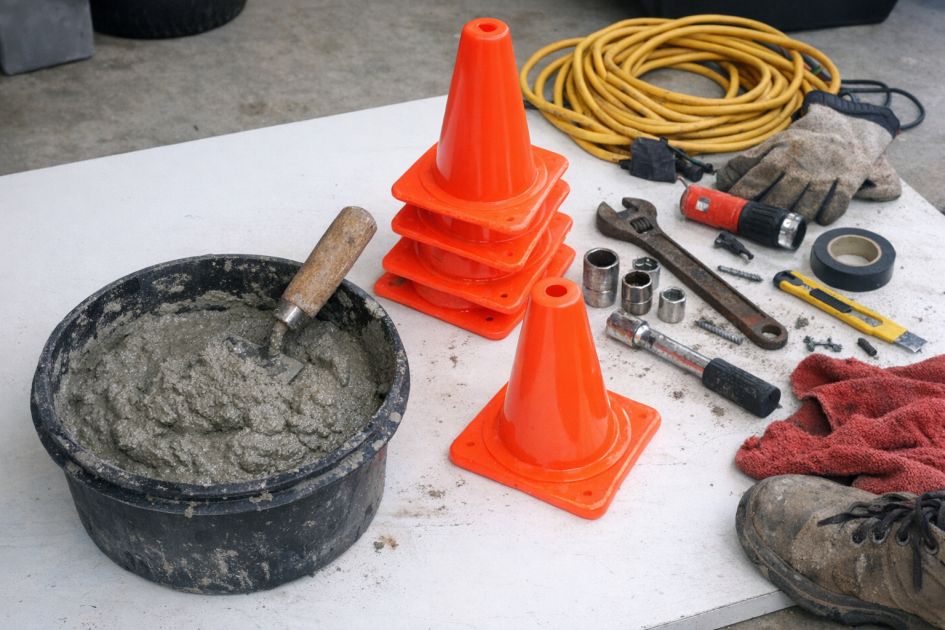
Materials
4 orange plastic sports cones, 12 inches in height
20 lbs of quick-setting cement mix
1 bucket for mixing cement
1 trowel or spatula
2 ordinary garage items like duct tape and a utility knife
Directions
1. Begin by selecting a well-ventilated workspace and covering your workbench with a protective sheet to catch any spills.
2. Invert the orange plastic sports cones on the workbench. Secure them in place by wrapping the base with duct tape, ensuring they don't shift during the filling process.
3. Prepare the cement mix according to the instructions on the package. Mix in a bucket until you achieve a smooth, pourable consistency.
4. Carefully pour the wet cement into each inverted cone, filling them to slightly varying levels to create visual interest.
5. Use a trowel or spatula to smooth the surface of the cement at the open end of the cones. Tap the sides gently to remove any air bubbles.
6. Allow the cement to cure for the recommended time on the package, typically 24-48 hours, until completely set.
7. Once cured, use a utility knife to carefully cut and peel away the plastic cone, revealing the solid cement form inside.
8. Lightly sand any rough edges if necessary to ensure a smooth finish.
Variations & Tips
To enhance the visual impact of your Cement Cone Forms, consider experimenting with colored cement pigments to match or contrast with your existing decor. You could also create a set of varying sizes by using different cone heights, allowing for a dynamic display. For added functionality, embed small metal rods at the top during the cement pouring stage to serve as hooks or supports for hanging lightweight items.