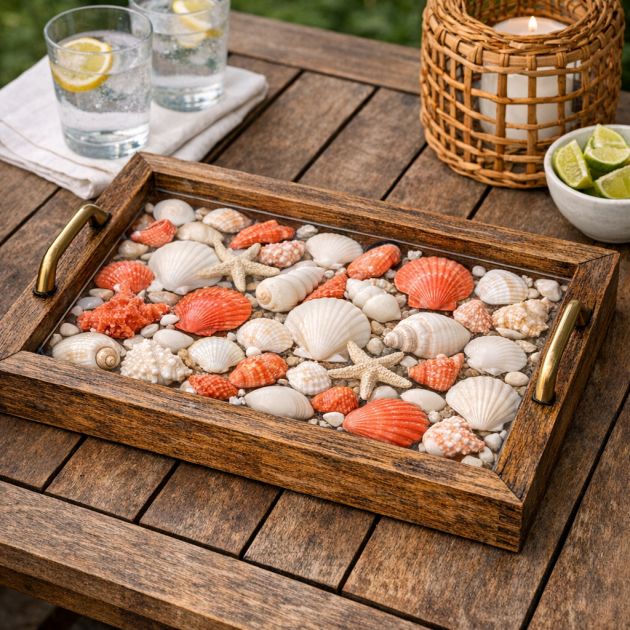
This DIY project transforms a reclaimed wooden picture frame into a stunning outdoor serving tray, perfect for summer gatherings on your deck. By incorporating beach treasures like seashells and coral, and sealing them with clear epoxy resin, you create a functional piece that's both decorative and practical. This project is ideal for homeowners looking to add a touch of coastal charm to their outdoor entertaining spaces.
The completed serving tray beautifully complements coastal, farmhouse, or minimalist styles. Its natural elements and clean finish make it a versatile addition to any outdoor setup, whether on a rustic wooden table or a modern patio setting. The neutral tones of the shells and the clear resin allow it to blend seamlessly with other decor elements like nautical-themed tableware or minimalist glassware.
Coastal Epoxy Resin Serving Tray
Materials
Reclaimed wooden picture frame (size: 12x16 inches)
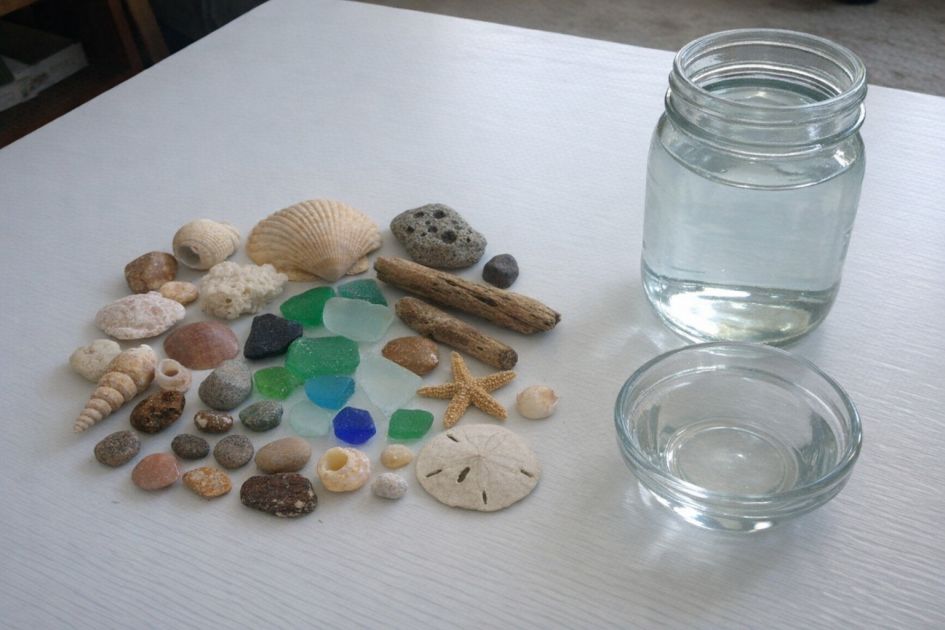
Assorted white and coral seashells
Crystal clear epoxy resin (1 quart)
Mixing cups and stirring sticks
Protective gloves
Plastic drop cloth
Painter's tape
Sandpaper (medium grit)
Level
Disposable brush
Directions
1. Prepare your workspace by laying down a plastic drop cloth to protect surfaces. Ensure the area is well-ventilated.
2. Remove the glass and backing from the picture frame, leaving only the wooden frame.
3. Sand the frame lightly with medium-grit sandpaper to remove any rough edges or old finish.
4. Arrange the seashells and coral inside the frame, creating a pleasing design. Ensure the shells are not taller than the frame edge.
5. Once satisfied with the arrangement, use painter's tape to seal the underside of the frame to prevent resin leakage.
6. Mix the epoxy resin according to the manufacturer's instructions, using the provided mixing cups and stirring sticks.
7. Wearing protective gloves, carefully pour the clear epoxy resin over the arranged shells, ensuring even coverage and avoiding overflow.
8. Use a disposable brush to spread the resin evenly, and remove any air bubbles by gently blowing over the surface.
9. Allow the resin to cure as per the manufacturer's instructions, typically 24-48 hours, ensuring the frame remains level during this time.
10. Once fully cured, remove any painter's tape and inspect the tray for a smooth, glossy finish.
Variations & Tips
For variations, consider using a different color palette of shells or adding small pieces of driftwood for added texture. To enhance durability, apply an additional layer of epoxy resin to reinforce the surface. For personalization, incorporate small pebbles or sea glass in the design. To ensure the tray remains level during curing, use a level tool and adjust any uneven surfaces as needed. This project can also be adapted by using a larger frame for a more substantial serving piece.