Creating your own garden stepping stones using colorful glass marbles and quick-set concrete is a delightful home improvement project that enhances the aesthetic appeal of your backyard. This DIY project offers a personal touch to your outdoor space, providing both functionality as a pathway and a decorative element that adds vibrant color and texture. Homeowners will appreciate the durable, weather-resistant nature of these stepping stones, which are not only easy to create but cost-effective compared to store-bought options.
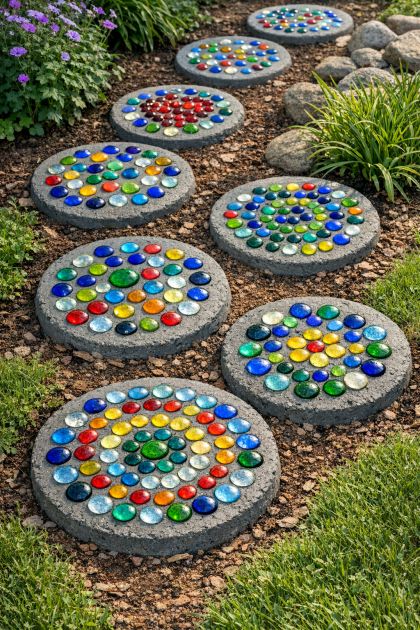
These DIY stepping stones integrate seamlessly into garden settings, particularly those with a whimsical or eclectic style. They add pops of color and interest to pathways, complementing both modern and rustic landscapes. The reflective quality of the glass marbles can create a stunning visual effect, especially when sunlight hits them, making them a perfect choice for brightening up shaded garden areas. They can be placed in sequence to form a path or scattered artistically among plantings for a more organic look.
Glass Marble Concrete Stepping Stones
Materials
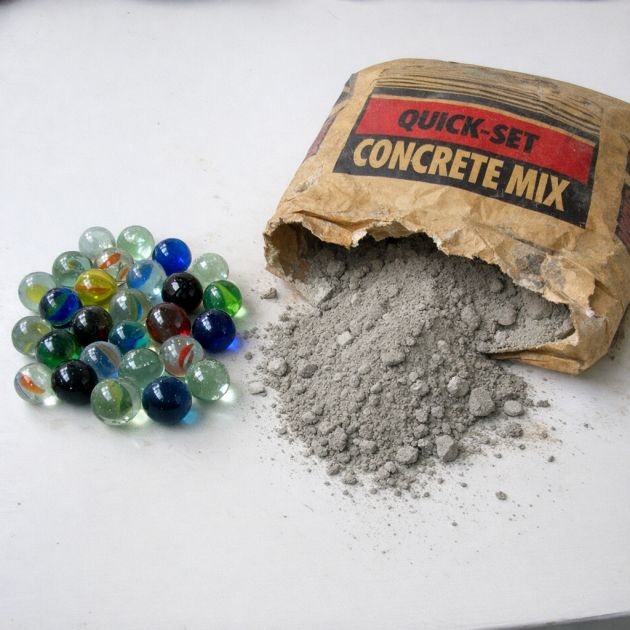
Quick-set concrete mix (1 bag)
Round plastic molds or old cake pans (at least 2 inches deep)
Flat glass marbles (various colors, approximately 1/2 inch diameter)
Large mixing bucket
Trowel or small shovel
Water
Protective gloves
Dust mask
Cooking spray (for mold release)
Directions
Prepare your workspace by laying down a tarp or protective sheet in your working area to catch any spills.
Spray the inside of your round molds with cooking spray to ensure easy removal of the concrete later.
Put on protective gloves and a dust mask, then mix the quick-set concrete in a large bucket according to the package instructions, adding water gradually until the mix has a thick, pourable consistency.
Pour the mixed concrete into the prepared molds, filling them to about 1 inch from the top.
Gently shake or tap the molds to remove any air bubbles from the concrete surface.
Before the concrete sets, press the flat glass marbles into the surface, arranging them in a pattern or randomly, as desired. Ensure each marble is embedded slightly below the surface.
Allow the concrete to set for the time specified on the package, typically 24-48 hours.
Once set, remove the stepping stones from the molds carefully.
Place the stepping stones in your garden or desired outdoor area, ensuring they are set firmly in the ground to avoid wobbling.
Variations & Tips
For a personalized touch, consider using marbles in a specific color scheme to match your garden's design or seasonal themes. You can also experiment with different shapes for the molds, such as hexagonal or square, to fit different landscape designs. If durability is a concern, ensure the stones are placed on a stable base like gravel or sand to prevent movement. To extend the life of your stepping stones, apply a clear concrete sealer to protect against weathering and enhance the shine of the glass marbles.