I love a project that looks a little unusual on the materials table and then turns into something surprisingly useful. These rugged deck tiles are made by snapping red, white, and blue plastic rulers into pieces, baking them into a fused mosaic, and bonding everything together with one pour-on compound to create a shatter-resistant tile that works beautifully as a small deck accent, plant stand surface, or colorful outdoor mat insert.
If you like practical DIYs but do not want to spend a fortune on outdoor décor, this is a fun one to try. It is especially good for anyone who enjoys upcycling everyday plastic odds and ends into something bold and durable. As someone who is usually squeezing projects in between work and dinner prep, I appreciate that this one is repetitive in a relaxing way and easy to batch out over a weekend.
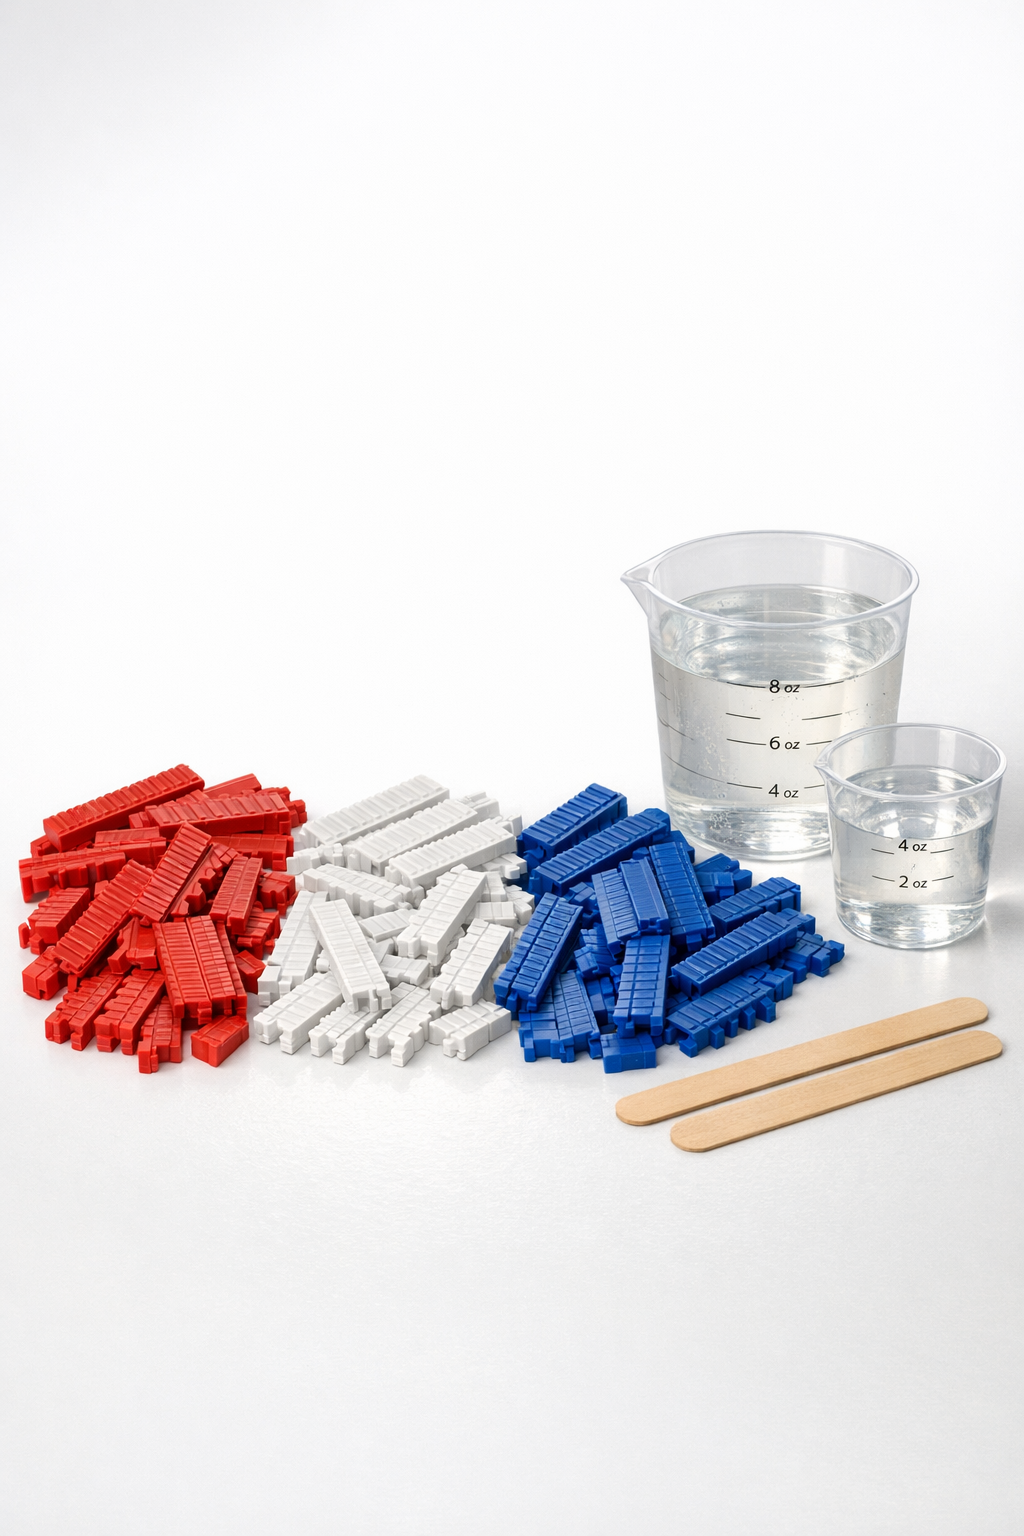
Materials
24 plastic rulers, 12-inch long, rigid plastic, 8 red
Instructions
1. Snap the plastic rulers into pieces between 1 inch and 3 inches long, keeping a mix of straight sections and jagged breaks for a more rugged stone-like look.
2. Sort the snapped pieces into red, white, and blue piles so you can balance the colors evenly across the tiles instead of accidentally clustering one shade in one corner.
3. Arrange the ruler pieces in a single layer inside four 12-inch square oven-safe silicone or metal tile molds, fitting the pieces tightly and alternating colors for a flag-inspired mosaic pattern.
4. Bake the filled molds at 300°F for 12 to 18 minutes, just until the plastic softens and fuses at the edges; remove them as soon as the pieces settle together without fully melting flat.
5. Let the fused plastic cool completely in the molds for 20 to 30 minutes so it firms up before you add the compound.
6. Mix the epoxy resin compound according to its package ratio, stirring slowly for 3 minutes to minimize bubbles while still fully combining both parts.
7. Pour the mixed compound over each cooled plastic mosaic just until the surface is covered and the gaps are filled, aiming for an even layer about 1/4 inch thick.
8. Tap the molds gently on the work surface several times to release trapped air, then use a toothpick or skewer if needed to pop any stubborn bubbles between the plastic pieces.
9. Let the tiles cure on a flat surface for the full time recommended by the compound manufacturer, usually 24 to 72 hours, until they are hard all the way through.
10. Demold the tiles and check the edges; if any spots feel sharp, warm the edge slightly with brief low oven heat and press it gently smooth with a gloved hand or a silicone tool.
11. Place the finished tiles on your deck as a grouped accent surface, under planters, or inside a recessed tray area rather than loose in a main walking path.

Variations & Tips
Size option: Make smaller 6-inch by 6-inch tiles if you want coasters for large planters or a quicker first test before committing to full deck tiles.
Color layout: For a less patriotic look and more of a modern mosaic feel, blend the colors evenly instead of creating obvious stripes or blocks.
Compound choice: Use an outdoor-rated epoxy or casting resin with a little flexibility; that extra toughness helps the tile hold up better with temperature swings.
Batching tip: I like to snap and sort all the rulers one evening, then do the baking and pouring the next day. Breaking the project into two short sessions makes it much easier to fit into a busy week.
Surface placement: These work best as decorative deck tiles, plant platforms, or tabletop inserts rather than structural flooring pieces that need hidden interlocking bases.
Heat caution: Bake in a well-ventilated area and use dedicated craft equipment or very careful cleanup practices, since heated plastics should never come into contact with food prep surfaces afterward.