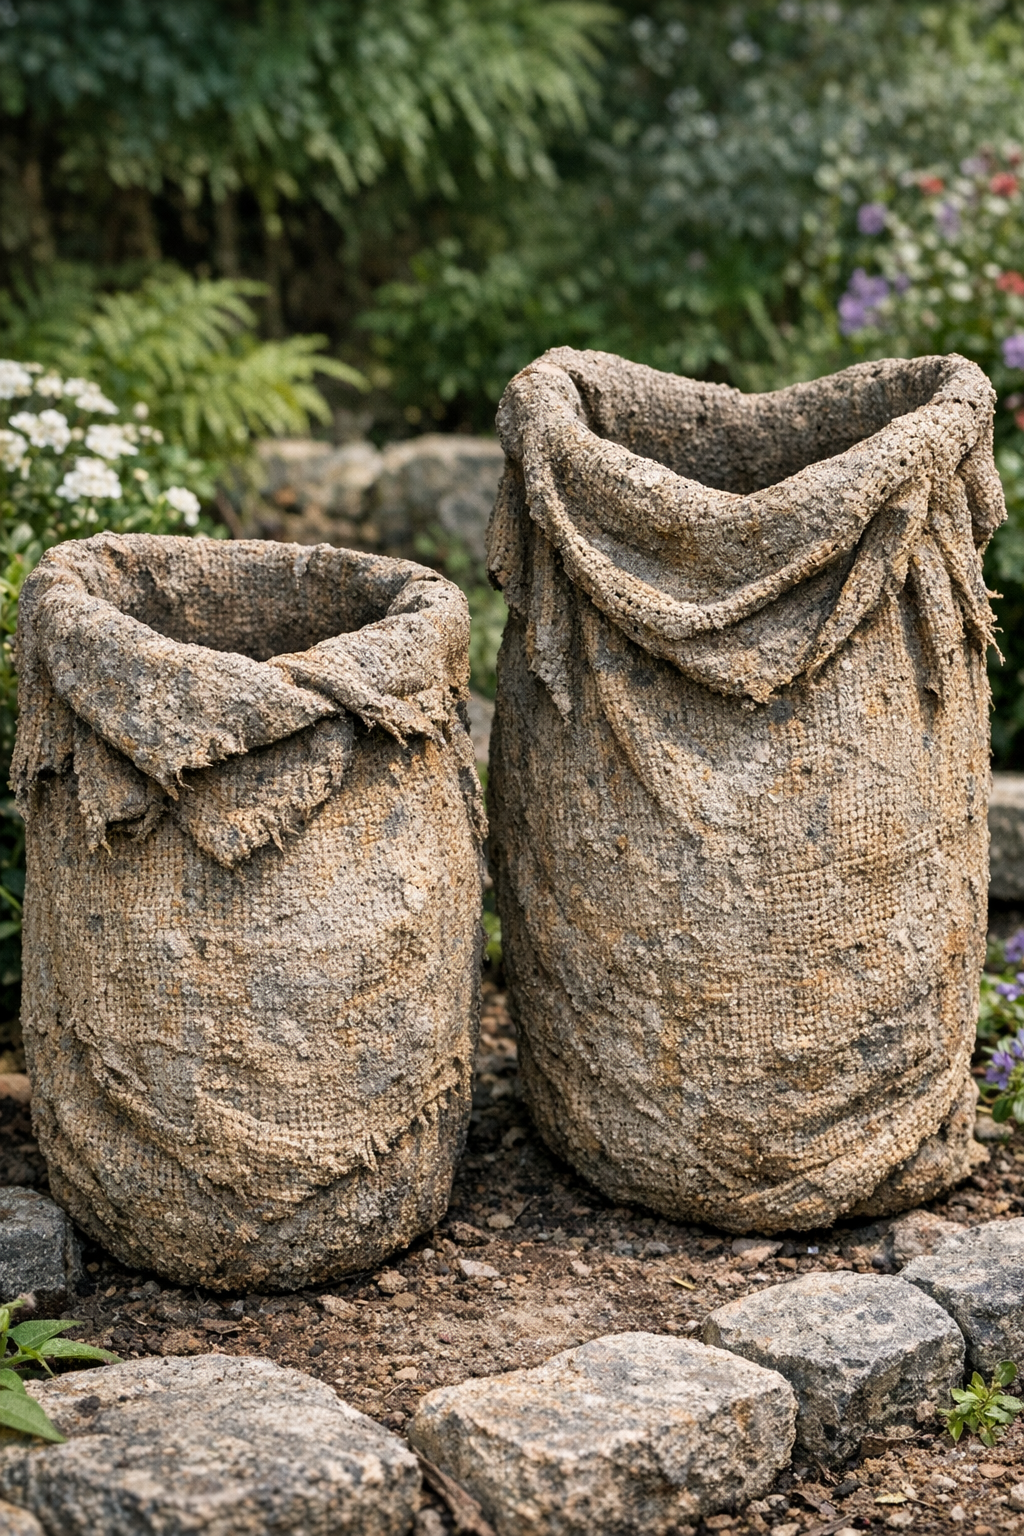
There’s something especially satisfying about making a garden piece from plain, humble materials, the sort of thing that might have once sat in a shed corner or barn aisle waiting for a second life. This project turns woven burlap potato sacks, cement, and one simple shaping item into sturdy outdoor forms that look far more expensive than they are. Once they cure, they become heavy, weather-friendly accents you can use as rustic planters, sculptural garden vessels, or tucked-into-the-border focal points.
I’m fond of projects like this because they feel a little like the old make-do tradition I grew up around here in the Midwest: simple materials, strong hands, and a result that lasts. If you enjoy practical garden crafts and don’t mind getting a bit messy, this is a fine weekend project for beginners and experienced DIY folks alike.
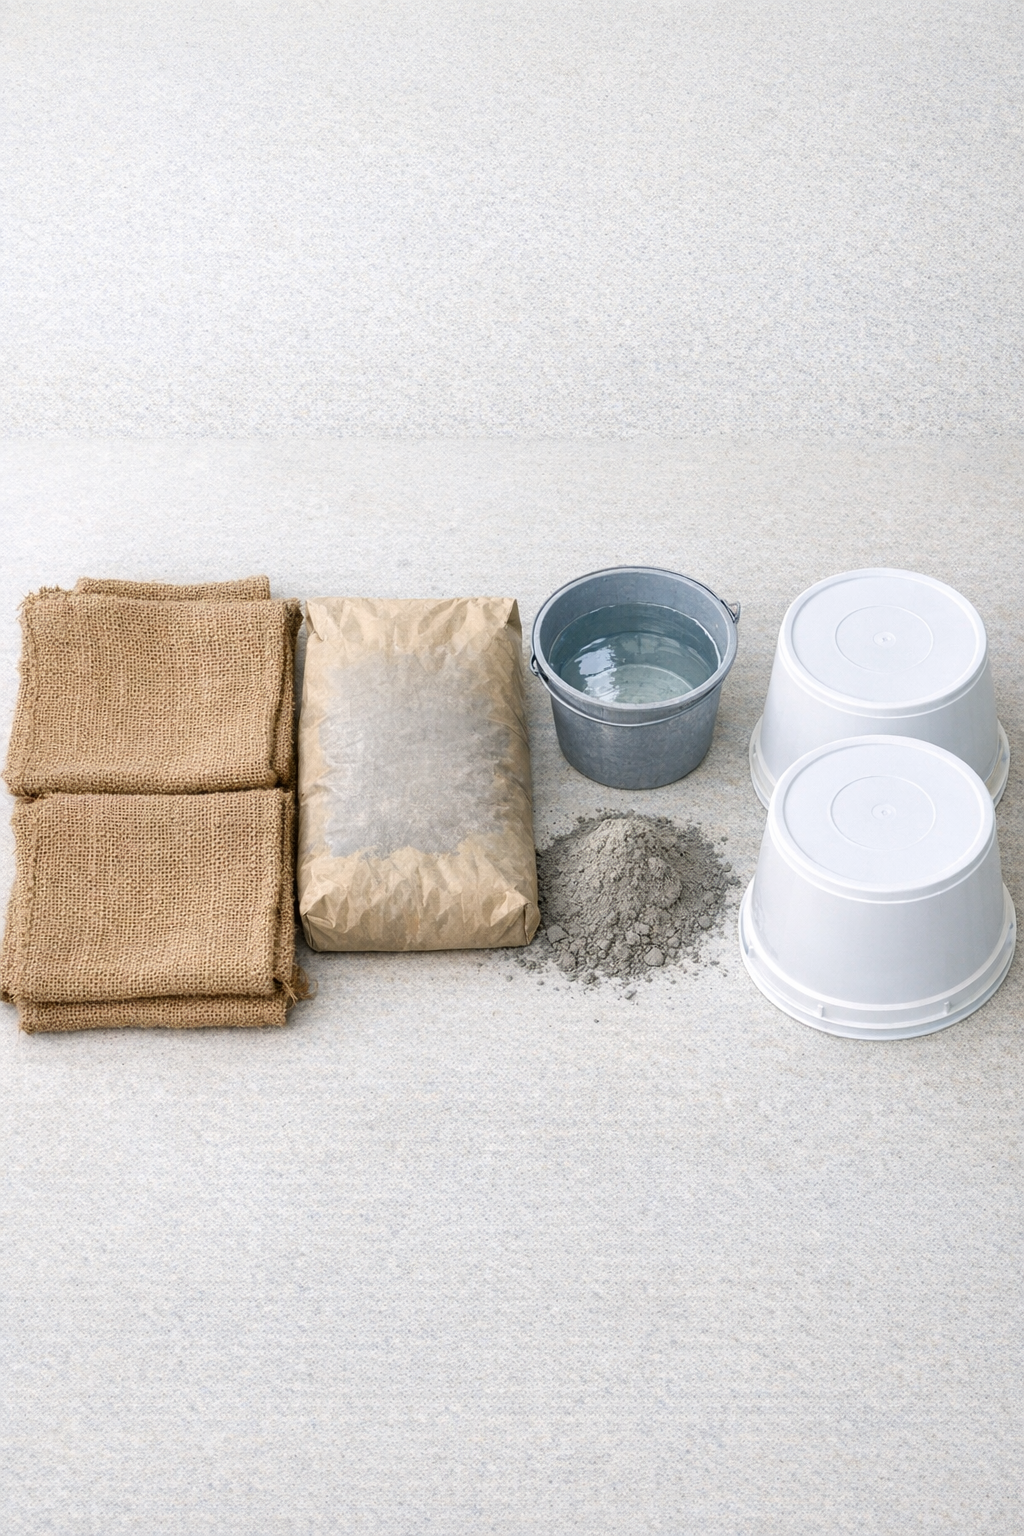
Materials
2 woven burlap potato sacks, approximately 18 x 30 inches each
Instructions
1. Choose a flat work area outdoors or in a well-ventilated space, and set your two 5-gallon buckets upside down on a tarp or scrap plywood so the finished forms can cure undisturbed.
2. Mix the Portland cement with water in a large tub or wheelbarrow until it reaches the consistency of thick pancake batter, smooth enough to soak into the burlap but not so runny that it drips off immediately.
3. Submerge the first woven burlap sack fully into the wet cement, pressing and turning it with your hands until every part of the sack is saturated and coated.
4. Lift the sack carefully, let the excess cement drip back into the tub for a few seconds, then drape it evenly over one upside-down bucket so the sides fall naturally.
5. Tug and shape the draped sack into the form you want, smoothing any folds you dislike and leaving others in place if you want a more rustic, weathered look.
6. Repeat the soaking and draping process with the second sack over the second upside-down bucket, shaping it to match the first or giving it its own character.
7. Leave both forms to cure for 24 to 48 hours, depending on weather, until they feel hard and dry to the touch and no longer flex when pressed gently.
8. Once fully cured, lift each hardened burlap-cement form off its bucket and set it upright in the garden, on the patio, or wherever you want a sturdy outdoor accent.
Variations & Tips
Different mold shapes: You can use other sturdy forms instead of buckets, but a 5-gallon bucket is my favorite because it gives a dependable shape and is easy to remove once the cement cures.
More rustic folds: If you love that old-world, weathered look, don’t fuss too much with the drape. The uneven folds and ridges are what make these pieces look handmade and full of character.
Drainage option: If you plan to use these as planters, set them over gravel or nest a plastic nursery pot inside rather than planting directly into the cement form.
Curing weather: Warm, dry days help this project set nicely, but if the air is very cool or damp, give the forms extra time before moving them. I’ve learned over the years that patience at the curing stage saves cracks later.
Surface finish: After curing, you can leave the forms plain for a natural farmstead look, or dry-brush them with outdoor masonry-safe stain or paint in soft stone or mossy tones.
Safety note: Wear gloves while handling wet cement, and avoid breathing cement dust when mixing. It’s a simple project, but a little care makes it much more pleasant.