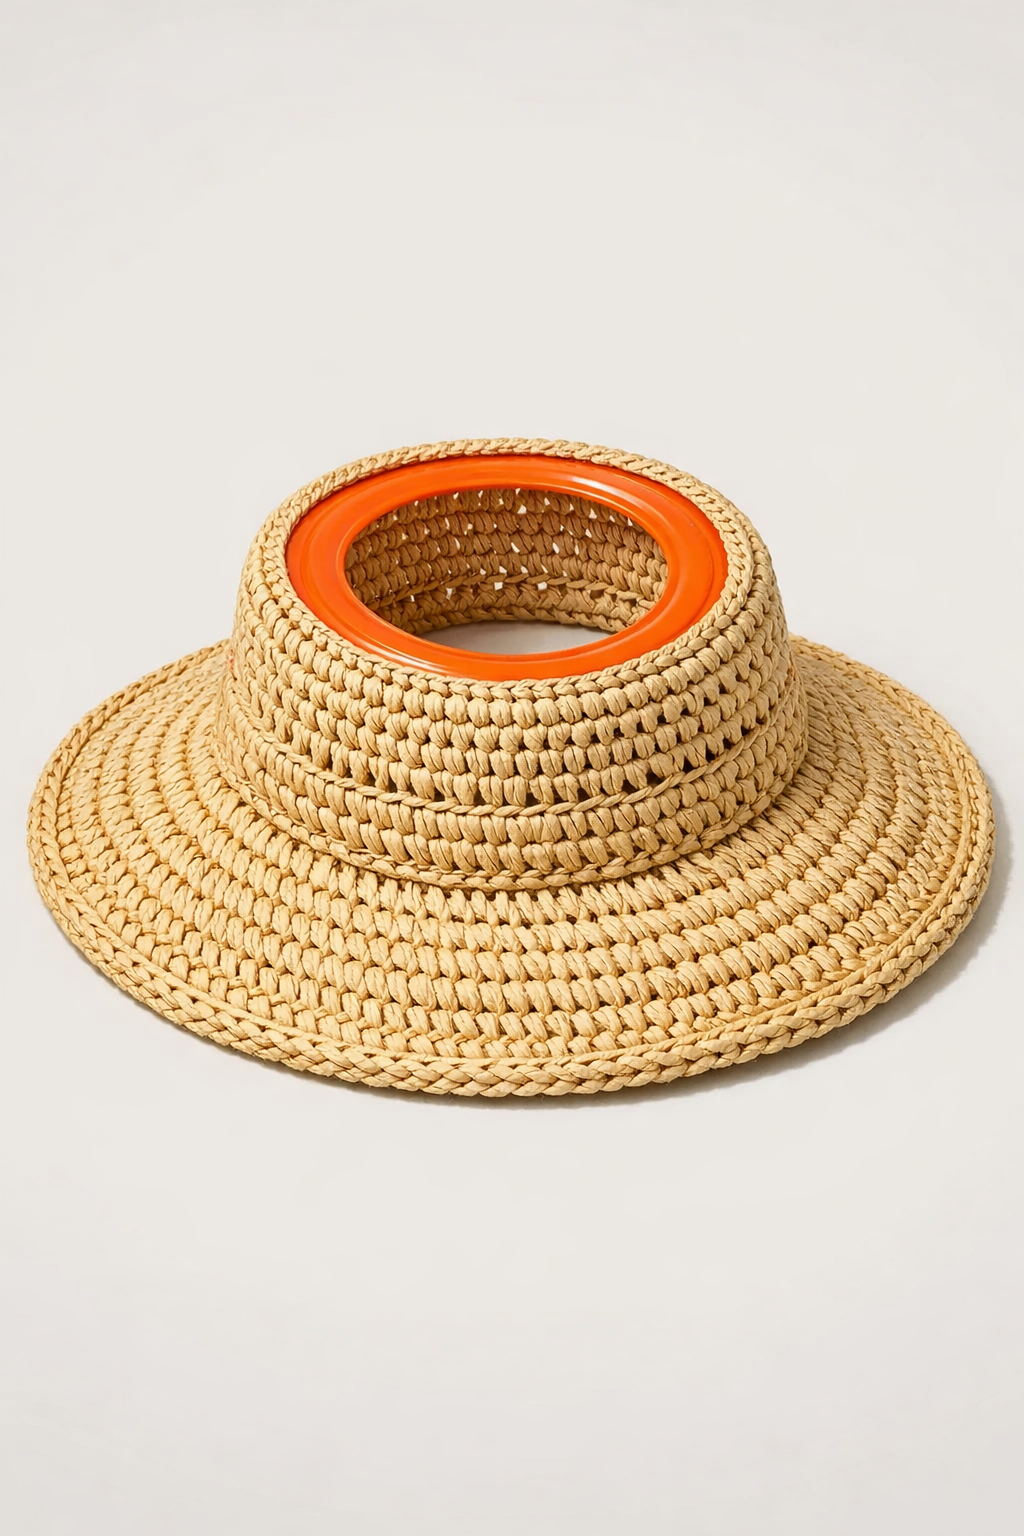
This project turns an ordinary plastic flying disc into the structure for a surprisingly wearable summer sun hat. By cutting out the center and crocheting raffia yarn directly around the disc, you get a crisp brim with the kind of shape that usually takes far more fiddling. As someone who spends plenty of time thinking about texture and structure in the kitchen, I love a project like this because it uses a humble base material to create something both clever and beautiful.
If you already know a few basic crochet stitches, this is very approachable, and even if your crochet experience is limited, the disc does a lot of the shaping work for you. The finished hat has a breezy, natural look with a playful twist, and it is a wonderful warm-weather project if you enjoy accessories, upcycling, or simply making people ask, "Wait, that started as a frisbee?"

Materials
1 bright orange plastic flying disc frisbee, 9 to 10 inches in diameter
Instructions
1. Measure and mark a centered inner circle on the frisbee, leaving a brim 2 1/2 to 3 inches wide all the way around. This opening should be roughly 6 to 7 inches across, depending on the head size you want.
2. Place the frisbee on a cutting mat and carefully cut out the center circle with the craft knife. Trim any rough edges with scissors so the inner opening is as smooth and even as possible.
3. Mark stitch holes around both the inner and outer edges, spacing them about 3/8 inch apart. Punch or pierce each hole carefully so you will have an even path for crocheting into the plastic.
4. Start at the inner edge and work single crochet through each hole, wrapping the plastic edge completely with raffia yarn. Keep your tension firm enough to cover the plastic but loose enough that the stitches sit flat.
5. Continue around the inner opening until the entire inner edge is covered, then slip stitch to join. If needed, add one more round of single crochet into the first round to soften the edge that will sit against your head.
6. Join raffia at the outer edge and single crochet through each outer hole all the way around. This anchors the brim and gives the hat its finished edge.
7. Fill the flat top surface between the inner and outer edges by crocheting rounds or tight linking stitches across the plastic ring, catching into the inner and outer edge stitches as needed. Work evenly so the raffia covers most of the orange surface while still letting the brim hold its clean shape.
8. Try the hat on and check the fit of the inner opening; if it feels too loose, weave a round of raffia or add the ribbon band slightly snug. If it feels scratchy anywhere, add another neat crochet round to the inside edge.
9. Attach the ribbon or twill tape around the inner opening with a few discreet stitches or a thin line of glue. Let any glue dry fully before wearing the hat.
10. Weave in all yarn ends with a yarn needle and gently shape the brim with your hands. If the raffia looks stiff in spots, flex it lightly until the hat sits comfortably and evenly.
Variations & Tips
Color play: Natural raffia gives the hat a classic straw look, but you can add a few rounds in white, terracotta, or olive for a striped brim. I especially like colors that feel sun-washed and summery.
Fit adjustment: The most important measurement is the inner opening, so measure around the head where the hat will sit before cutting. A slightly smaller opening is easier to correct with gentle stretching than a too-large opening is to shrink.
Hole-making tip: Evenly spaced holes make the crochet much easier and neater. If you have ever tried to plate dumplings in a hurry, you know consistency matters; the same principle applies here.
Softer finish: If the plastic feels too rigid, cover both edges with an extra round of single crochet or slip stitch. That extra layer makes the hat more comfortable and gives it a more polished handmade look.
Decorative trim: Add a tied scarf, a raffia bow, or a narrow band of shell stitches around the crown opening for a dressier version. Keep embellishments light so the brim remains the star.
Material substitution: Paper raffia or lightweight macramé cord can work if true raffia yarn is unavailable, but test a small section first. In my experience, natural raffia gives the best balance of texture, flexibility, and that unmistakable warm-weather charm.