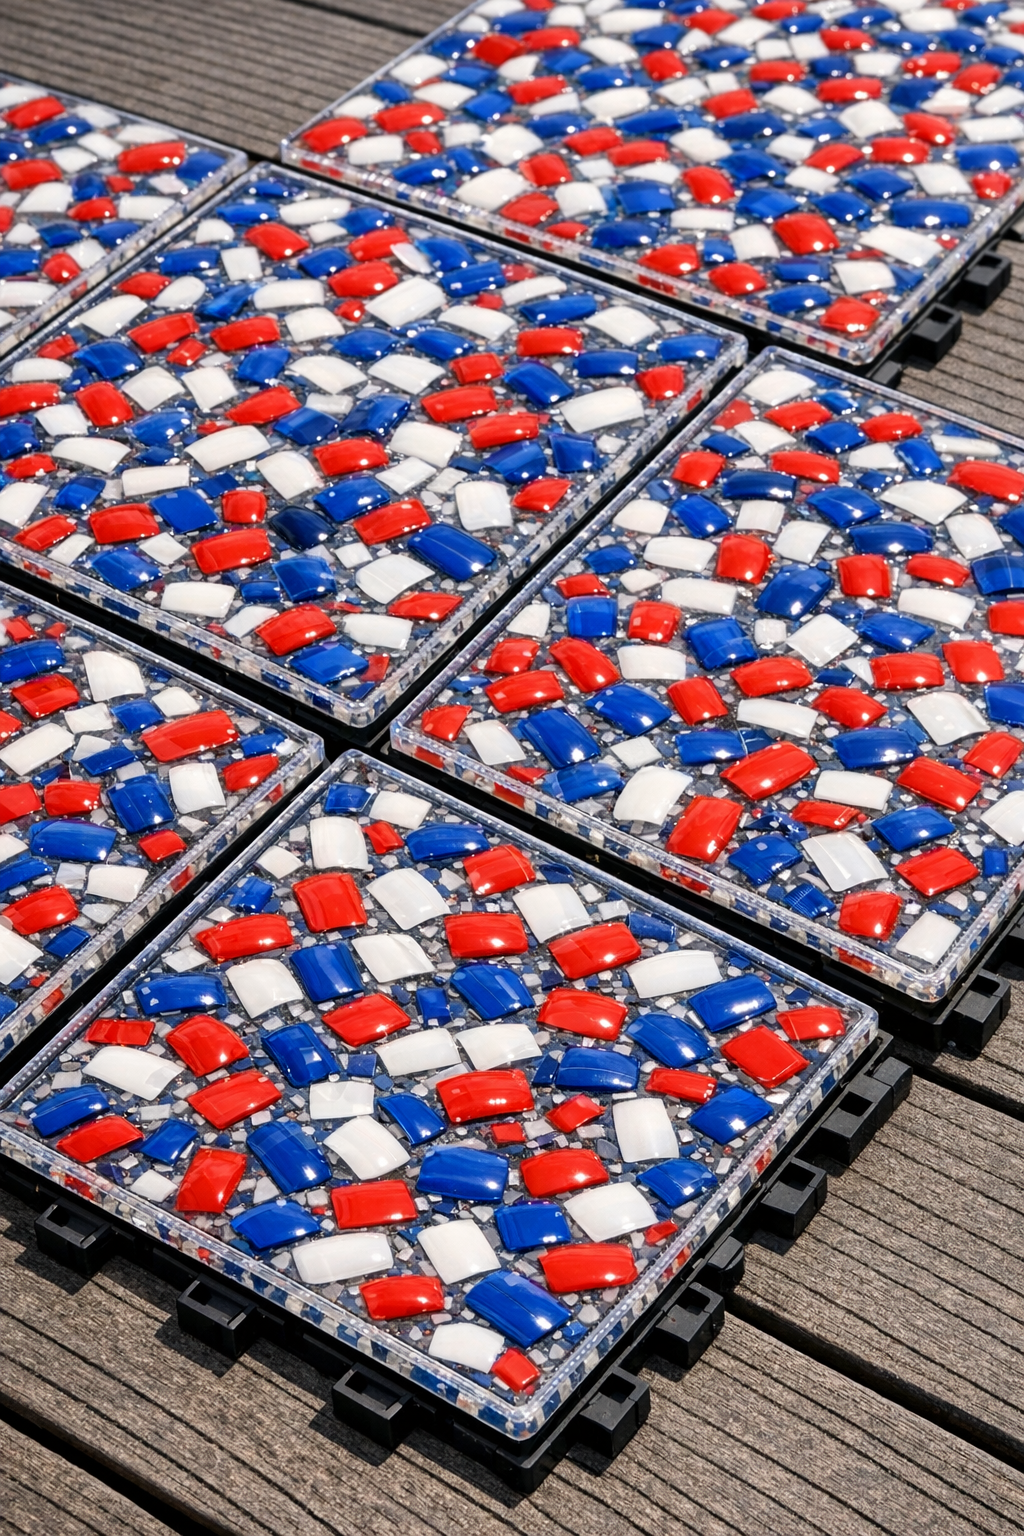
I love a project that takes something a little unexpected and turns it into a conversation piece, and these red, white, and blue deck tiles absolutely do that. By baking plastic artificial fingernails into a simple poured base made with one inexpensive liquid, you get a hard, colorful tile that looks almost like a quirky mosaic once it cures.
This is a fun patio or deck craft for anyone who likes bold décor, upcycled style, or holiday-friendly outdoor accents. I’d use these as decorative tiles for a small side-table top, plant stand surface, or as removable accent pieces on a covered deck, and because they’re plastic-based rather than ceramic, they’re much less likely to chip or shatter if bumped.
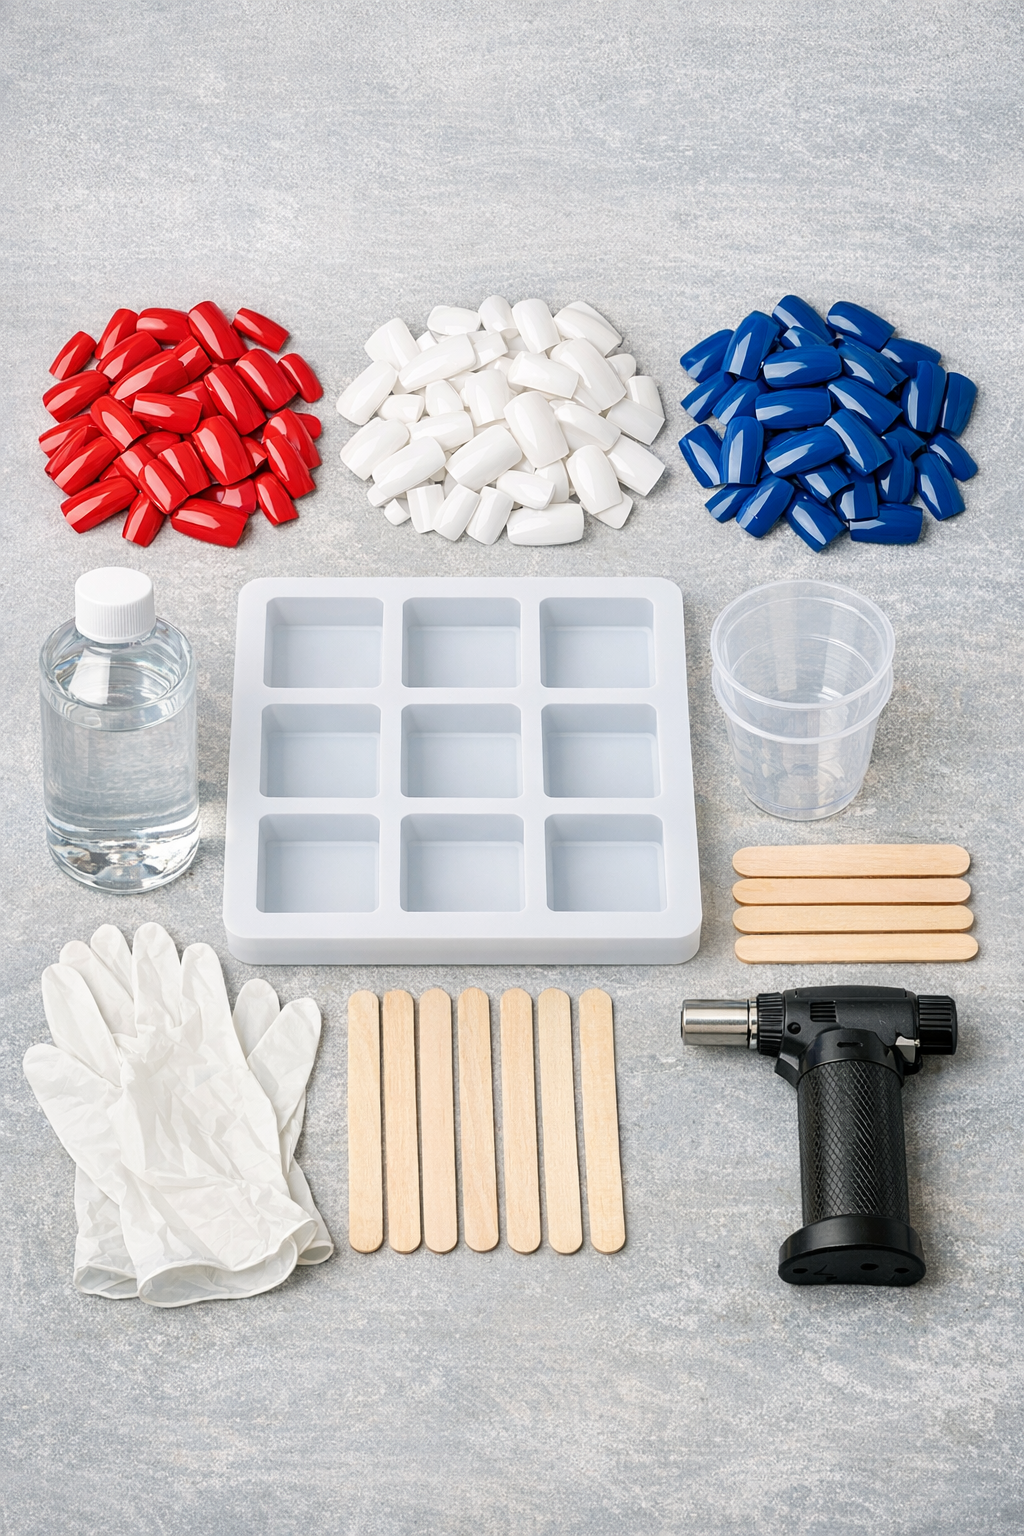
Materials
Instructions
1. Preheat your oven to the lowest setting recommended as safe for the plastic nails and resin system you’re using, and line your work surface with parchment paper. Set the silicone molds on a rimmed baking tray so they stay level when moved.
2. If your molds tend to grip, lightly mist them with mold release and wipe away any excess. Sort the red, white, and blue nails into separate piles so you can build an even pattern quickly.
3. Arrange one layer of artificial nails in each mold, slightly overlapping them like fish scales or a mosaic. Mix the colors throughout or create stripes depending on the look you want.
4. Mix the epoxy resin in a disposable cup exactly according to the package directions, scraping the sides and bottom well. Stir slowly to keep bubbles to a minimum.
5. Pour a thin layer of resin into each mold, just enough to flow around and partially cover the nails. Tap the tray gently on the table to help the resin settle into gaps.
6. Add a second light layer of nails on top if you want a thicker, more textured tile, then pour more resin until the surface is just covered. Leave about 1/8 inch of space at the top of the mold so the tile doesn’t overflow when heated.
7. Pass a heat gun or small torch briefly over the surface to pop bubbles, keeping the heat moving. Don’t linger in one spot or you can scorch the resin or warp the plastic nails too much.
8. Place the tray in the oven and bake only as long as needed to soften the nails slightly and help the resin level, following the safest low-temperature window for your materials. Keep a close eye on the molds the entire time, because plastics can change quickly.
9. Remove the tray carefully and let the tiles cool undisturbed until fully hardened. I usually leave resin pieces longer than I think they need, because patience makes demolding so much easier.
10. Flex the silicone molds to release each tile, then sand any sharp resin drips from the edges if needed. If you want to use them on a deck table or as movable accents, add non-slip pads underneath after the tiles cure completely.
Variations & Tips
For picky decorators: If the red, white, and blue mix feels too busy, make one-color or two-color tiles instead. A simple white-and-blue version can look a little more coastal and less holiday-specific.
Safer baking tip: Always verify that both the plastic nails and the resin product are suitable for low-heat use before putting anything in the oven. If there’s any doubt, skip the baking and let the resin self-level and cure at room temperature.
Best use: I recommend these as decorative accent tiles rather than permanent walk-on flooring. They’re great for tray tops, plant risers, outdoor centerpiece bases, and covered-deck décor.
Edge finish: If your tile edges feel rough, wet-sand lightly with fine-grit sandpaper after full cure. Wipe clean and, if desired, brush on a thin final coat of resin for extra gloss.
Pattern idea: Try laying the nails in pinwheel rows, flag-inspired stripes, or random confetti clusters. I think the random mosaic style is the easiest for beginners and still looks fun and festive.
Weather note: For longest life, keep these on a covered porch or bring them indoors during extreme heat and freezing weather. That little bit of care helps preserve both the shine and the bond over time.