I love a project that feels a little bit like kitchen science, and this one absolutely does. By layering red, white, and blue plastic tablecloths with parchment paper and fusing them carefully with heat, I can create a surprisingly tough, wipeable patio material that works beautifully for outdoor table covers, picnic mats, tote panels, cushion backing, or even a weather-resistant craft fabric.
If you’ve never ironed plastic before, don’t worry—the trick is controlling the heat and protecting the surface so the plastic softens and bonds instead of melting into a mess. This is a great project for anyone who likes budget-friendly outdoor DIYs, especially if you want something festive, durable, and easy to customize.
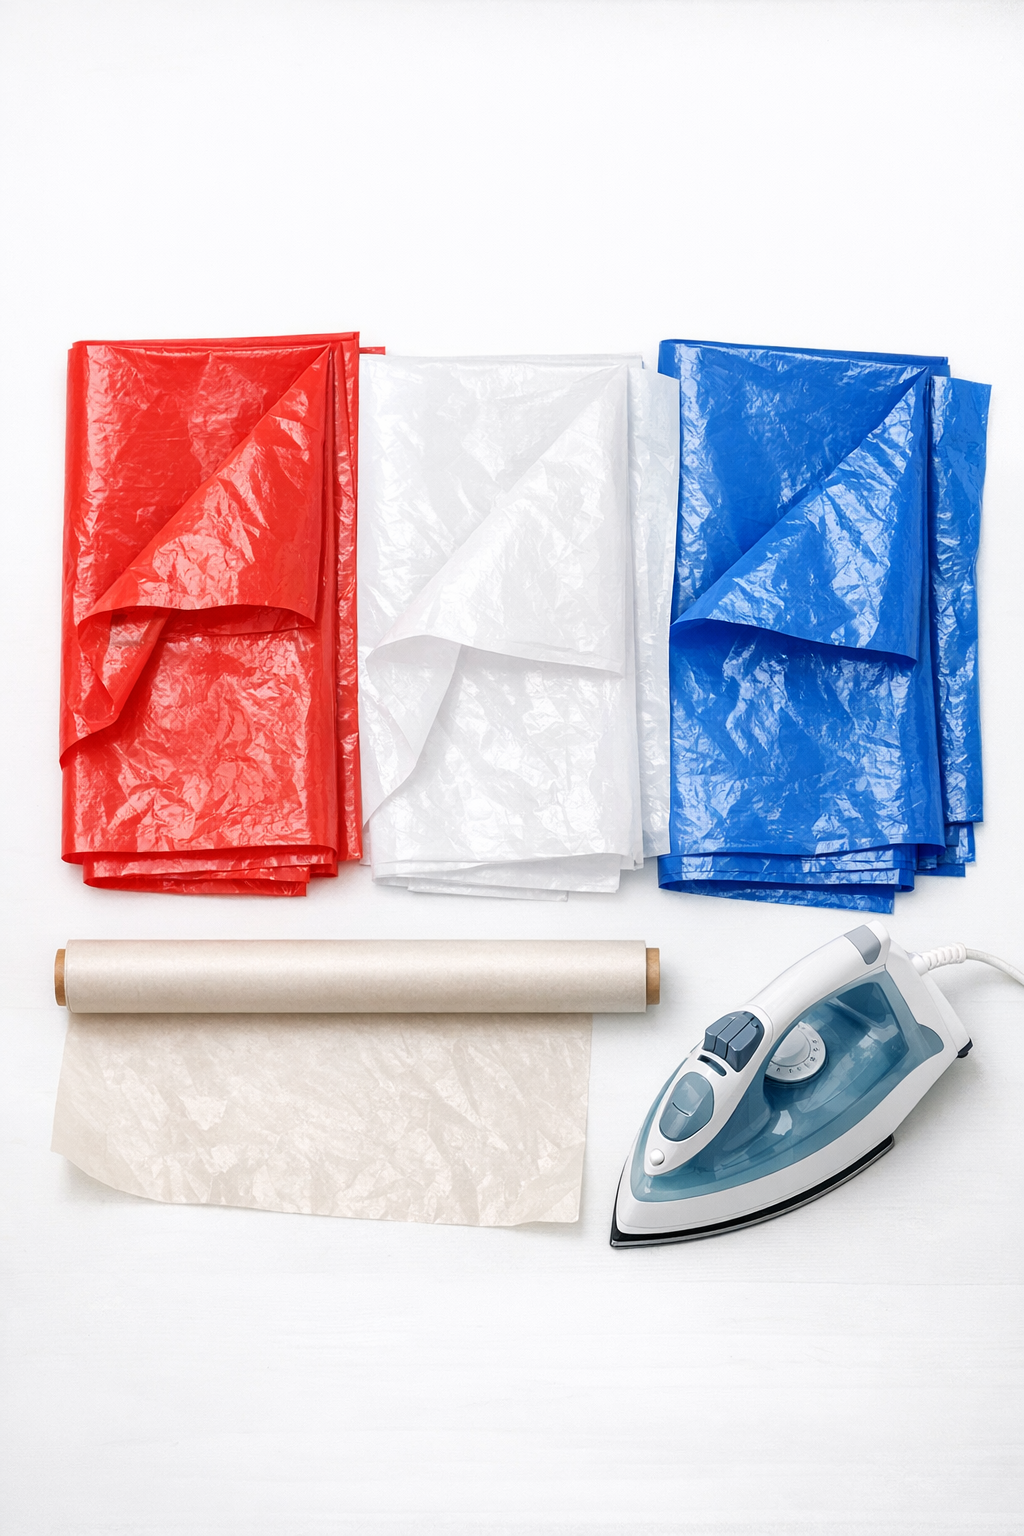
Materials
Instructions
1. Cover your work surface with a smooth heat-safe base, then tear off two large sheets of parchment paper slightly bigger than the section you plan to fuse first.
2. Unfold the plastic tablecloths and cut or fold them into matching rectangles; for a manageable starter size, I like to work with panels about 18 x 24 inches.
3. Stack the plastic in three layers with the colors aligned; smooth each layer flat with your hands so there are as few wrinkles and air pockets as possible.
4. Place one sheet of parchment paper under the plastic stack and one on top, fully sandwiching the layers before any heat touches them.
5. Heat the iron to a low setting with steam turned off, then test one corner by pressing for 3 to 5 seconds without sliding the iron.
6. Lift the parchment and check the bond; if the layers still separate easily, press again in short intervals until the plastic fuses into one thicker sheet.
7. Continue fusing across the panel section by section, overlapping each pressed area slightly so the finished material bonds evenly from edge to edge.
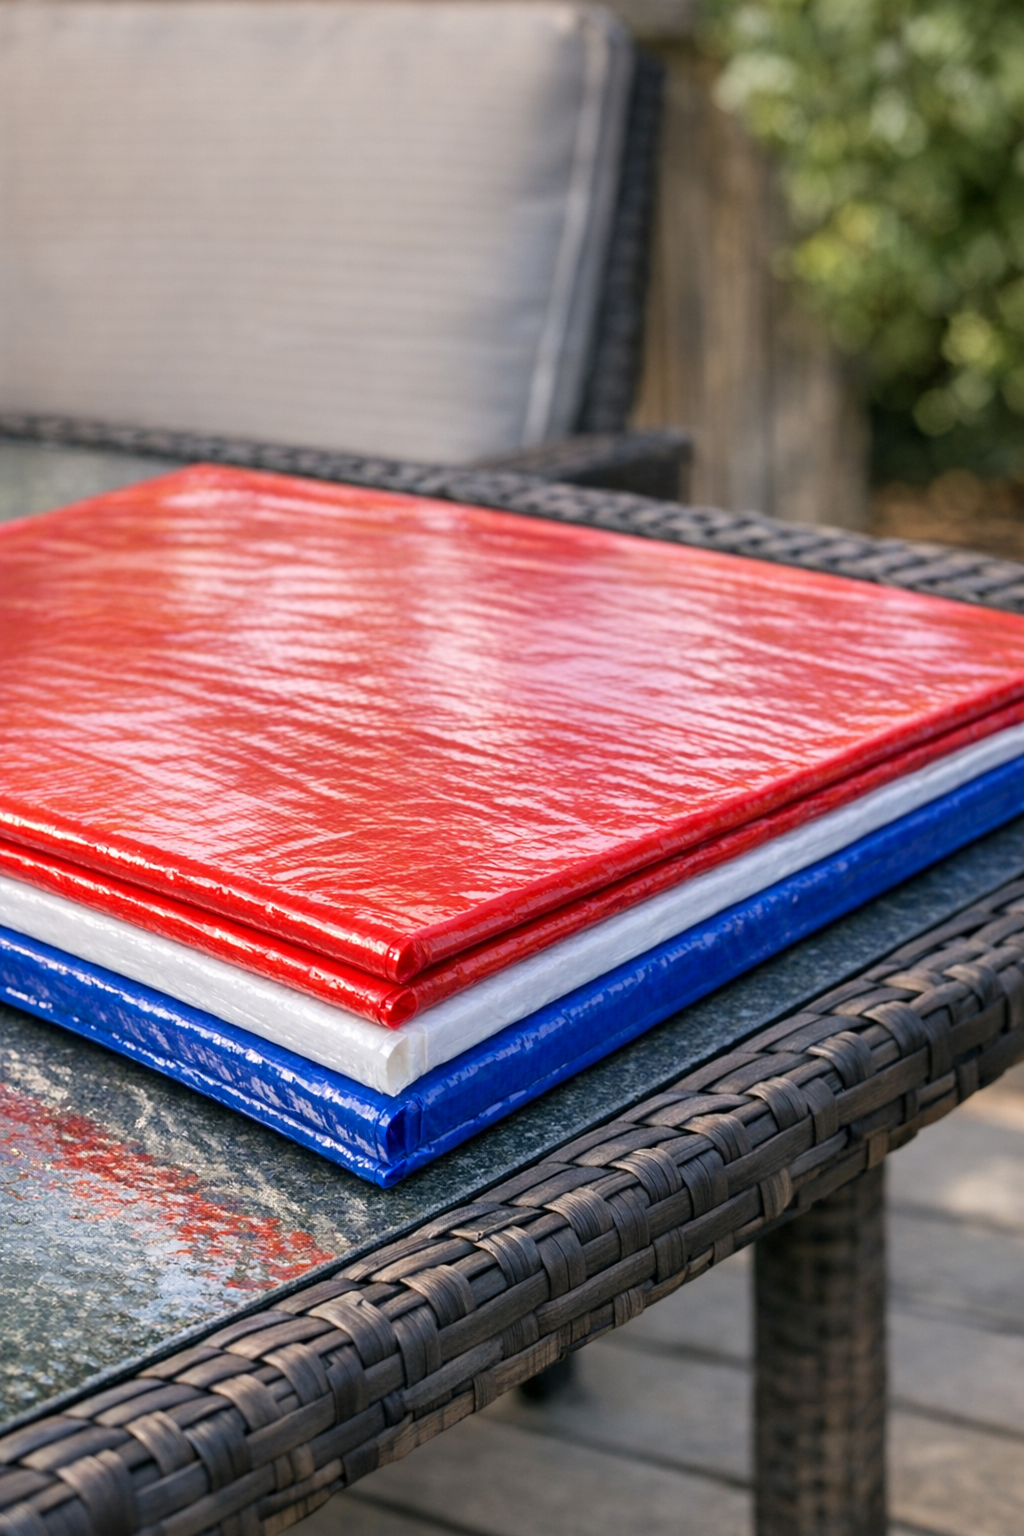
8. If you want an extra-heavy patio material, add another layer from each color and repeat the same parchment-and-iron process until the sheet feels sturdy and leather-like.
9. Let the fused panel cool completely on a flat surface for several minutes so it sets without curling.
10. Trim the edges neatly with scissors or a rotary cutter if needed, then use the finished sheet as a patio placemat, outdoor table runner, tote panel, or protective cover.
Variations & Tips
Make it thicker: For a truly heavy-duty result, use six total layers instead of three by doubling each color. The final sheet feels much more substantial and holds its shape better outdoors.
Use pressing, not gliding: I treat this more like pressing tortillas than ironing a shirt—set the iron down, lift it, and move to the next spot. Sliding can shift the layers and create thin spots.
Test your iron first: Every iron runs a little differently, just as every oven has its own personality. Always test on a small corner before committing to the whole piece.
Add pattern intentionally: You can offset or fold the colored layers before fusing to create stripes, bands, or a marbled look. The red, white, and blue combination is especially fun for summer patio décor.
Keep it flat while cooling: If the panel cools while bunched or draped, it may set with waves. I always let mine rest flat, the same way I let a pastry shell set before filling it.
Clean it gently: Wipe the finished material with a damp cloth and mild soap if needed. Avoid high heat afterward, including leaving it on very hot metal surfaces in direct sun for long periods.