I love a project that turns a throwaway object into something both sturdy and genuinely useful, and this catch-all tray does exactly that. By cutting the intact bottom from a cracked plastic laundry basket and crocheting jute twine through the existing holes, you get a rustic summer tray that’s perfect for sunglasses, napkins, mail, keys, or even a few garden-picked tomatoes on the counter.
What makes this especially satisfying is how approachable it is. If you can manage basic crochet stitches and don’t mind working with a slightly unconventional “base,” this is a very doable afternoon project. The plastic basket bottom acts like a ready-made framework, almost like the structure underneath a tart shell, while the jute gives it warmth and texture.
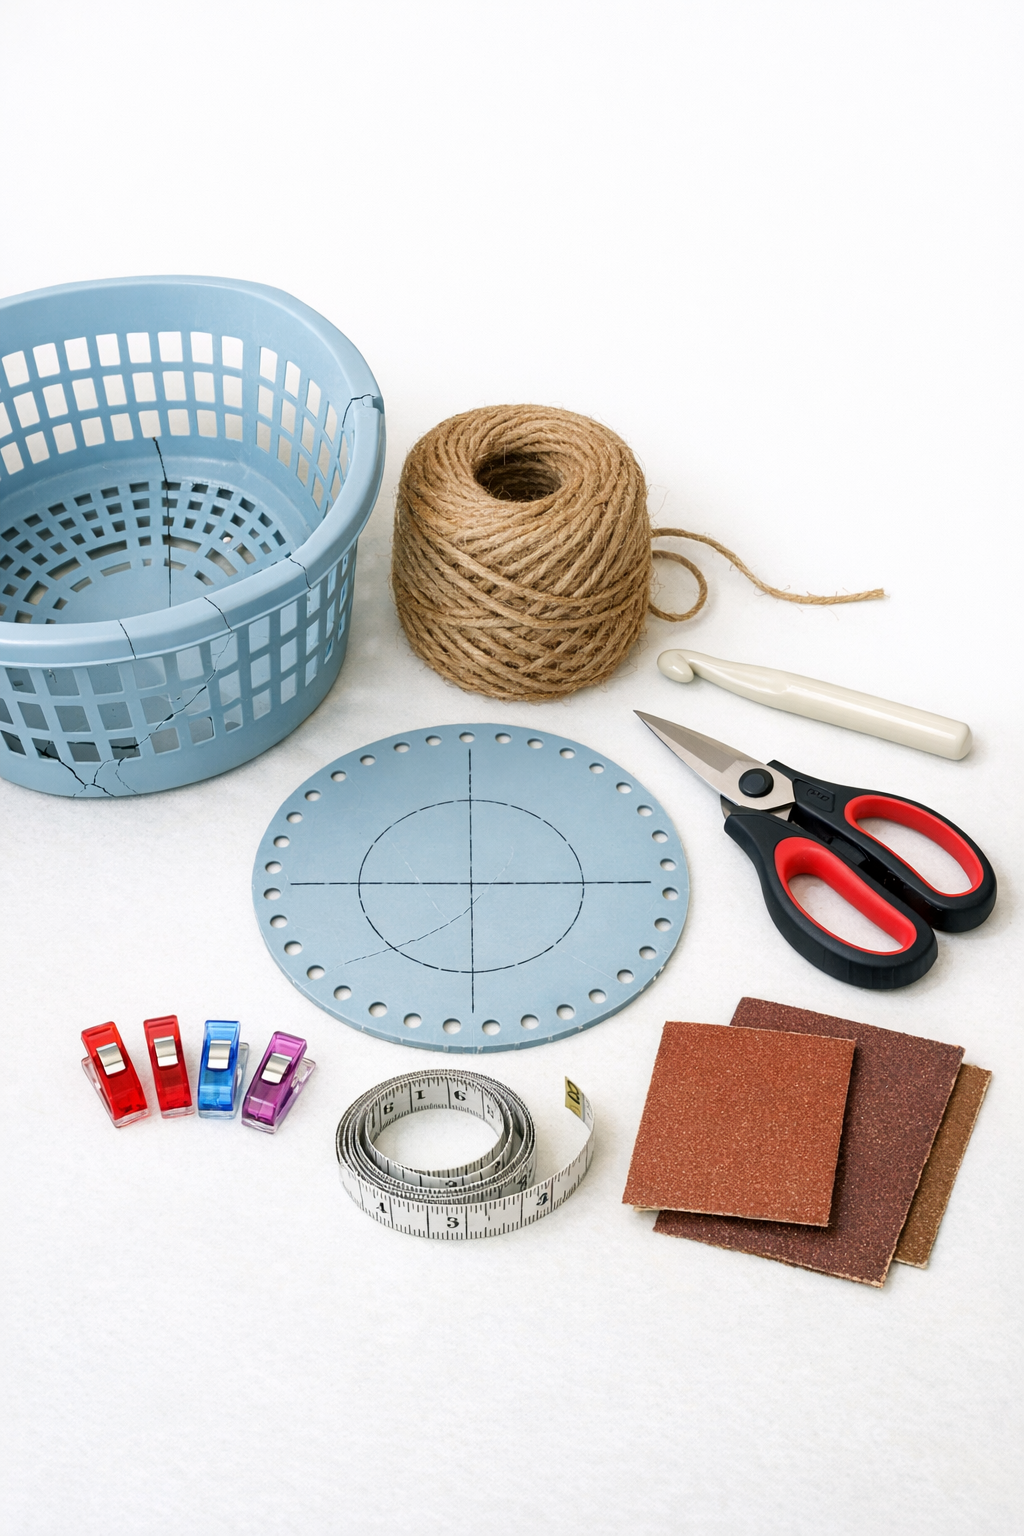
Materials
Instructions
1. Wash and dry the cracked laundry basket so the plastic is clean and easy to handle. Pick the flattest, most intact section of the bottom for your tray base.
2. Use a marker to draw an oval or rounded rectangle about 12 x 16 inches on the basket bottom. Keep your line just inside the outermost ring of holes so you preserve a strong edge to crochet through.
3. Cut the bottom out carefully with heavy-duty scissors or a utility knife. Trim away any jagged bits so the shape is smooth and balanced.
4. Sand the cut edges lightly with medium-grit sandpaper until they feel smooth to the touch. This step matters because rough plastic can snag the jute and make crocheting frustrating.
5. Find one hole near the outer edge and tie the jute securely with a double knot on the underside of the plastic base. Leave a 4-inch tail to weave in later or glue down after finishing.
6. Work single crochet stitches through each hole around the perimeter, using one stitch per hole. Pull each stitch snug enough to cover the plastic edge without warping the base.
7. When you reach the corners or tighter curves, add an extra single crochet into every second or third hole as needed. This keeps the edge from pulling inward and helps the tray lie flat.
8. Join the round with a slip stitch into the first stitch, then chain 1. Work a second round of single crochet into the stitches rather than through the plastic holes.
9. To build shallow tray sides, continue crocheting 2 to 4 more rounds of single crochet, depending on how tall you want the edge. Use binder clips to hold the work upright in a few spots if the jute wants to collapse while you shape it.
10. If you want a firmer rim, work the final round a bit tighter or switch to slip stitches all the way around. That denser top edge gives the tray a cleaner, more structured finish.
11. Cut the jute, leaving a 6-inch tail, and pull it through the final loop to fasten off. Weave the tail through several stitches with a darning needle or tuck and secure it with a small dab of clear-drying glue.
12. Check the tray on a flat surface and gently reshape the sides with your hands. If one area looks uneven, massage the stitches into place; jute is forgiving, much like settling a loaf into its final form before baking.

Variations & Tips
Make it softer in the hand: If plain jute feels too rough, pair it with a strand of cotton yarn as you crochet. You’ll still get the structure of the twine but with a slightly gentler finish.
Change the shape: Oval bases feel a little more organic and summery, while rounded rectangles look tidier on an entry table or dresser. Follow the existing basket hole pattern whenever possible to make stitching easier.
Use color strategically: Natural jute has a lovely farmers-market charm, but you can add one final round in cotton rope cord or colored macramé cord for a stripe at the rim. It’s a nice way to coordinate with your room without repainting or wrapping the whole piece.
Keep the tray practical: This works best for dry items such as mail, remote controls, hand towels, or crochet supplies. I would avoid using it for anything damp, since jute can absorb moisture and lose its crisp look over time.
Choose the right basket: A basket with evenly spaced holes is much easier to crochet through than one with irregular slats. If I’m scavenging from the utility room, I always look for a bottom with a consistent grid because it behaves much more predictably.
Stabilize problem spots: If a section of plastic feels weak from an old crack, skip that area when cutting your base or trim it away entirely. A strong base makes the finished tray feel intentional rather than improvised.
Try a handled version: To add little side handles, chain 6 to 8 stitches at the midpoint of each long side during the last round and skip the same number of stitches below. It’s a simple tweak that makes the tray handy for carrying napkins or utensils out to the patio.