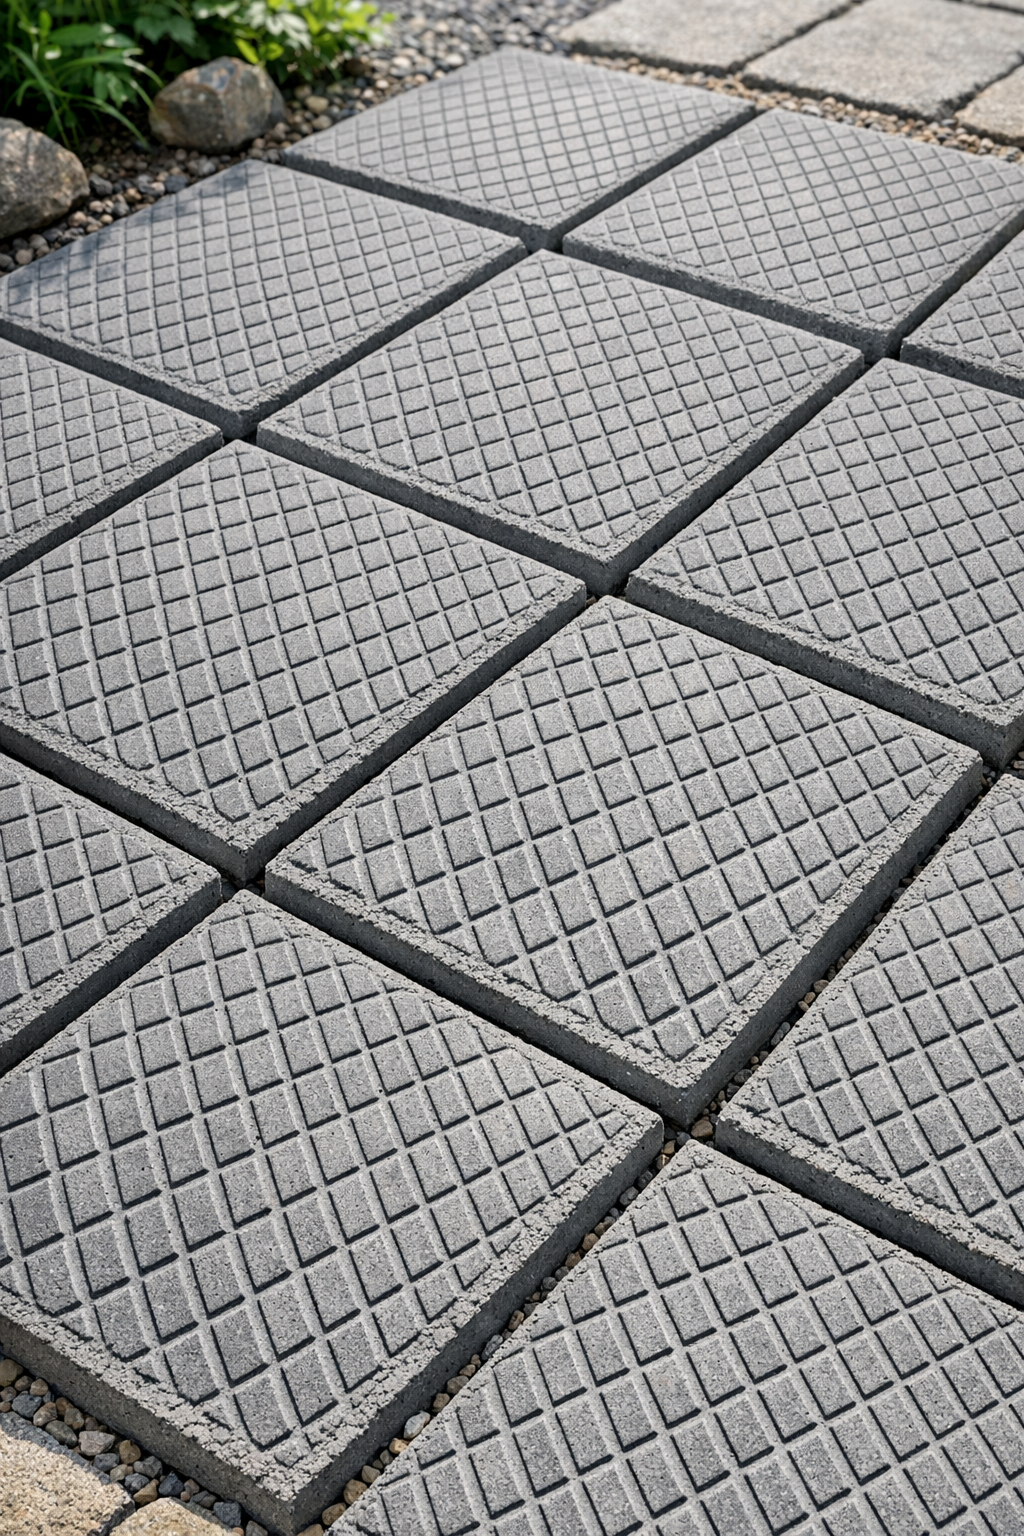
If you want a patio upgrade that looks far more expensive than it is, these heavy crosshatched patio slabs are such a satisfying weekend project. The basic idea is simple: I use cut plastic lattice panels as the texture form, then build up thick cement so each slab comes out with a bold grid pattern that looks a little like custom pavers. It’s one of those projects that feels oddly magical the first time you peel it away from the mold.
I especially love this project for anyone who wants to dress up a small patio, garden path, or grill area without buying stacks of premade stone. As someone who’s always trying to squeeze creative projects into a busy week, I appreciate that these can be made in batches and left to cure while I get dinner going or catch up on work emails. The result is sturdy, practical, and honestly pretty impressive for such a short materials list.
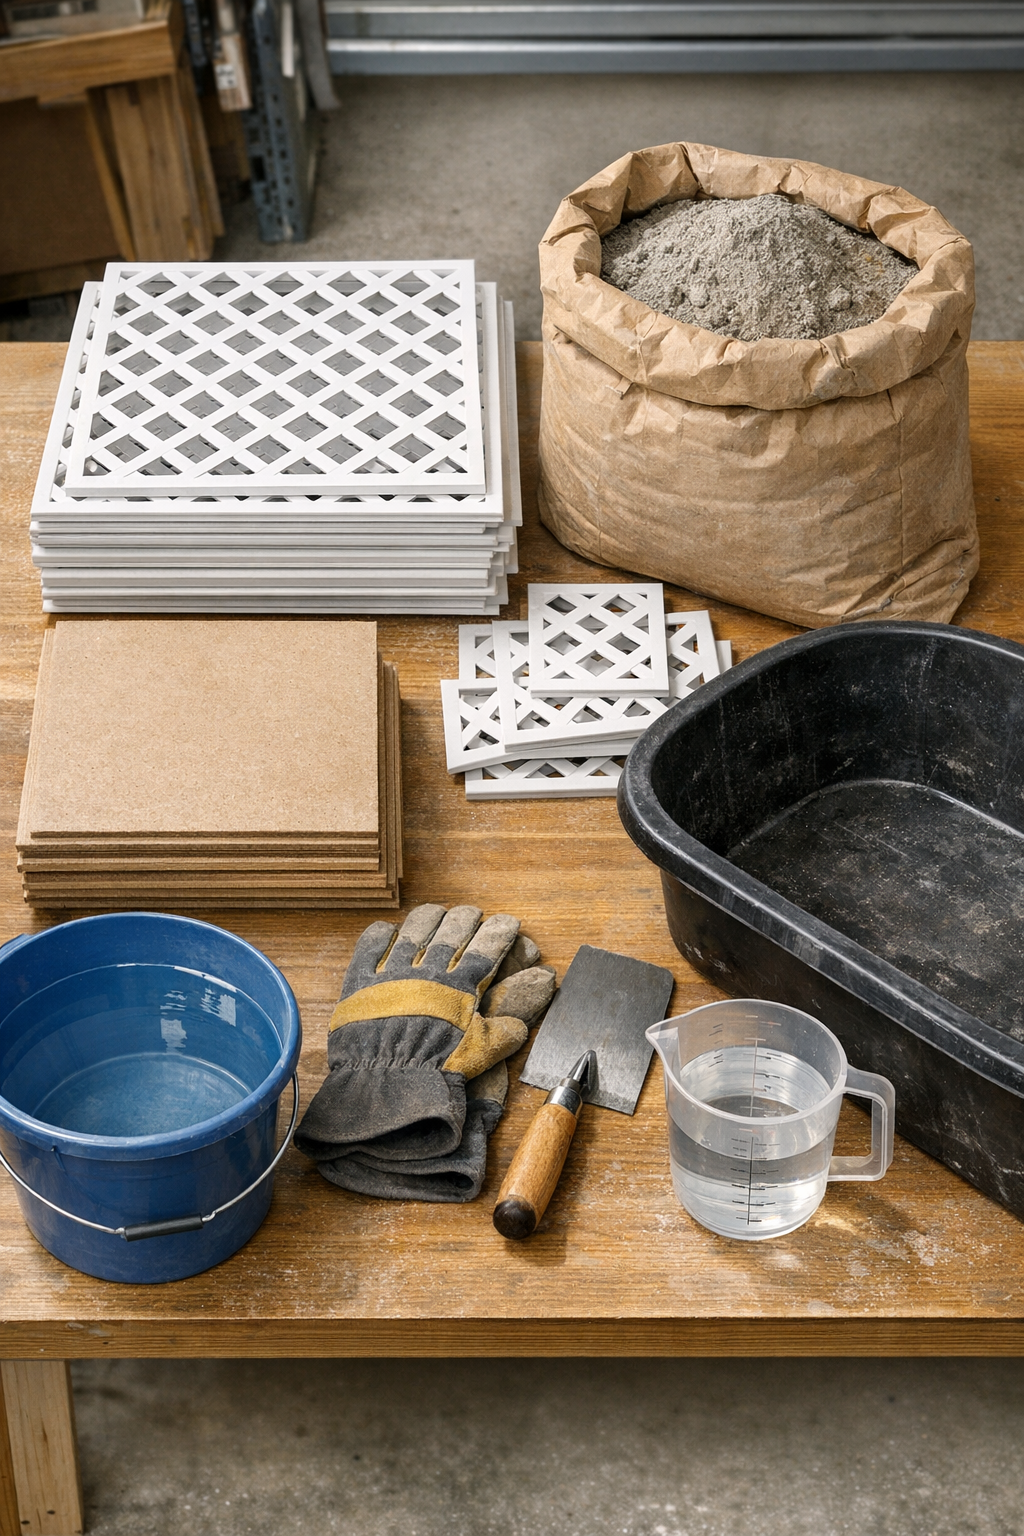
Materials
Instructions
1. Cut the plastic lattice into 16-inch by 16-inch squares, and cut your backer boards to 18-inch by 18-inch so each slab has a little working margin around it.
2. Set the backer boards on a flat, level surface, then lightly coat one side of each lattice square with cooking spray or form-release oil so the cement will release more easily later.
3. Mix the cement in a tub with water a little at a time until it reaches a very thick, spreadable consistency like stiff peanut butter; it should hold its shape on the trowel without running.
4. Place one lattice square on each backer board with the oiled side facing up, then smear cement over the lattice and press it firmly into all the openings so the pattern is fully packed.
5. Keep building the cement layer until the slab is about 1 1/2 inches thick across the entire square, then smooth the top with the trowel so the back is as even as possible.
6. Tap the edges of the backer board lightly and run the trowel across the surface a final time to settle the mix and remove large air pockets.
7. Repeat with the remaining lattice squares, working in batches if needed so the cement stays workable and each slab ends up roughly the same thickness.
8. Cover the slabs loosely with plastic and let them cure undisturbed for 24 to 48 hours, depending on temperature and humidity.
9. Once the slabs feel firm, carefully flip one over, peel or lift away the lattice mold, and check that the crosshatched face is fully set before unmolding the rest.
10. Let the slabs continue curing for another 5 to 7 days before placing them outdoors, and carry them with both hands since they’ll be heavy and still a little vulnerable at the corners.
Variations & Tips
Change the size: Smaller 12-inch squares are easier to lift and great for a garden path, while larger slabs make more sense for a compact seating area.
Add color: If you like a warmer stone look, mix in a cement colorant or brush the cured slabs with a concrete stain after they have fully dried.
Reinforce for extra durability: For slabs that will get more foot traffic, press a piece of galvanized hardware cloth or remesh into the middle of the cement layer before smoothing the back.
Keep the pattern crisp: Don’t make the mix too wet; the thicker mix holds the lattice shape much better and gives you cleaner crosshatched lines.
Prep your installation area: I like to level a bed of compacted sand before setting slabs down so they sit evenly and don’t rock underfoot.
Work smarter in batches: When I’m doing a project like this after a long workday, I usually make two or three slabs at a time instead of all six at once, which keeps the cement manageable and the finish much neater.