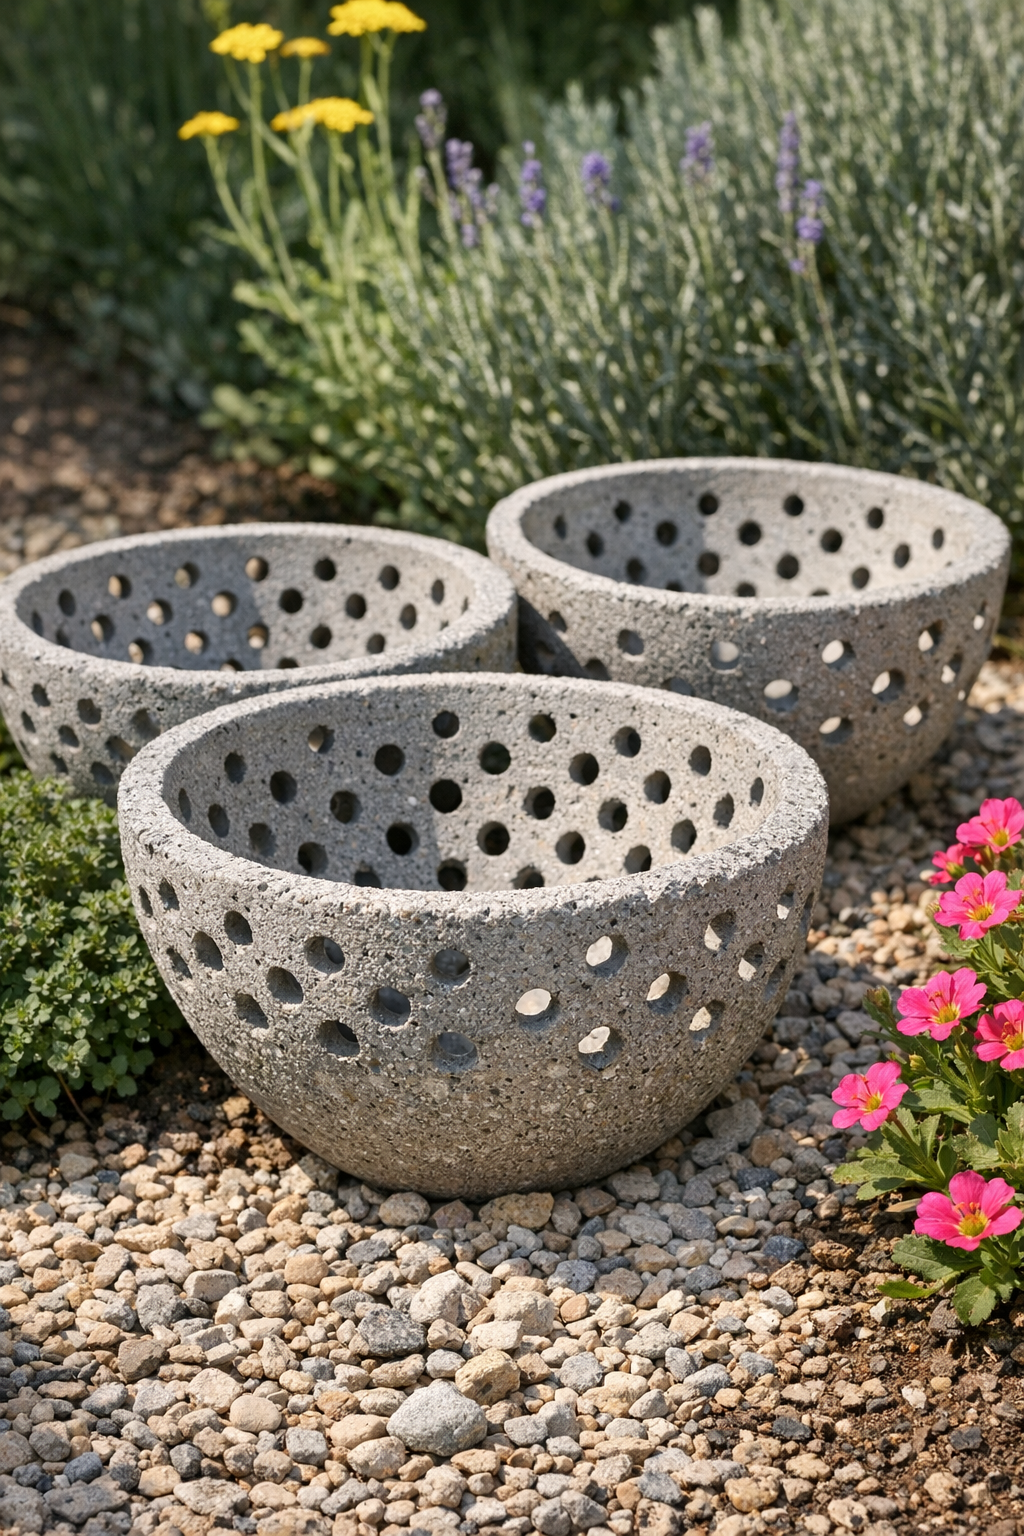
There’s a special kind of satisfaction in making something sturdy and beautiful out of plain, inexpensive things, and this little cement project does exactly that. By pressing wet cement through plastic colanders and using just two other basic items to help shape it, you can make heavy perforated yard forms that look surprisingly sculptural once they cure. They remind me of the kind of garden accents folks used to improvise from whatever was on hand—practical, weather-tough, and lovely in their own humble way.
This is a good project for anyone who likes low-cost garden décor, enjoys working with concrete, or wants a handmade piece that can sit among flowers, line a path, or rest in a rock bed. I especially like that the finished forms have all those little openings and texture from the colander pattern; in afternoon light, they cast the prettiest shadows across the yard.
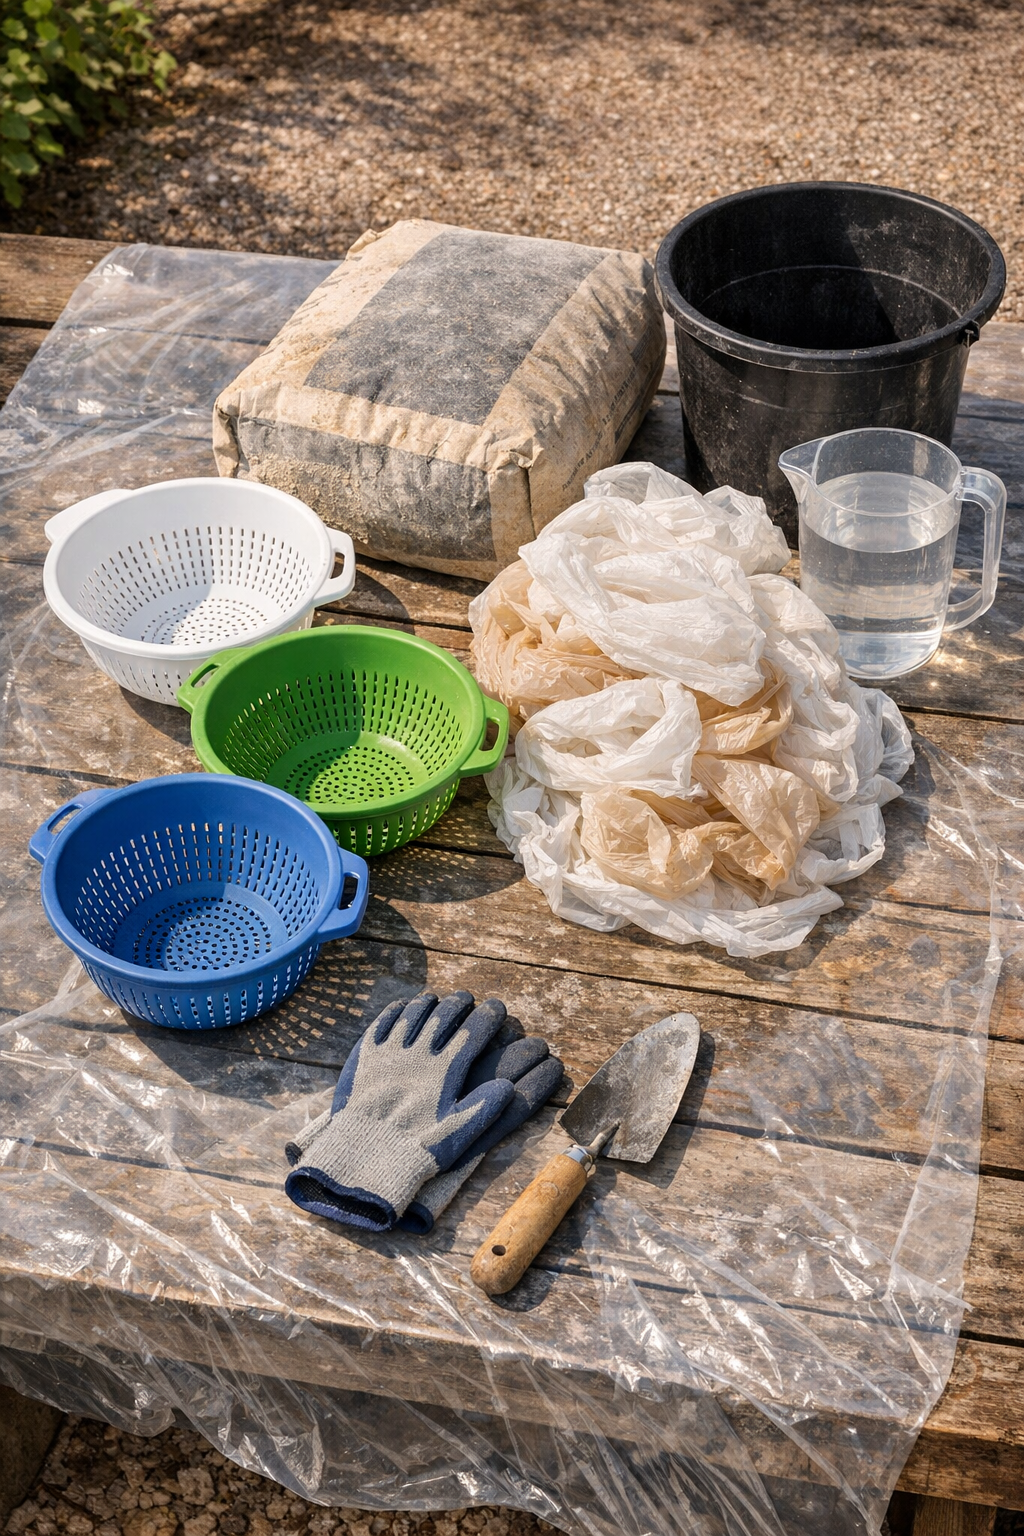
Materials
Instructions
1. Set up a flat outdoor work area covered with a drop cloth, and place your three colanders upside down so you can work comfortably without moving them once the cement is mixed.
2. Crumple three plastic grocery bags for each form into firm rounded supports, then tuck them under and partly inside each upside-down colander to hold the shape steady and keep it from flexing.
3. Rub a very thin coat of petroleum jelly or cooking oil over the outside of each colander so the cured cement will release more easily later.
4. In your bucket, mix the cement with water a little at a time until it reaches the texture of thick peanut butter; it should hold on a trowel without running, but still be soft enough to press through the holes.
5. Wearing gloves, scoop a handful of cement onto the top of the first colander and press it downward so small amounts push through the perforations while a thicker layer stays on the outside.
6. Continue covering the colander evenly, building the cement layer to about 1/2 inch thick across the whole form, especially around the rim where extra strength helps prevent cracking.
7. Repeat with the second and third colanders, then smooth only the loose high spots with your gloved hand or trowel while keeping the perforated texture visible.
8. Let the forms sit undisturbed for 24 hours, or until they are firm and cool rather than damp-looking.
9. Gently lift away the plastic bags and ease each colander loose from the cement shell; if needed, flex the plastic colander slightly to help it release without forcing the cement.
10. Sand any sharp edges lightly with medium-grit sandpaper, then allow the forms to cure for another 2 to 3 days before placing them in the yard.
Variations & Tips
For a more rustic look: Don’t over-smooth the outer surface. I like leaving a little texture because it catches light beautifully and looks right at home in a country garden.
If the cement slumps: Your mix is likely too wet. Add a bit more dry cement mix and stir again until it holds its shape when pressed onto the colander.
For larger forms: Use bigger colanders, but increase the cement thickness slightly to about 5/8 inch so the finished pieces stay strong enough to carry their own weight.
For planting displays: These work nicely as decorative covers tucked around potted plants or nestled upside down in mulch and stone. I would not use them as direct planters unless you make drainage and reinforce the shape more heavily.
For color: Once fully cured, you can dry-brush the high spots with outdoor masonry paint in soft gray, mossy green, or aged white for an old garden-stone effect.
For safer curing: Keep the forms out of hard sun and heavy rain during the first day. Slow, even curing usually gives stronger results and fewer cracks, which is an old lesson worth remembering with any cement work.