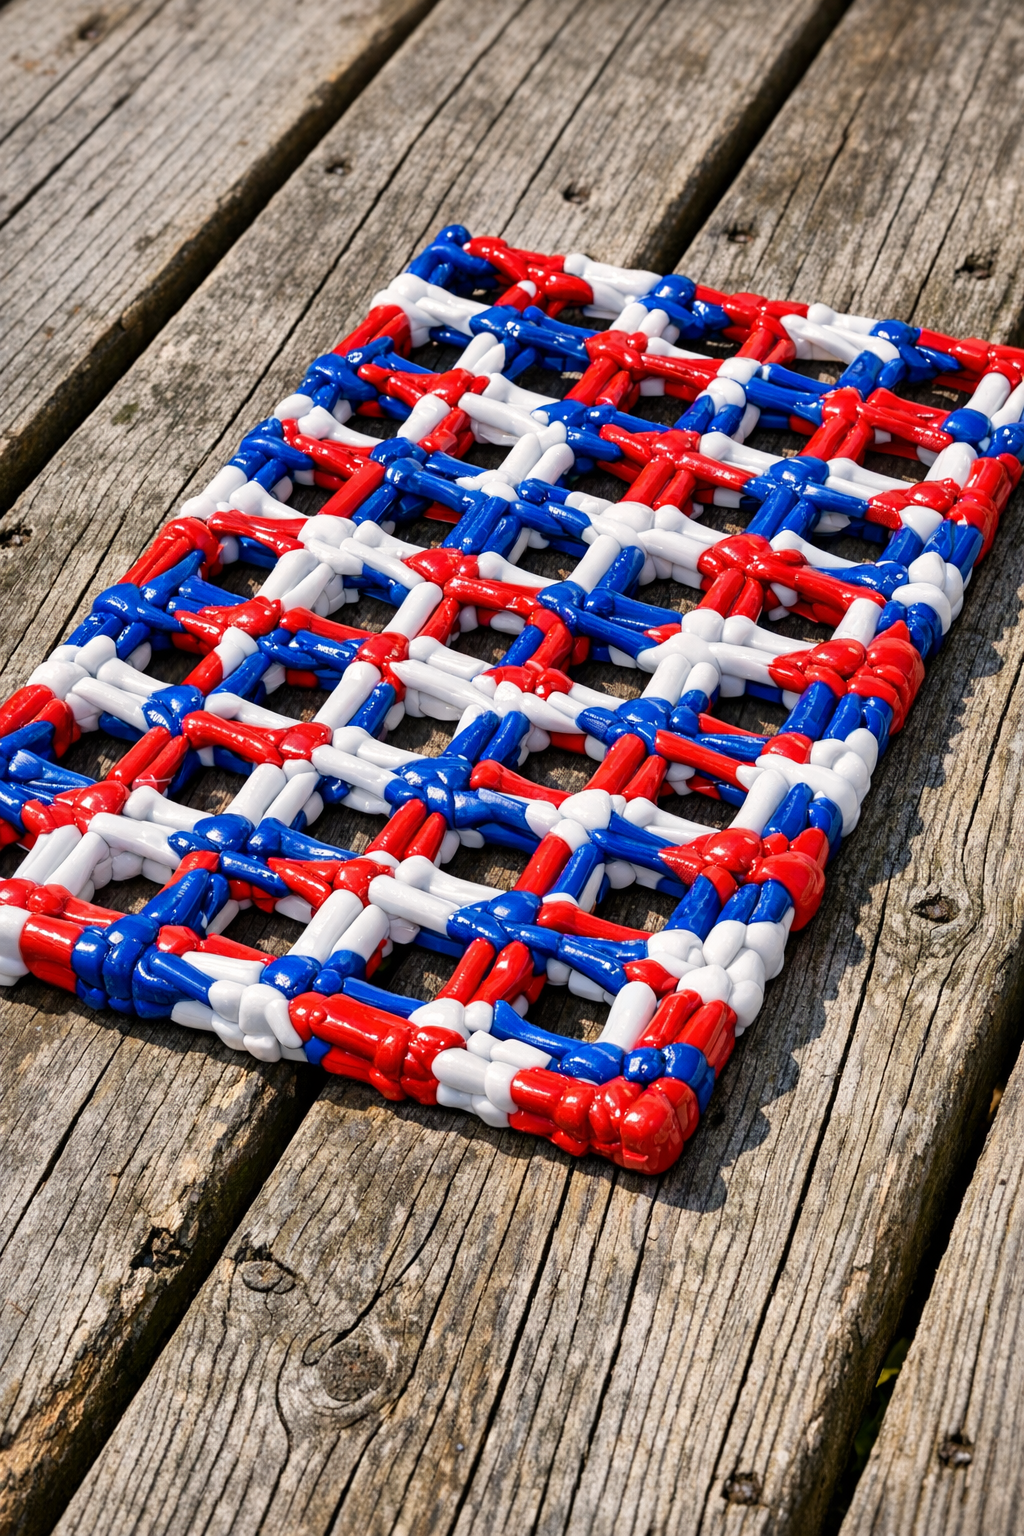
There’s something mighty satisfying about taking a little pile of stray odds and ends and turning it into something useful for the porch or deck. These DIY deck grates are made by melting red, white, and blue plastic golf tees together with two everyday helper items, and the result is a sturdy little mat-style grate that can sit by a door, under plant pots, or anywhere you want to keep muddy shoes and dripping water up off the boards.
I’m especially fond of projects like this because they remind me of the old Midwestern habit of wasting nothing if it could be put to work. If you’ve got a collection of scattered plastic tees and don’t mind a simple heat-based project, this is a practical make for handy folks who like upcycled outdoor pieces with a bit of patriotic charm.
Materials
Red plastic golf tees — 60 tees
Instructions
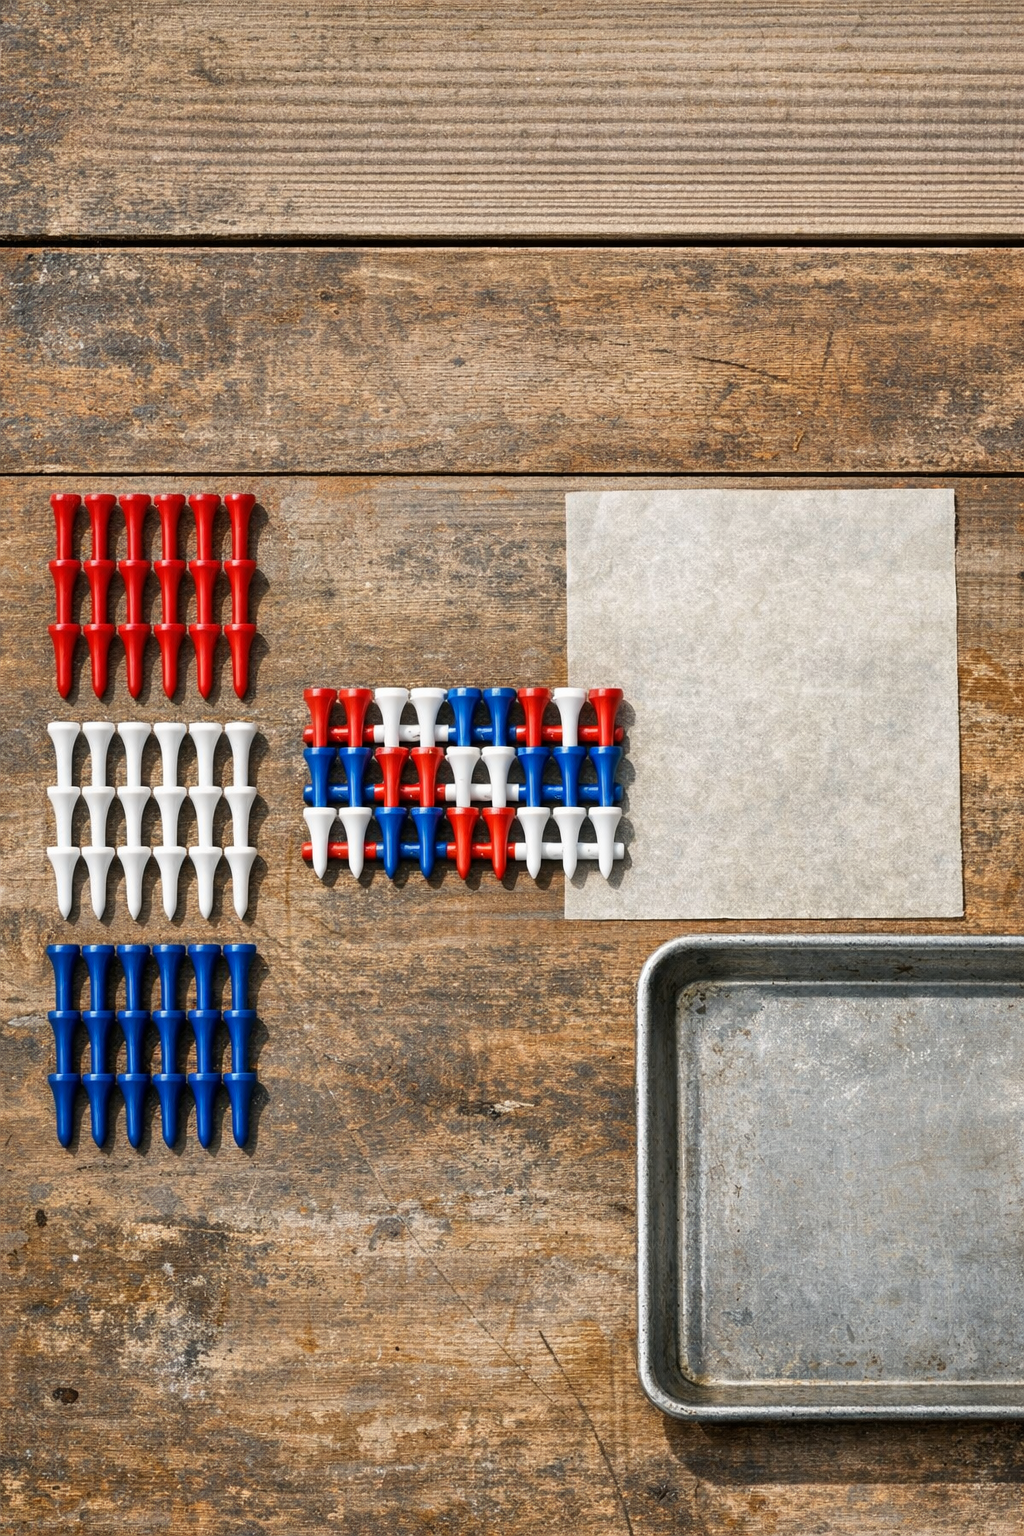
1. Preheat your oven to 375°F and open a window or run ventilation, then set your metal tray on a heat-safe work surface with one sheet of parchment paper on top.
2. Arrange the golf tees on the parchment in a tight side-by-side rectangle, alternating red, white, and blue so the heads and shafts overlap slightly and touch in several places.
3. Cover the arranged tees with the second sheet of parchment paper, pressing lightly so the layout stays compact and even.
4. Place the tray in the oven for 8 to 12 minutes, watching closely until the tees soften and fuse where they touch but are not fully flattened into a solid sheet.
5. Remove the tray carefully and press the top parchment gently with the flat bottom of another pan or a spatula to level the surface without crushing all the openings.
6. Let the piece cool on the tray for 20 to 30 minutes, then peel away the parchment and check that the grate lifts as one solid panel.
7. If any sections feel loose, return the grate to the tray, cover again with parchment, and heat for 2 to 3 more minutes to fuse those spots.
8. Set the finished grate on your deck, by the back step, or beneath a planter, with the tee texture facing up to help water and dirt fall through the gaps.
Variations & Tips
Make it larger: Create two or three smaller panels instead of one oversized piece, then place them side by side for a wider boot-drip area.
Keep the grate functional: Don’t overmelt the tees into a flat slab; you want open spaces so water and grit can pass through instead of pooling on top.
Use even pressure: A gentle press after heating helps the grate sit flatter on deck boards, which makes it less likely to rock when stepped on.
Try a patterned layout: You can arrange the colors in stripes, checkerboard-style bands, or a starburst from the center if you want a more decorative look.
Work safely: Melt plastic only in a well-ventilated area, use oven mitts, and dedicate the tray to workshop use afterward rather than returning it to food service.
Best use: This project works nicest as a light-duty deck grate for shoes, small planters, or a drip spot near the door, rather than as a heavy-load stepping surface.