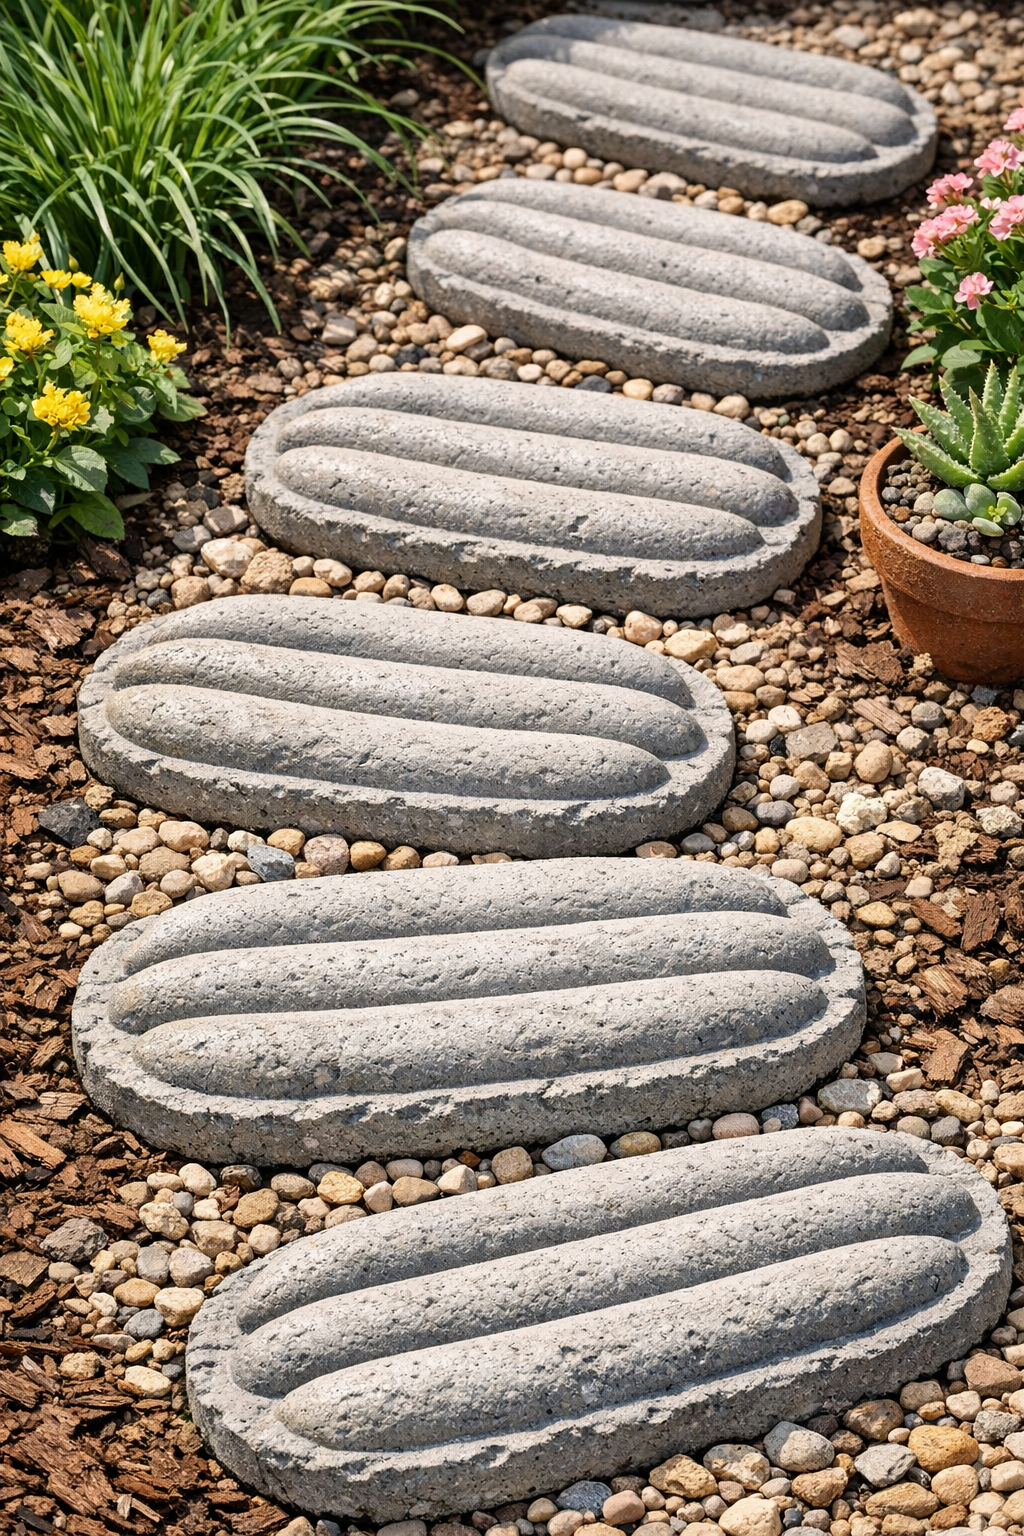
These ridged patio slabs are one of those wonderfully scrappy projects that look far more expensive than they are. By using disposable cardboard hot dog boats as molds and basic cement as the building material, you can create weighty, textured pavers that feel a bit like handcrafted stone tiles. I love projects like this because they turn humble, everyday items into something architectural and useful.
If you want a simple weekend project for a patio corner, a garden path, or even a decorative base under planters, this is a very approachable build. The process is straightforward, but the finished texture is what makes it special: those little boats create gentle ridges and curves that give the slabs a custom-cast look without needing special forms or expensive tools.
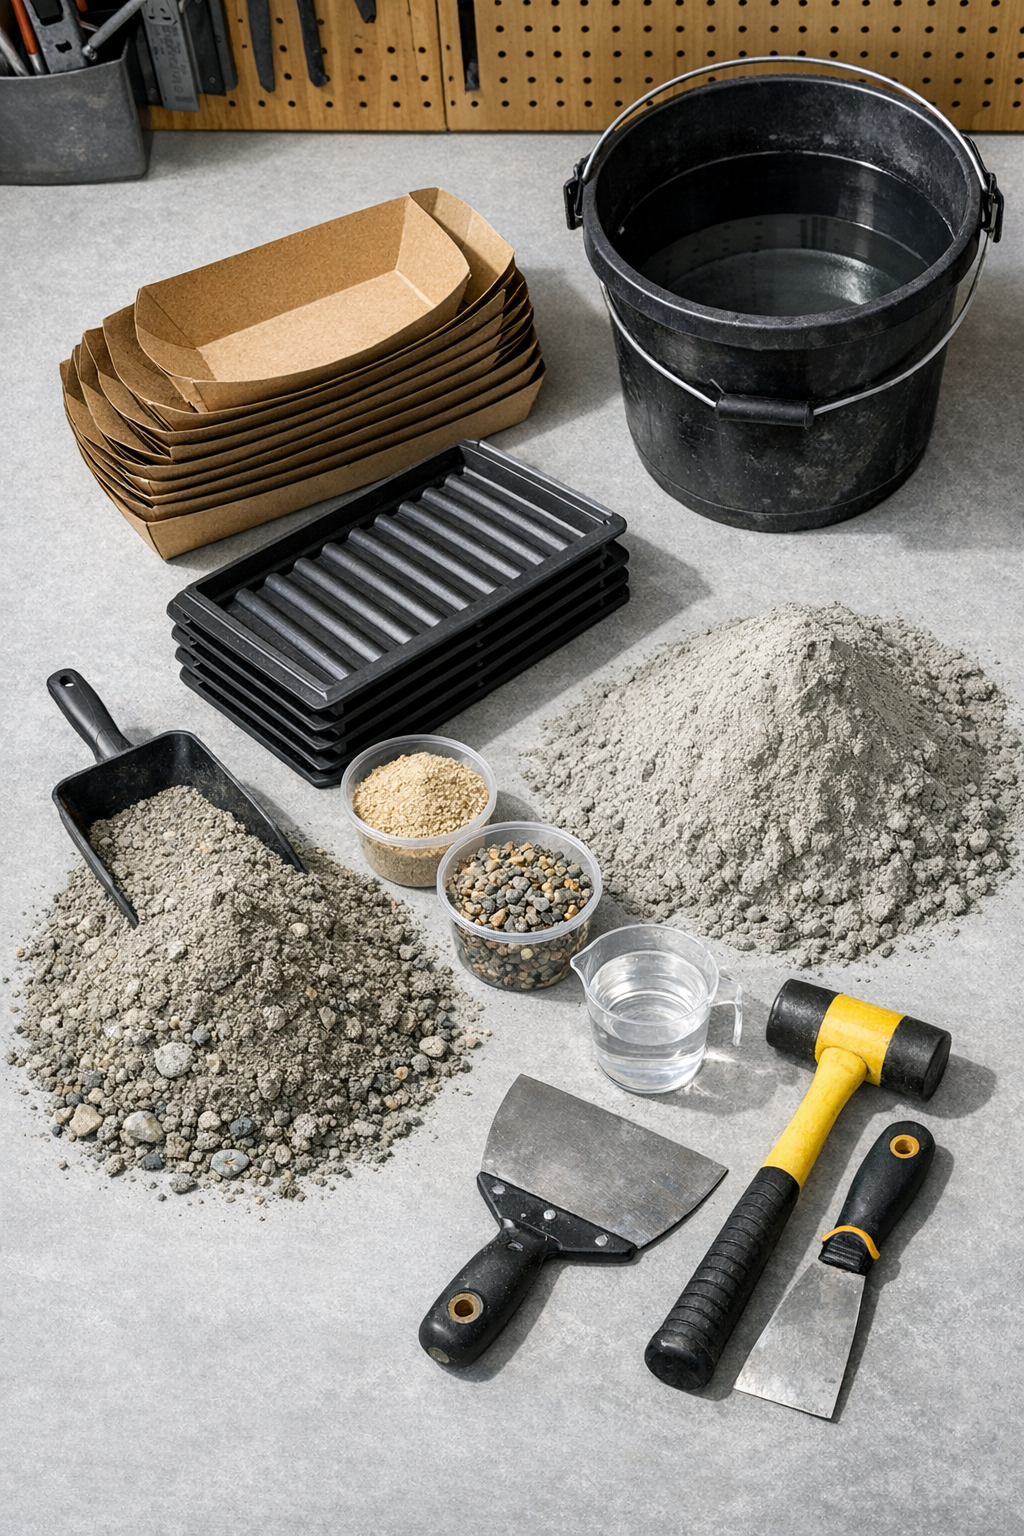
Materials
Instructions
1. Set up a flat, level work surface outdoors or in a well-ventilated area, and place the hot dog boats close together so they are easy to fill quickly.
2. Mix the cement in a bucket or tub, adding water a little at a time until it reaches the consistency of thick oatmeal; it should be wet enough to pour but stiff enough to hold shape.
3. Spoon or pour cement into each hot dog boat, filling them nearly to the top and tapping the sides gently to release trapped air bubbles.
4. Let the filled boats sit undisturbed for 24 to 36 hours, or until the cement is firm enough to handle without flexing or cracking.
5. Peel away the cardboard carefully from each piece, starting at one corner and working slowly so the ridged surface stays clean and intact.
6. Cure the unmolded slabs for another 3 to 5 days in a shaded area, lightly misting them once or twice a day if the weather is hot or dry to help them gain strength.
7. Arrange the finished slabs on compacted soil, sand, or gravel, placing them ridge-side up and pressing them gently into position so they sit level and stable.
Variations & Tips
For a larger patio area: Make the slabs in batches and rotate your molds. I like to keep the spacing slightly irregular when laying them out because it gives the finished area a more natural, old-garden look.
For cleaner edges: Tap each filled boat a few extra times right after pouring. This small step helps air bubbles rise out and gives the surface a denser, more finished appearance.
If the cardboard sticks: Dampen the outside of the boat lightly before peeling it away. In my experience, this softens the paper just enough to remove it without pulling at the cement surface.
For stronger slabs: Let them cure longer before installation, especially if they will be used in a walkway. Cement gains strength over time, and a few extra days make a noticeable difference.
For a more decorative finish: After curing, you can brush off loose dust and leave the slabs raw for an industrial look, or seal them with a masonry sealer if you want a slightly darker, richer surface tone.
Placement tip: These are best for light foot traffic, planter bases, and patio accents rather than areas that need structural paving. I think they shine most in small spaces where their unusual ridged texture can really be noticed.