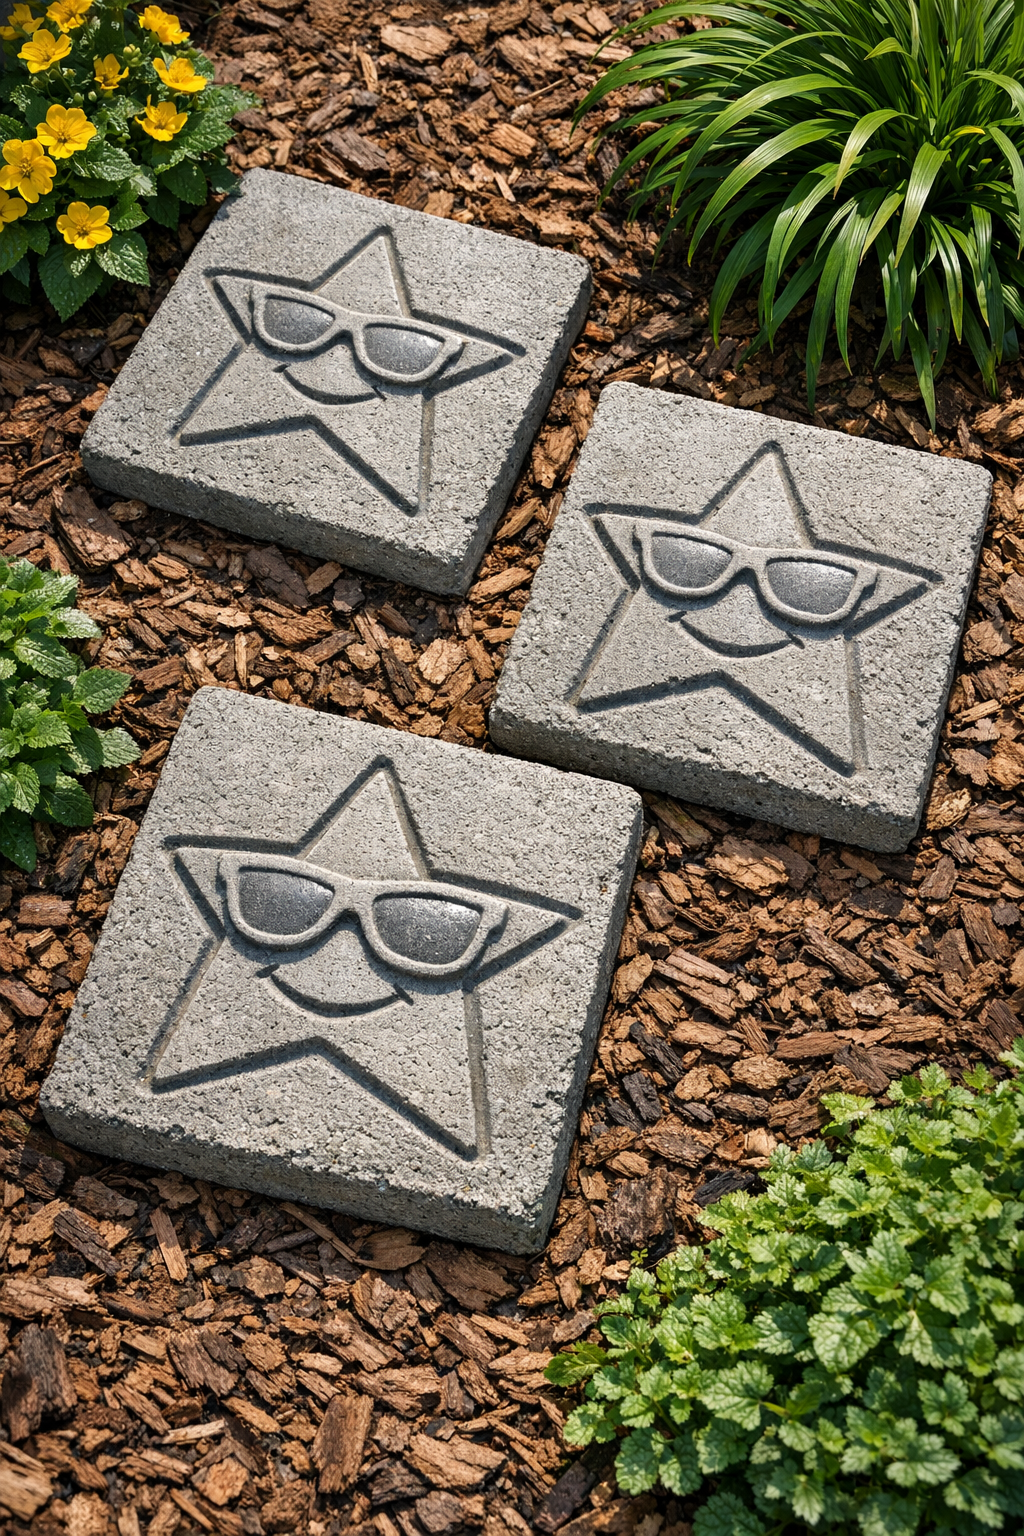
There’s something especially satisfying about turning the most unlikely object into garden décor, and this project does exactly that. By pressing plastic novelty star sunglasses into wet cement, you can make heavy embossed yard slabs that feel playful, sculptural, and surprisingly polished once they cure. I love projects like this because they use a simple form to create a bold texture, and the finished pieces look far more expensive than the materials suggest.
If you enjoy easy outdoor DIYs, concrete crafts, or upcycled garden accents, this is a very approachable weekend project. The method is simple, but the results have that crisp relief pattern that catches light beautifully in a flower bed, along a path, or tucked into a container garden. As someone who spends plenty of time thinking about presentation in the kitchen, I’m always drawn to how shape changes the whole experience—and that same principle works wonderfully here.
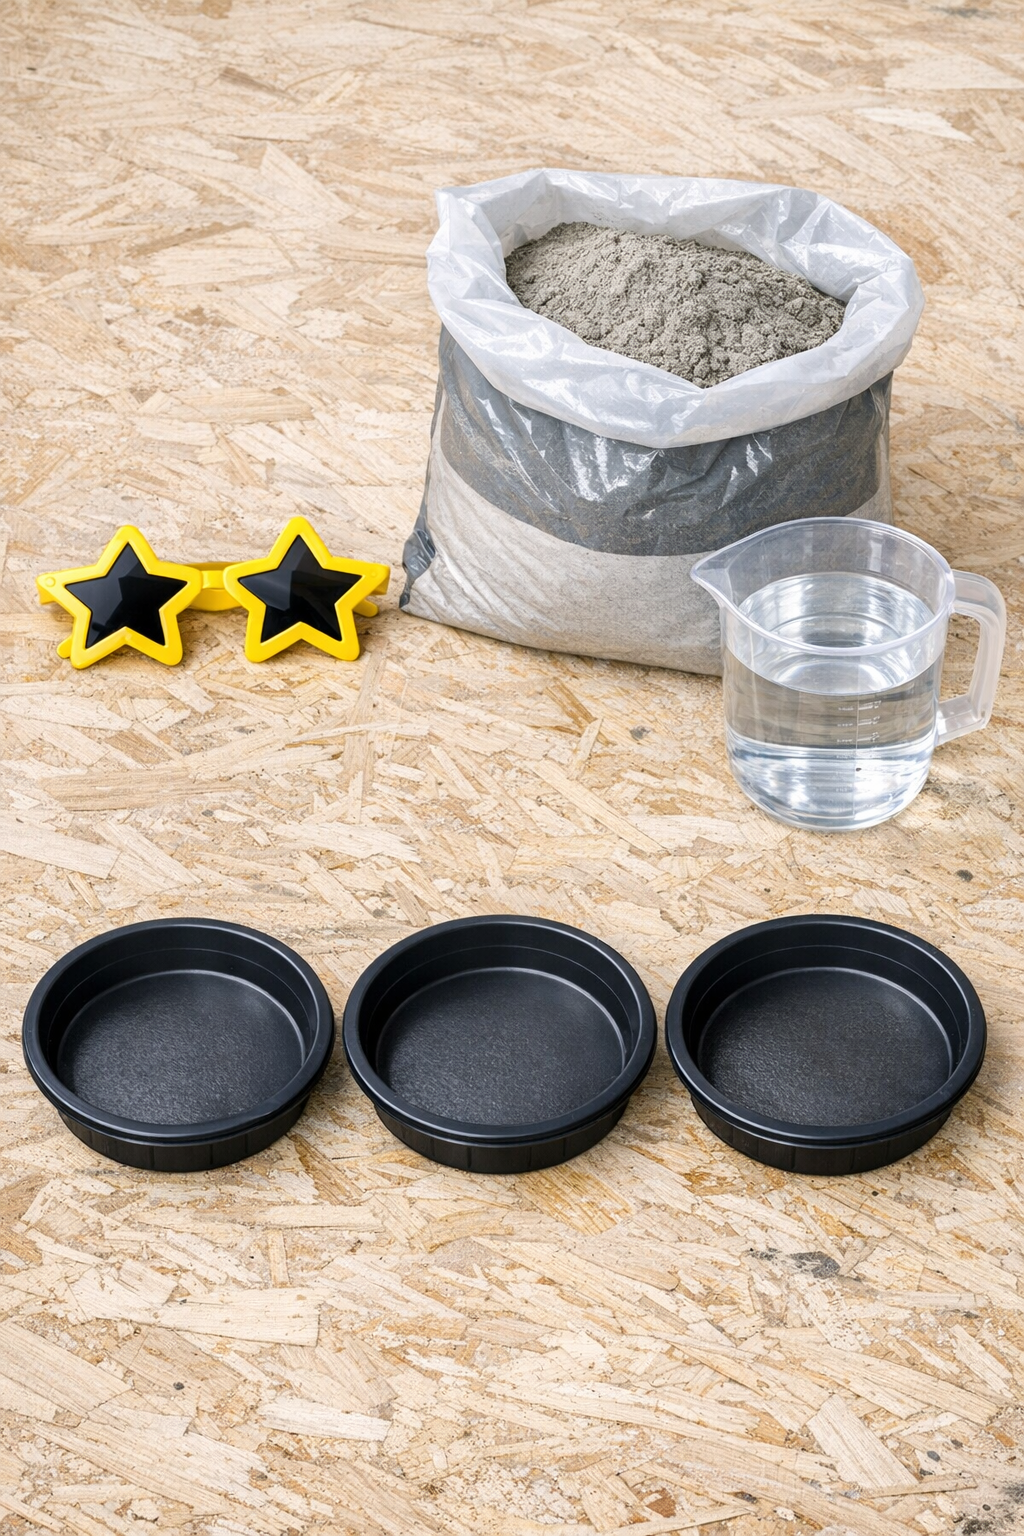
Materials
Plastic novelty star sunglasses — 1 pair
Instructions
1. Set up your work area on a flat surface outdoors or in a well-ventilated garage, and place the three molds on a board or sturdy table so they can stay level while the cement cures.
2. Lightly coat the inside of each mold with nonstick spray or a thin film of oil so the slabs release cleanly after curing.
3. Mix the cement in a bucket or tub according to the package directions, adding water gradually until it reaches the texture of thick brownie batter or soft mashed potatoes.
4. Divide the wet cement evenly among the three molds, filling each one to about 1 1/2 to 2 inches thick, then tap the sides gently to release trapped air bubbles.
5. Smooth the tops with a putty knife, trowel, or scrap of cardboard, keeping the surface as even as possible without overworking the mix.
6. Press the star sunglasses gently into the surface of the first slab, lens side down, until the frame leaves a clear embossed outline without sinking too deeply into the cement.
7. Lift the sunglasses straight up, then repeat the impression on the second and third slabs, centering the design or shifting it slightly off-center for a more modern look.
8. If the edges of the imprint slump, wait 2 to 5 minutes for the cement to firm slightly, then press the sunglasses in again for a cleaner, sharper relief.
9. Tap the molds once more and lightly smooth any rough outer edges with a gloved finger or tool, being careful not to disturb the star design.
10. Let the slabs sit undisturbed until firm, following the cement’s curing time; most quick-setting mixes will harden enough for demolding within several hours, but overnight is safest.
11. Remove each slab from its mold carefully, supporting the bottom with both hands since fresh concrete can chip if twisted too soon.
12. Allow the slabs to cure fully for 24 to 48 hours before placing them in the yard, then set them into soil, gravel, or mulch with the embossed side facing up.
Variations & Tips
For sharper detail: Let the cement rest for a minute or two after pouring before making the impression; if it’s too wet, the shape softens and the edges won’t stay crisp.
For easier release: If your sunglasses have deep ridges or seams, coat them very lightly with oil before pressing them into the cement so they lift out without dragging.
Change the slab shape: Round molds are classic, but square food containers, plastic trays, or sturdy box lids can give the project a more architectural look.
Add more texture: Press pebbles, shells, or a second simple object around the sunglasses imprint while the cement is still workable, but keep the center design uncluttered so it reads clearly.
Use placement thoughtfully: These slabs are decorative rather than structural, so I like to use them as accent pieces in beds and borders instead of primary stepping stones in high-traffic paths.
Mind the weight: Concrete pieces this size get heavy fast, which is wonderful once they’re in the garden, but less fun when moving them; I always cure them close to where I plan to place them.
Keep the finish natural or age it: You can leave the slabs plain for a clean stone look, or let them weather naturally outdoors for a softer, timeworn garden finish.