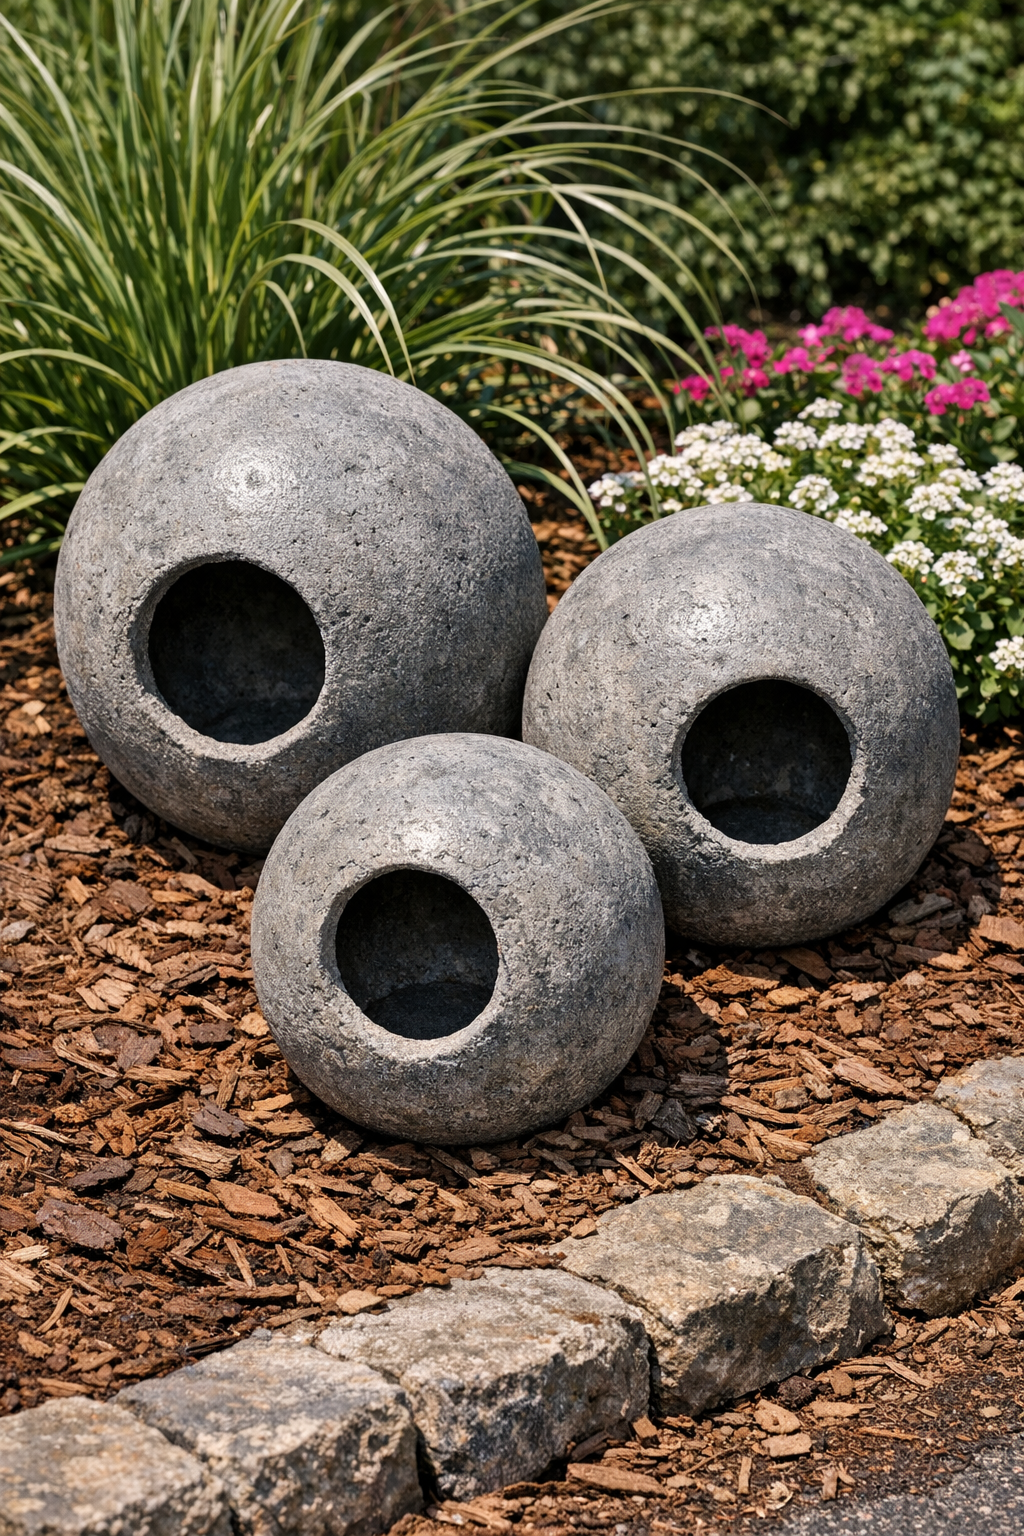
These heavy hollow garden orbs are one of those outdoor projects that look surprisingly high-end for how little you need to make them. By dipping inflated vinyl water balloons into wet cement, you can create sturdy decorative spheres with a weathered stone look that tuck beautifully into flower beds, line a walkway, or fill an empty corner of the porch.
I love projects like this because they give a garden instant character without a big price tag. If you want a simple weekend DIY that feels a little artsy but is still very doable, this is a wonderful one to try. It is especially nice for anyone who enjoys low-fuss outdoor decorating and wants something durable enough to hold up through the season.
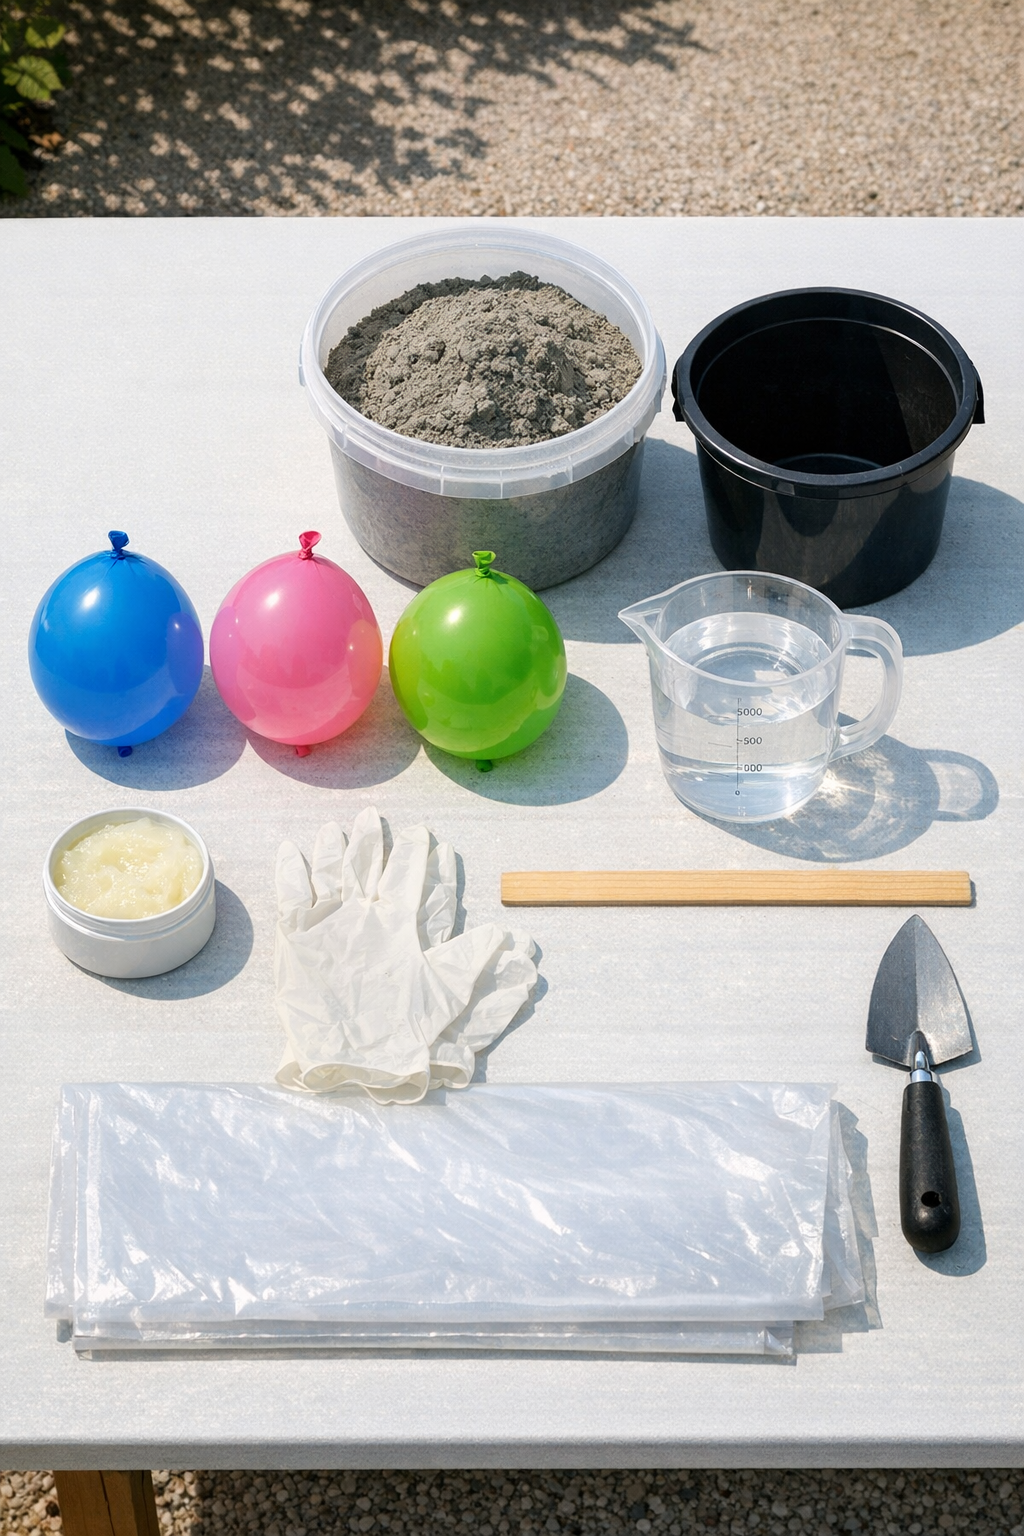
Materials
3 vinyl water balloons, inflated to 8 to 10 inches wide
Instructions
1. Cover your work surface with the plastic drop cloth and put on gloves. Inflate the vinyl water balloons to your desired orb size, tie them tightly, and set them aside where they will not roll away.
2. Rub a very light coat of petroleum jelly or cooking oil over each balloon so the cement shell will release more easily later. Do not use too much, or the cement may slide instead of sticking.
3. In the bucket, mix the cement with water a little at a time until it reaches the texture of thick pancake batter or soft mud. Let it sit for 2 to 3 minutes, then stir again so it is smooth and workable.
4. Hold one balloon over the bucket and dip it into the wet cement, turning it as you go so the surface gets coated. Lift it out and use your gloved hand or a small trowel to spread the cement into an even layer about 1/4 to 3/8 inch thick, leaving a small uncovered circle at the tied end.
5. Set the coated balloon in a bowl, bucket ring, or crumpled spot in the plastic so it stays upright without flattening too much. Repeat with the other two balloons.
6. Let the first coat firm up for 30 to 45 minutes, then check for thin spots or sagging. Add a little more cement anywhere the shell looks weak so each orb has a fairly even thickness.
7. Allow the cement-coated balloons to cure undisturbed for 24 hours in a dry, shaded place. If the weather is very hot or windy, loosely cover them with plastic so they do not dry too fast and crack.
8. Once fully hardened, pop each balloon through the uncovered opening and gently pull the vinyl out from inside the orb. If needed, use the handle of a spoon or your fingers to loosen stubborn bits without forcing the shell.
9. Brush or rub away any loose grit from the outside and inside edges of the opening. Let the hollow orbs continue curing for another 24 to 48 hours before placing them in the garden.
10. Arrange the finished orbs in flower beds, beside potted plants, or in a grouped trio near a walkway for the best effect. I like clustering different sizes together because it gives that collected garden look that always feels special.
Variations & Tips
Different sizes: Use balloons inflated to slightly different diameters so your trio looks more natural and layered. I almost always prefer one larger orb and two smaller ones when styling a garden corner.
More texture: For a rougher stone finish, let the cement sit a minute longer before coating the balloons, then dab instead of smoothing completely. That little bit of texture helps them blend beautifully into cottage-style beds.
Smoother finish: If you want a cleaner, more modern orb, smooth the wet cement with damp gloved fingers after the first set. Just work gently so you do not thin the shell too much.
Color options: After full curing, you can dry-brush the orbs with exterior paint in white, charcoal, or mossy green for a weathered look. This is a fun way to match your planters or porch decor.
For picky decorators: In my house, not everyone loves rustic texture, so making one orb smooth and one rough is a nice compromise. A mixed set keeps the project feeling intentional and a little more custom.
Placement tip: Set the orbs on mulch, gravel, or tucked between plants rather than directly on a hard patio edge. They look more grounded there, and the garden softens the opening nicely.
Curing patience: Do not rush the drying time. If the shell still feels cool or damp, give it another day, because a fully cured orb will last much better outdoors.