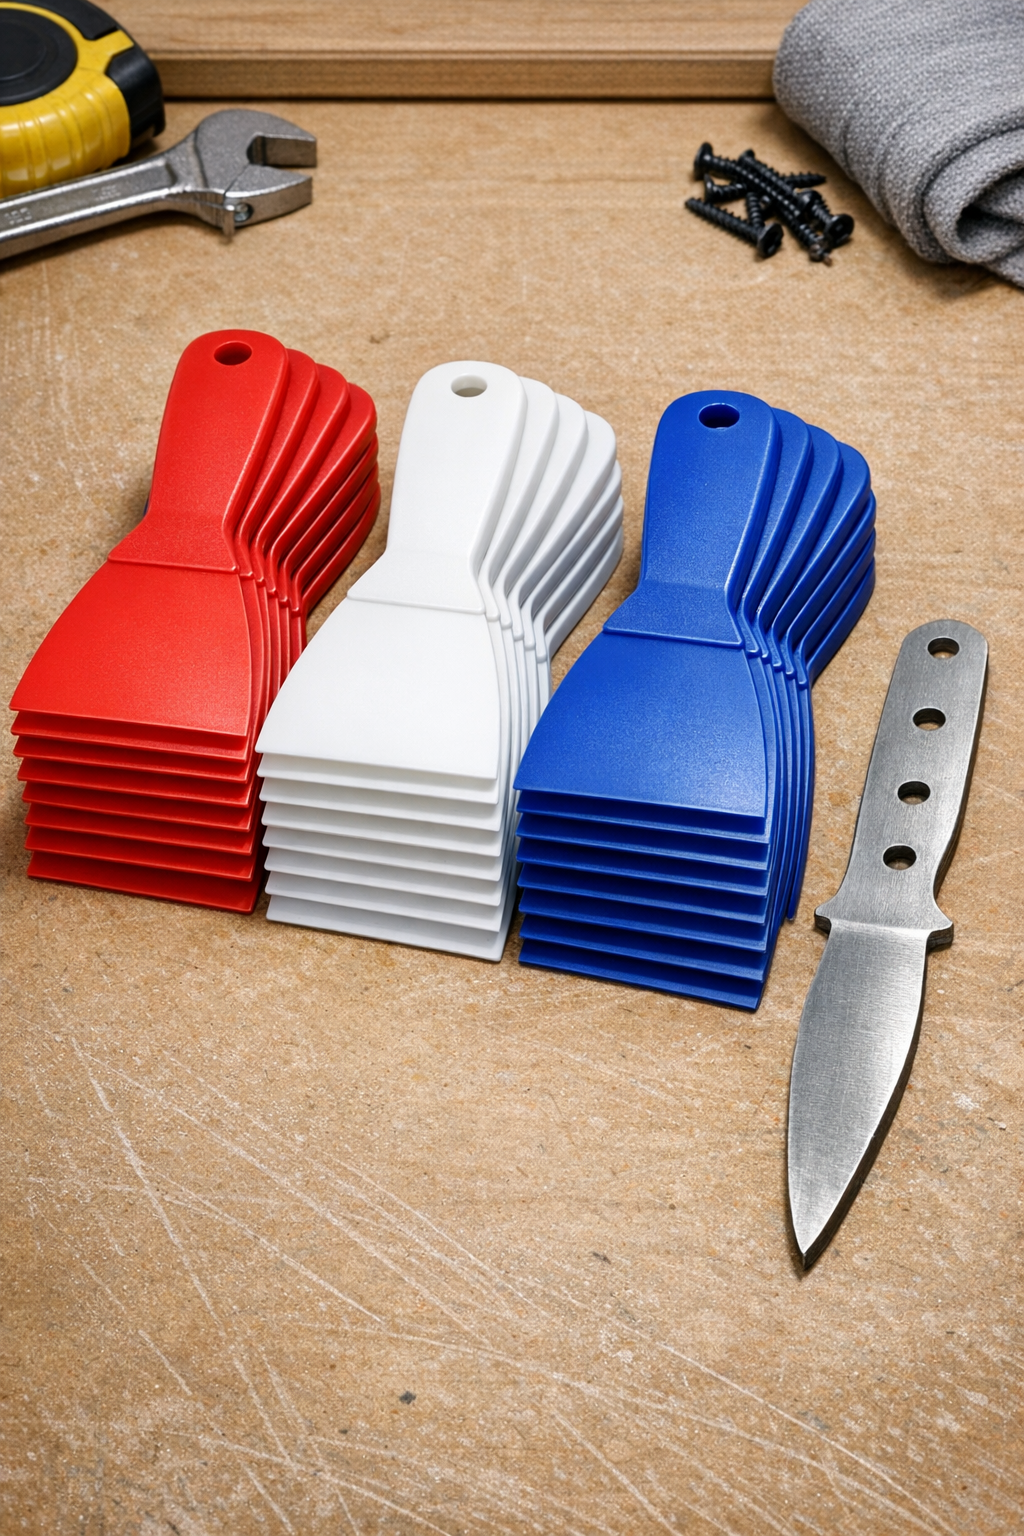
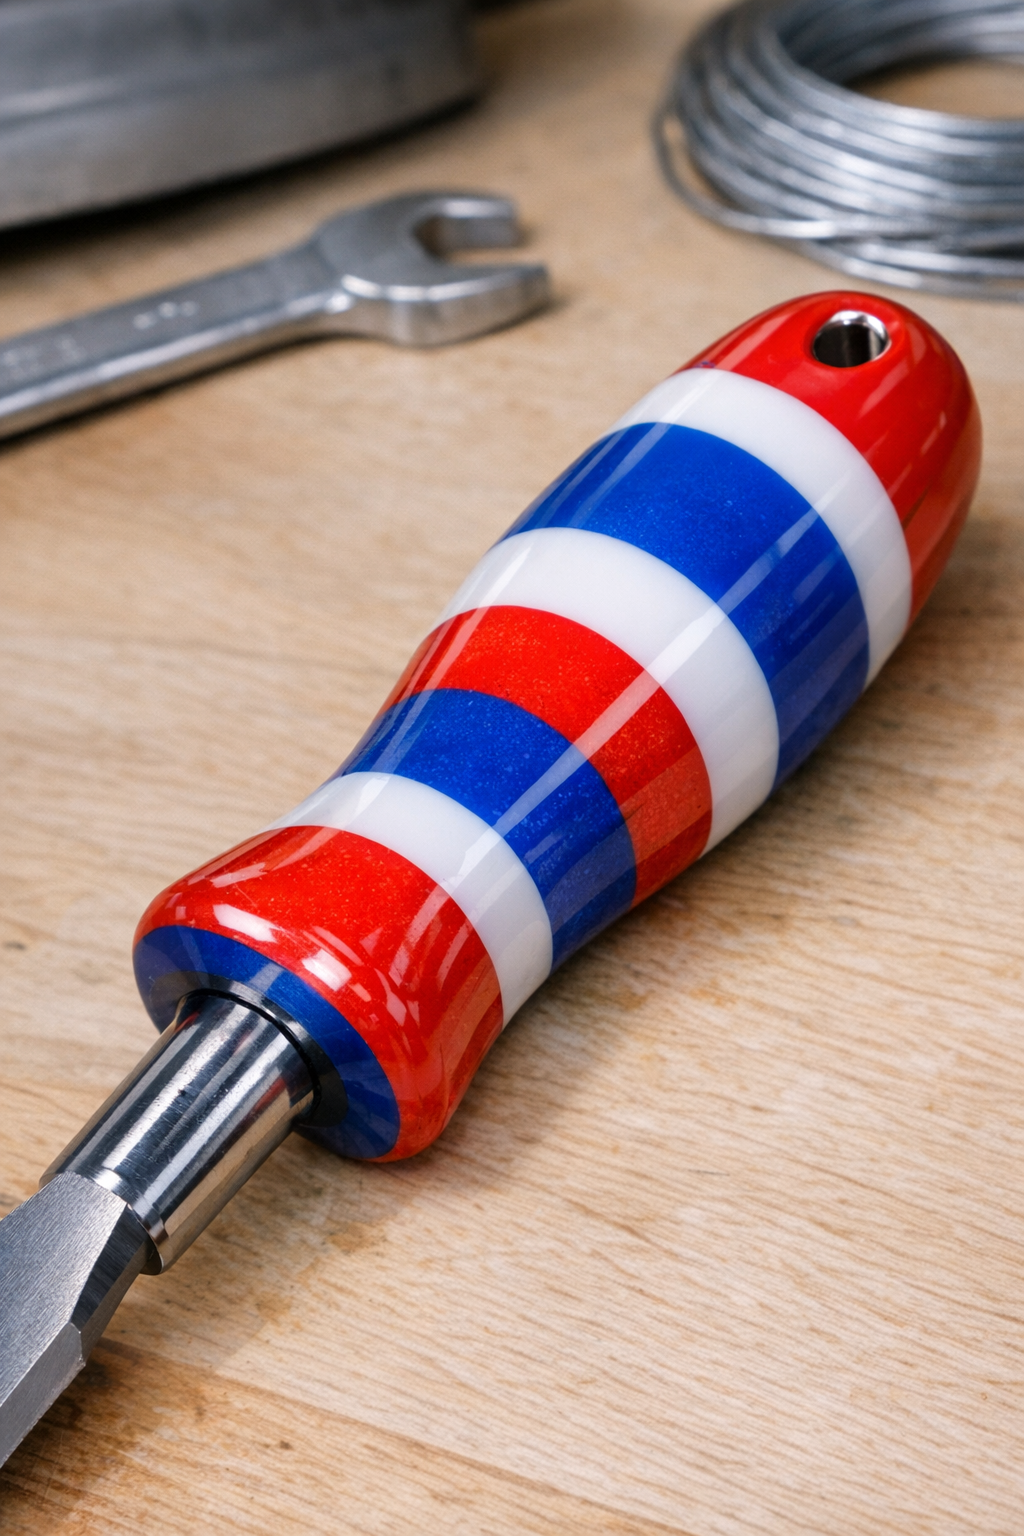
I’m always a little too excited when a cheap, everyday item turns out to be secretly useful in the workshop, and plastic putty knives are one of those things. In this project, I turn stacked red, white, and blue plastic putty knives into custom shatterproof tool handles with just one other material: a metal tool tang or handle core. The finished result looks surprisingly polished, feels solid in the hand, and gives new life to inexpensive plastic that would otherwise sit in a junk drawer.
This is a great project if you want a tougher handle for a small hand tool, scraper, file, or shop-made blade, and it’s especially good for makers who like practical upcycling. I love projects like this because they fit into a busy weeknight schedule: the prep is simple, the shaping is straightforward, and by the end you have something genuinely useful instead of just another craft that needs shelf space.
Materials
Instructions
1. Clean the plastic putty knives with dish soap and warm water, then dry them completely so no dust or residue gets trapped in the handle block.
2. Cut off the existing putty knife handles if needed, and trim the plastic blades into stackable rectangles about 3 x 4 inches so they will melt evenly.
3. Preheat your oven or toaster oven to 325°F, and line one scrap wood press board with parchment paper to keep the softened plastic from sticking.
4. Stack the plastic pieces in the color order you like, keeping the pile centered and as even as possible for a balanced finished pattern.
5. Heat the stacked plastic on parchment for 10 to 15 minutes, just until the layers soften and slump together; don’t let them scorch or bubble aggressively.
6. Remove the hot stack carefully, cover it with the second sheet of parchment, and press it firmly between the two scrap wood boards to flatten and fully bond the layers.
7. Let the pressed plastic cool until firm, then peel off the parchment and mark the rough handle shape that fits your metal tang or tool blank.
8. Reheat the plastic block for 3 to 5 minutes if needed to soften it slightly, then insert or sandwich the metal tang into the center so the plastic forms tightly around it.
9. Clamp or hand-press the handle shape until the plastic cools around the tang, making sure the tool stays centered and straight.
10. Shape the handle with coarse sandpaper, a rasp, or a belt sander until it feels comfortable in your hand, then refine with finer sanding for a smoother finish.
11. Round over any sharp edges, test the grip in your hand, and do a final cleanup sanding so the handle is comfortable and snag-free.
12. Let the handle rest and cool completely before using the tool, then wipe it clean and put it straight to work.
Variations & Tips
Change the stripe pattern: Alternate two pieces of one color for every one piece of another color if you want thicker bands instead of a tight layered look.
Use the right tool core: This works best with small to medium hand tools like scrapers, awls, shop knives, files, and burnishers that have a tang or narrow steel core the plastic can grip around.
Don’t overheat the plastic: If the plastic smokes, darkens, or develops large bubbles, it has gone too far. I always stay nearby because the sweet spot between softened and scorched is pretty quick.
Make shaping easier: I like to get the block close while it’s just a little warm, then do final sanding after it fully cools; that gives me better control, especially on a busy evening when I’m rushing and shouldn’t be.
Add mechanical grip if needed: If your tang is very smooth, rough it up with coarse sandpaper first so the softened plastic has more texture to grab onto.
Save your offcuts: Small trimmings can be reheated and fused into accent pieces, spacers, or test blocks so you can practice shaping before working on the actual handle.