
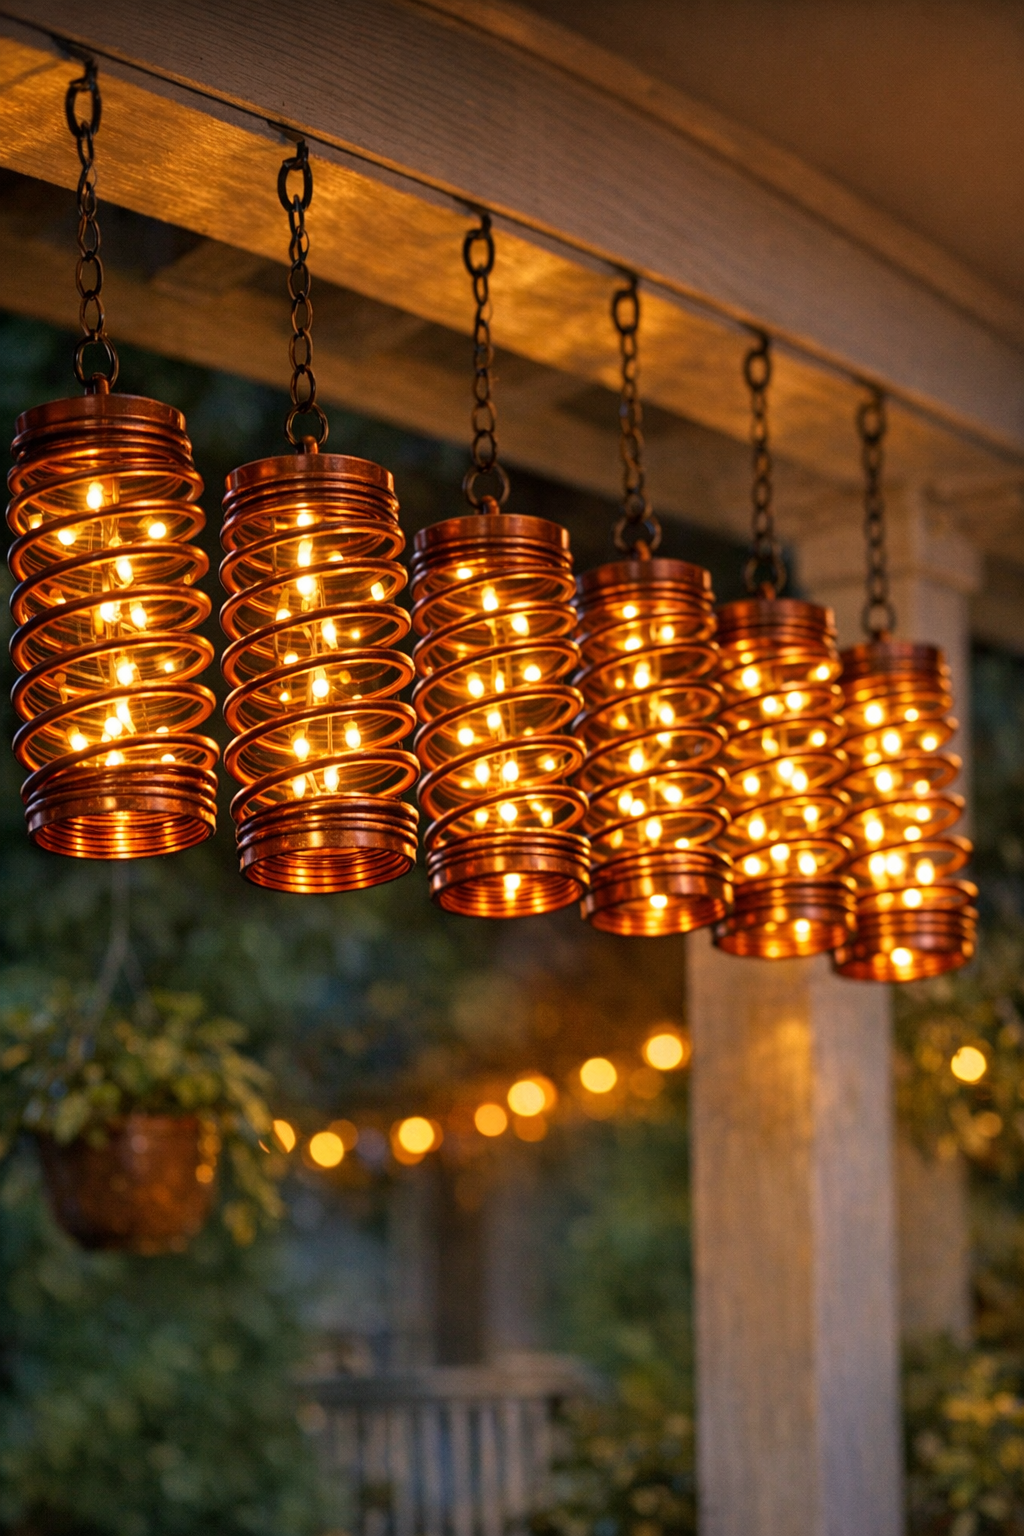
There is something about a softly lit porch that takes me right back to summer evenings in the Midwest, when folks lingered outside a little longer and the glow from the house seemed to say, “stay awhile.” This project turns a handful of inexpensive plastic slinkys and a strand of warm white LED lights into vintage-inspired porch lanterns with a lovely old copper look. It is simple, affordable, and surprisingly charming once the lights come on.
I especially like this project for anyone who wants a big visual payoff without fussing with complicated wiring or heavy tools. If you can spray paint, let things dry, and gently shape a few materials with your hands, you can make these. I would use them on a porch, along a railing, around a seating nook, or even for a cozy gathering out by the barn.

Materials
Instructions
1. Spread your drop cloth or cardboard in a well-ventilated outdoor spot, then set the six plastic slinkys apart from one another so you can reach all sides easily.
2. Put on gloves and spray each slinky with a light coat of antique copper paint, turning and lifting the coils as needed so the color reaches the outside and inside edges.
3. Let the first coat dry for 15 to 20 minutes, then apply a second light coat for fuller coverage and a richer aged-metal look.
4. Allow the painted slinkys to dry completely according to the paint directions, usually about 1 hour before handling and longer if the air is damp.
5. Test your LED string lights to make sure every bulb works, then lay the strand out straight so you can plan even spacing for six lantern sections.
6. Divide the light strand visually into six sections, leaving a little extra space between each section so the finished lanterns do not crowd one another when hanging.
7. Starting at one section, gently stretch one painted slinky lengthwise and slide it over the light strand so the bulbs sit inside the coil like a glowing lantern form.
8. Adjust the slinky until it forms an even cylinder or slightly rounded lantern shape around that group of lights, then secure one end with a small clear zip tie if it wants to slide.
9. Repeat with the remaining five slinkys, spacing them evenly across the light strand and checking that each lantern shape looks balanced from all sides.
10. Attach a small cup hook where you want the strand to drape, or use existing porch hooks, then hang the light strand so each slinky lantern has room to show its shape.
11. Plug in the lights after dusk and make any final adjustments by widening or narrowing the slinky coils so the glow looks soft and even through all six lanterns.
Variations & Tips
For a more weathered look: After the copper paint dries, lightly mist a tiny bit of dark brown or oil-rubbed bronze spray paint from farther away to give the coils more age and depth.
For safer outdoor use: Make sure your LED string lights are rated for outdoor use, especially if your porch gets rain or heavy morning dew.
For fuller lantern shapes: Choose thicker-bulb patio lights rather than tiny fairy lights, since the larger bulbs help the slinkys hold a more lantern-like form.
For a steadier hold: If a slinky shifts too much, use one zip tie at each end and trim the tails neatly so they disappear into the coils.
For a softer glow: Space the coils a little wider apart so more light peeks through; if you want a denser lantern look, compress the coils slightly closer together.
Placement tip: I would hang these where they can be admired but not bumped often, such as along a porch beam, above a bench, or around a covered sitting area.
Budget tip: This is the sort of project I love because thrift-store finds and dollar-bin slinkys work just fine, and once that warm light shines through, nobody will guess how humble the beginnings were.