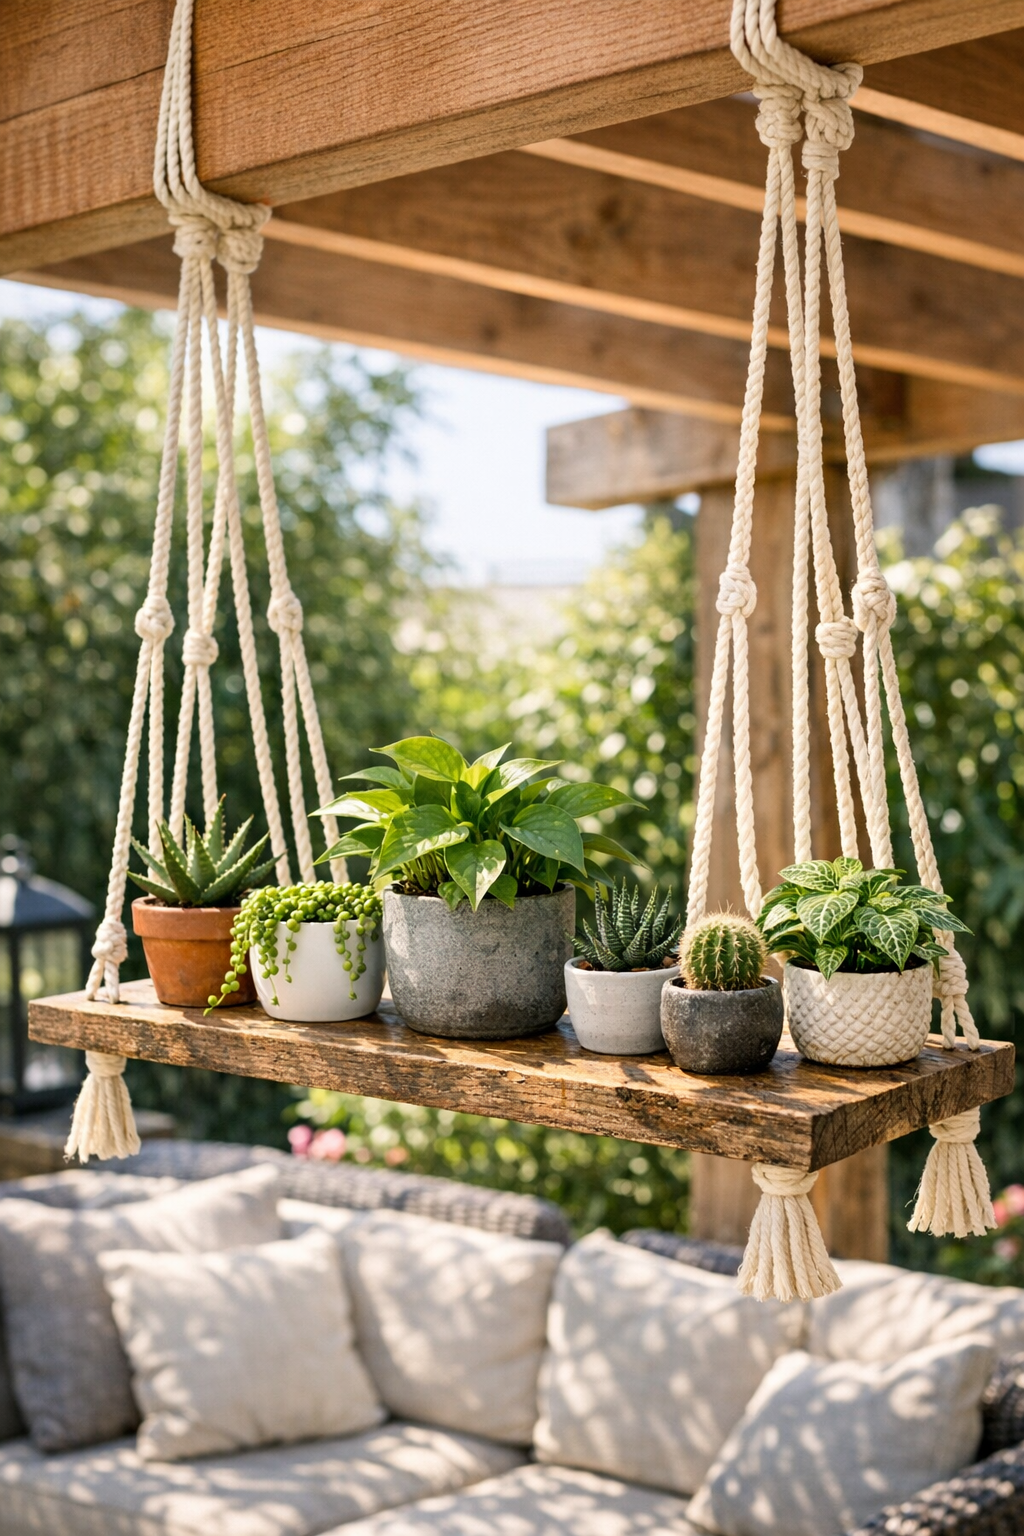
A floating plant shelf like this adds greenery at eye level without giving up precious patio floor space, and it has that easy, collected look I always notice in the most inviting outdoor rooms. In this version, a weathered oak board is suspended with cream macramé rope from a cedar pergola beam, creating a sturdy shelf that feels decorative but still practical enough for real potted plants.
I like projects like this because they sit right at the intersection of utility and style. If you have basic measuring skills, a drill, and a little patience for tying even knots, this is a very approachable weekend build for anyone who wants to dress up a patio, balcony, or garden corner with a handmade touch.
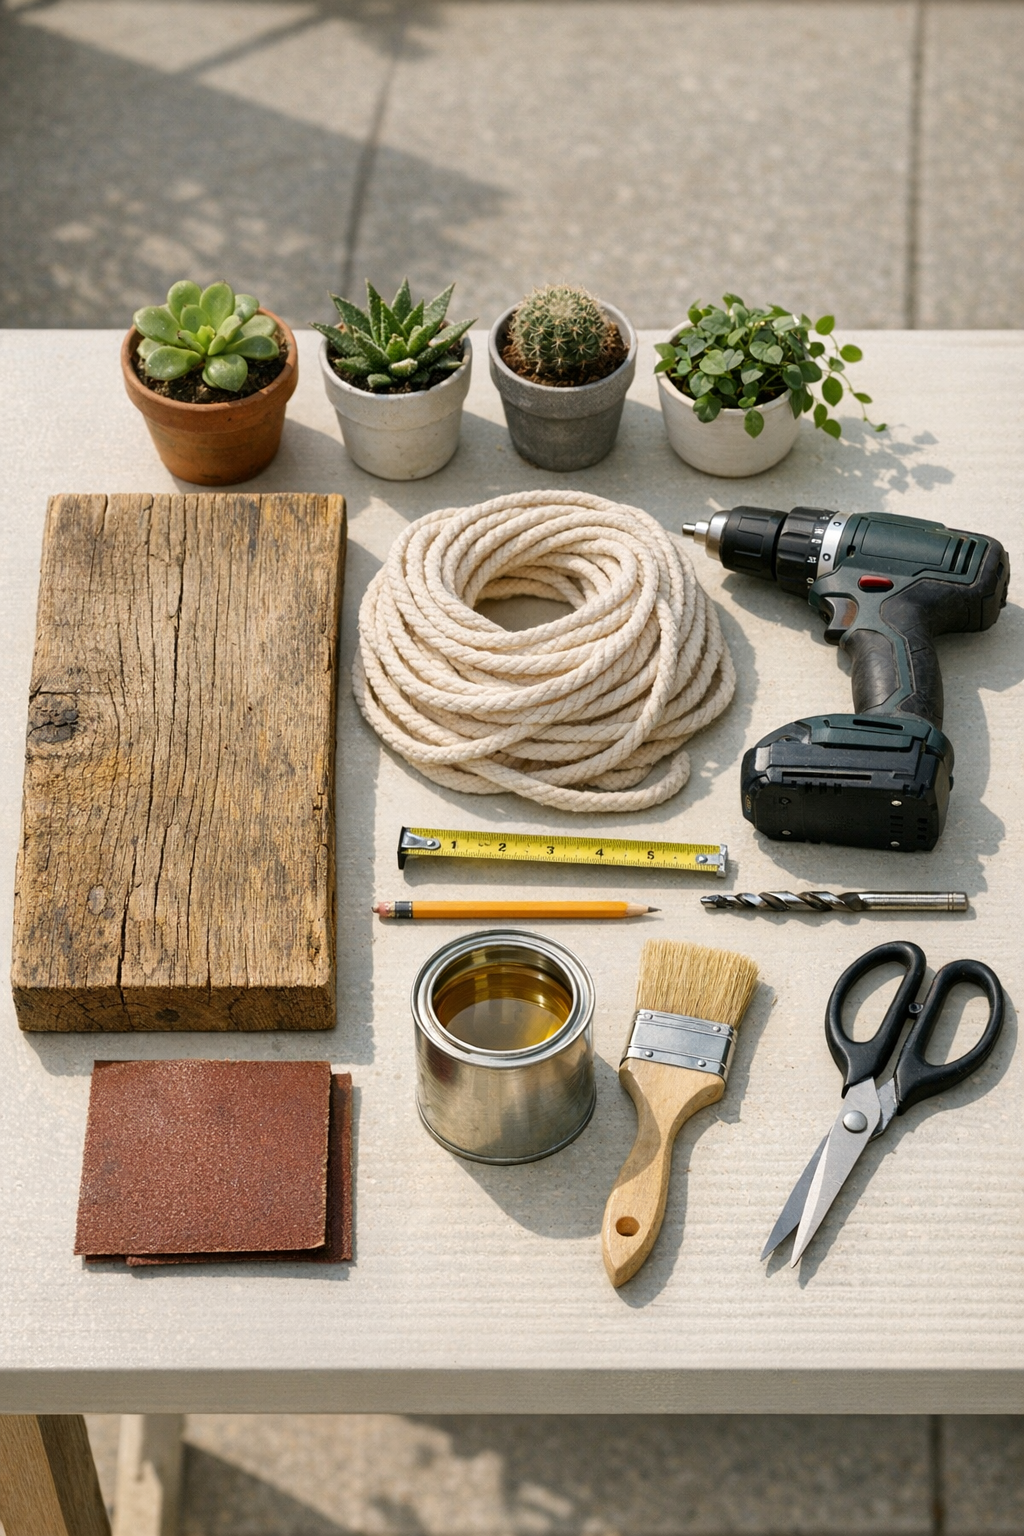
Materials
Instructions
1. Cut the oak board to 24 inches long if needed, then sand all faces and edges with 120-grit followed by 220-grit until the surface feels smooth but still keeps its weathered character.
2. Wipe away all dust with a clean rag, then brush on a thin, even coat of exterior wood sealer over the entire board and let it dry completely according to the product directions.
3. Measure in 1 1/2 inches from each short end and 1 inch in from each long edge, then mark four drilling points so the holes form a balanced rectangle near the corners.
4. Drill a 1/2-inch hole at each marked point, keeping the drill as vertical as possible so the rope will hang straight.
5. Cut the macramé rope into four equal lengths of 6 feet each, then wrap tape around the cut ends temporarily if the rope wants to fray while you work.
6. Thread one rope down through each hole from the top of the board, then tie a large overhand knot underneath each hole so the shelf will rest evenly on the four knots.
7. Set the board on a flat surface and adjust the knots until all four rope lengths hold the shelf level; retie any knot that sits too low rather than trying to force it later.
8. Group the front two ropes together above the shelf and tie a simple square knot about 10 inches above the board, then repeat with the back two ropes to begin the macramé look and help keep the sides aligned.
9. Measure from the board upward and tie all four ropes together in a secure gathering knot or large wrapped knot about 36 to 42 inches above the shelf, depending on how low you want it to hang from the pergola beam.
10. Lift the shelf into place and drape the gathered rope assembly over the cedar pergola beam, then pass the hanging shelf through the loop or tie the top securely so the full weight is centered on the beam.
11. Place a level on the board or step back and sight across it, then make small knot adjustments until the shelf sits straight and stable without twisting.
12. Add the rubber or cork pads under the plant pots, arrange the pots on the shelf with the heaviest ones closest to the center, and keep the total load light enough that the board remains steady in a breeze.
Variations & Tips
Shorter Shelf Option: If your patio is narrow, cut the board down to 18 inches long and use only two or three small pots so the piece feels airy rather than crowded.
Wood Choice: Cedar, cypress, or pine can work if weathered oak is not available, but I would still seal the board well for outdoor use because sun and moisture are relentless on horizontal surfaces.
Rope Selection: A soft braided cotton rope gives the nicest macramé look, while a polyester outdoor rope handles rain better; if you live through humid Midwestern summers like I do, that trade-off is worth considering.
Knot Practice: Before threading the board, practice your overhand knots and square knots with scrap rope so your finished shelf looks intentional and balanced.
Plant Safety: Stick with lightweight pots and compact plants such as pothos, herbs, small ferns, or trailing ivy, and avoid anything top-heavy that could tip when the shelf moves.
Watering Tip: Take plants down for watering or use a small watering can very carefully, since repeated overflow can stain the wood and add extra weight to the shelf.
Style Upgrade: Wooden beads threaded onto the rope above the square knots can add a polished decorative touch without changing the construction.
Leveling Trick: If one corner keeps dipping, untie only that knot and shorten it slightly; tiny adjustments make a surprisingly big difference on suspended shelves.