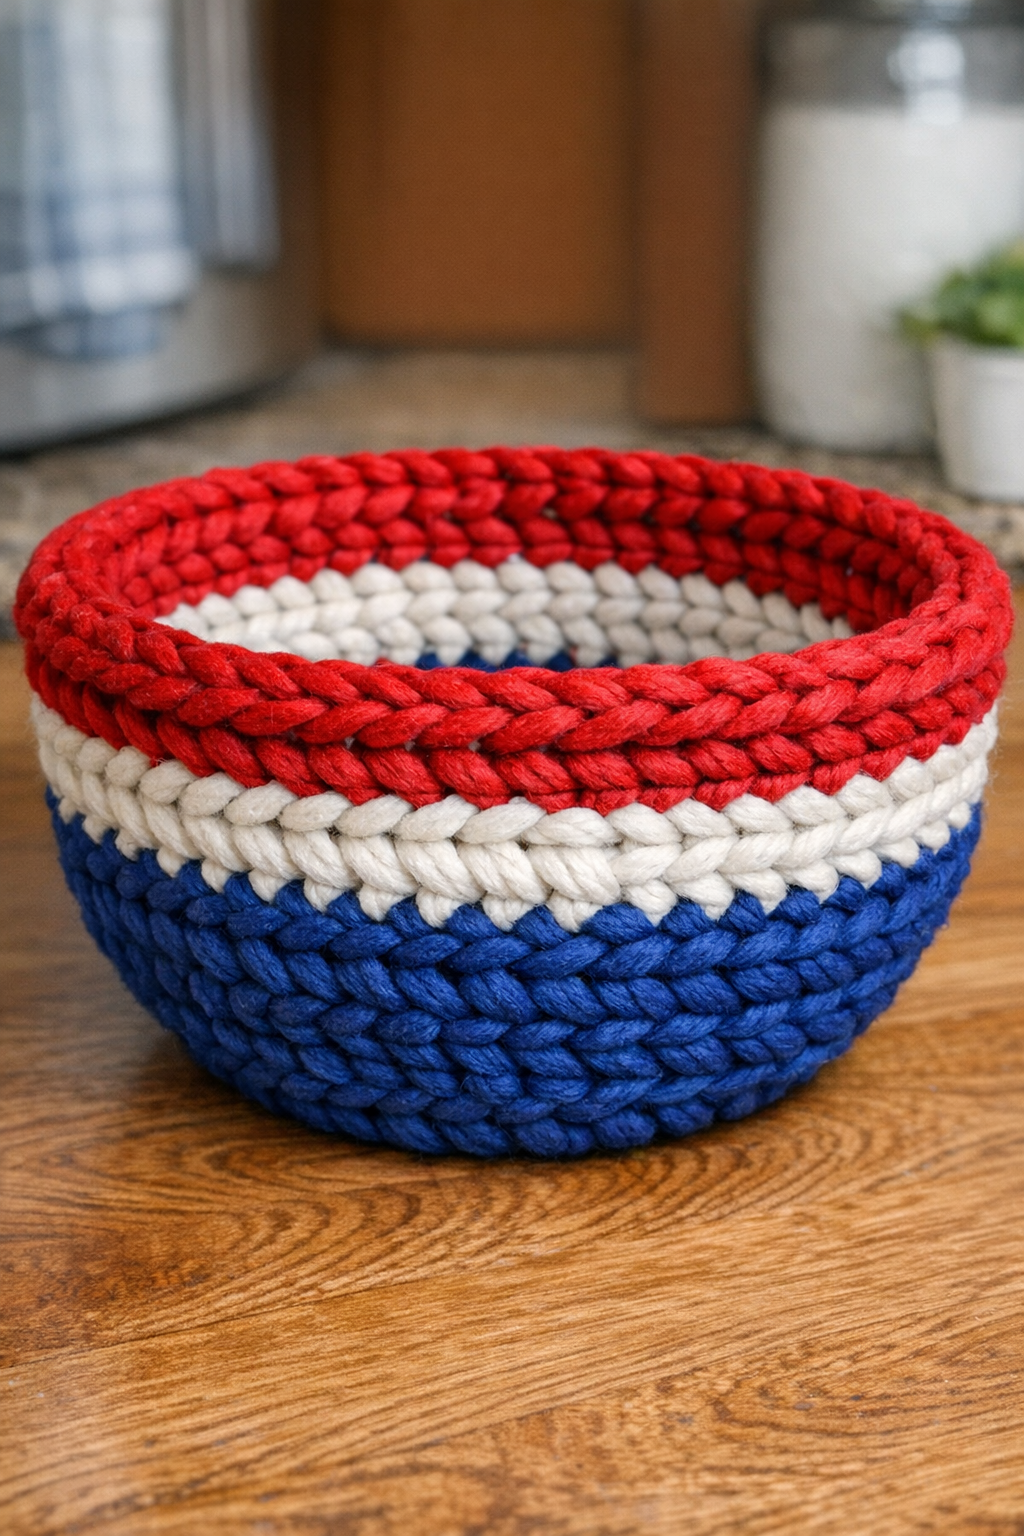
I love a project that borrows a humble kitchen item and turns it into something that looks boutique, and this serving bowl does exactly that. By threading chunky red, white, and blue yarn through the holes of an inexpensive plastic colander, you get a sturdy crocheted-look bowl with plenty of texture and a patriotic color palette that feels perfect for summer cookouts, potlucks, and holiday tables.
What makes this especially appealing to me is that it gives you the cozy look of crochet without requiring advanced stitching skills. If you can thread yarn, keep a color pattern, and work patiently around a bowl shape, you can make this. I’d use it for wrapped snacks, napkins, or packaged treats rather than loose wet foods, and it’s a wonderful way to make a dollar-store base look surprisingly polished.
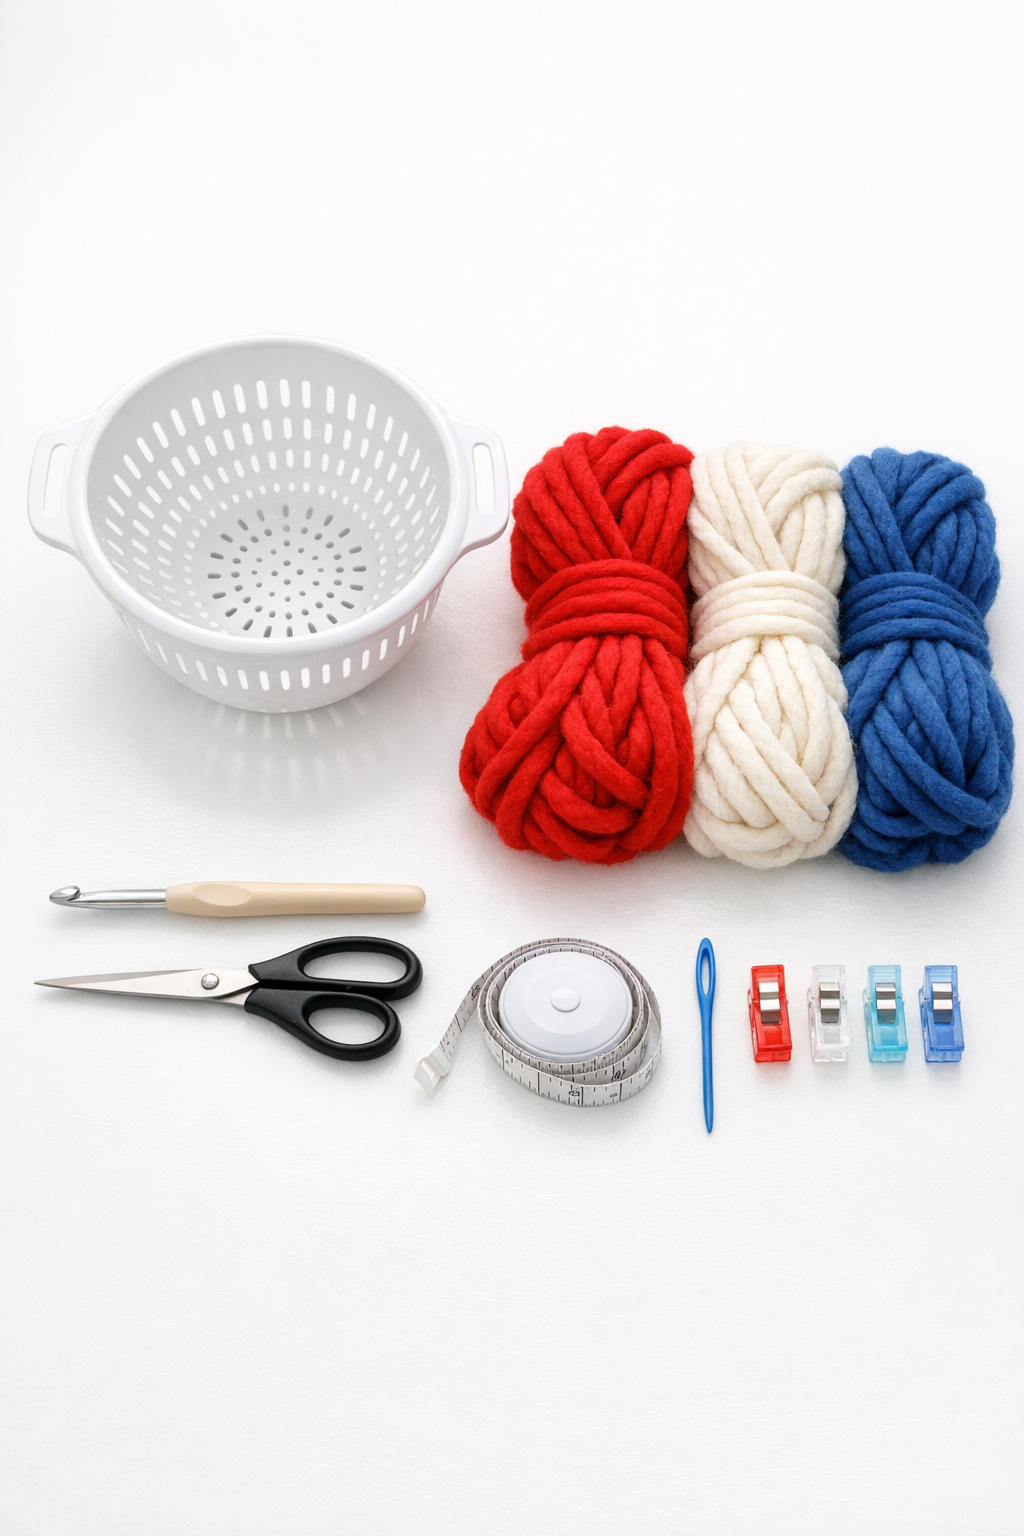
Materials
Instructions
1. Wash and dry the plastic colander thoroughly, then check that all holes are smooth and free of sharp plastic edges that could snag the yarn.
2. Decide which side will be the outside of the bowl and map out your color order before you begin; I like blue near the base, white through the middle, and red around the top for a balanced patriotic look.
3. Cut a starting length of blue yarn about 6 feet long and thread it onto the yarn needle so it’s easier to pass through the colander holes.
4. Begin at the bottom side holes and weave the yarn in and out through every hole around the base area, pulling it snug enough to cover the plastic but not so tight that it warps the bowl.
5. Use the crochet hook to pull any tight loops into place and even out the spacing so the woven sections sit neatly side by side.
6. When you reach the end of a yarn length, tie on the next piece with a small secure knot on the inside of the colander, then tuck the tails through nearby stitches or holes with the yarn needle.
7. Continue filling the next band of holes with blue until the lower third of the colander is mostly covered, clipping sections in place as needed to keep your rows even.
8. Switch to white yarn and weave through the middle section hole by hole, keeping the same over-under rhythm so the texture stays consistent all the way around.
9. Check the coverage after every few rows and nudge the yarn together with your fingers so there are no wide gaps where the plastic shows more than you want.
10. Change to red yarn for the top third and work all the way to the rim, threading through every hole and around the upper edge for a finished, cushioned border.
11. Wrap the rim once more with red yarn if needed to hide the plastic edge fully, then secure the final tail on the inside with a knot and a small dab of clear-drying craft glue if you want extra hold.
12. Trim all loose ends, tuck them neatly to the inside, and add a felt circle over the interior base if you’d like a cleaner look when the bowl is used for serving wrapped snacks or napkins.
13. Shape the bowl with your hands, adjusting the woven rows so the colors look even and the yarn sits smoothly across the entire colander surface.
Variations & Tips
Color layout: If you want a flag-inspired look with more contrast, make the base red, the middle white, and the rim blue instead. I find the best result comes from keeping each color in clear horizontal bands.
Yarn choice: Bulky yarn covers the plastic fastest and gives the bowl that plush, expensive look. Avoid fuzzy novelty yarns here; they’re harder to thread cleanly through the holes.
Best uses: This bowl is ideal for dry, lightweight items such as individually wrapped candy, rolls, napkins, snack bags, or decorative filler. I would not use it for hot foods or anything damp unless there is a removable liner.
Cleaner interior: If the inside knots bother you, glue a felt circle or a fabric liner over the base and lower sides. That small finishing touch makes the project look much more intentional.
Even tension: The biggest difference between homemade-looking and polished-looking is tension. Pull the yarn snugly enough to cover the holes, but stop before the colander bends out of shape.
Make it seasonal: The same method works beautifully with other palettes too. I can easily imagine this in cream and sage for everyday use, or orange and brown for autumn gatherings.