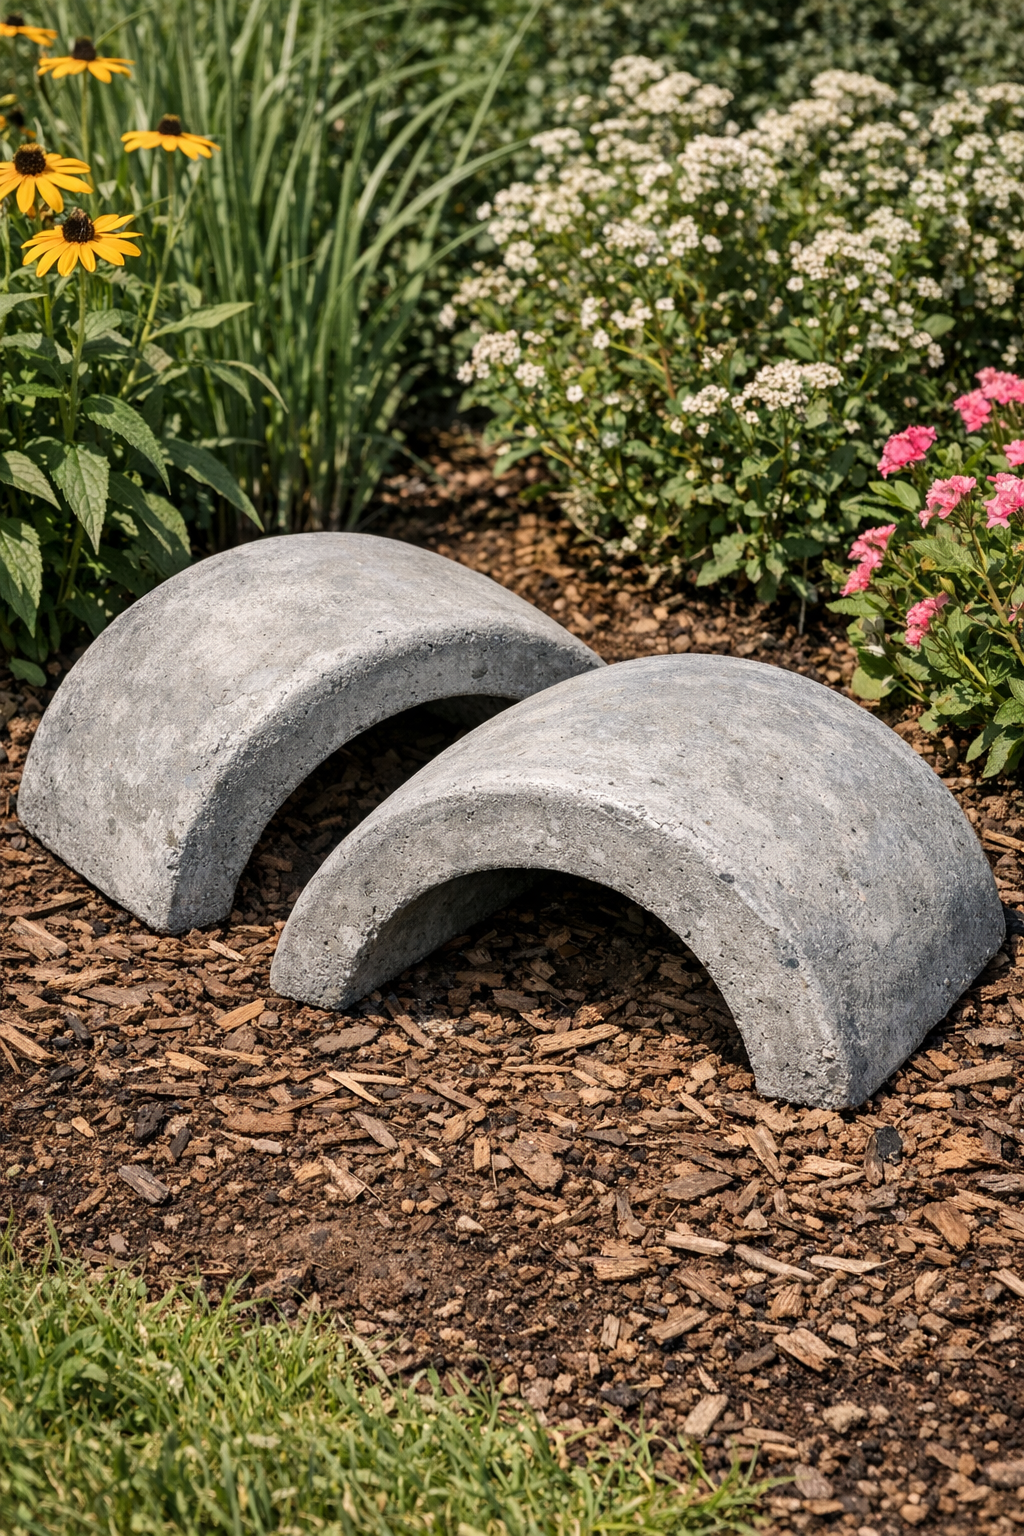
There’s something especially satisfying about making garden pieces that look far fancier than the humble materials they started from. This project uses rolled plastic gutter guards and wet cement to create two sturdy, curved outdoor forms that can work as sculptural planters, garden accents, or simply handsome decorative pieces tucked among flowers and shrubs. I’ve always had a soft spot for projects like this—plain, practical supplies turning into something that looks like it belongs in an old country garden.
If you enjoy simple building projects but don’t want to fuss with complicated carpentry, this is a lovely one to try. The gutter guard gives you the curve, the cement gives you the weight, and one basic hand tool helps shape and smooth everything as you go. It’s beginner-friendly, affordable, and well suited to a porch, patio, or flower bed.
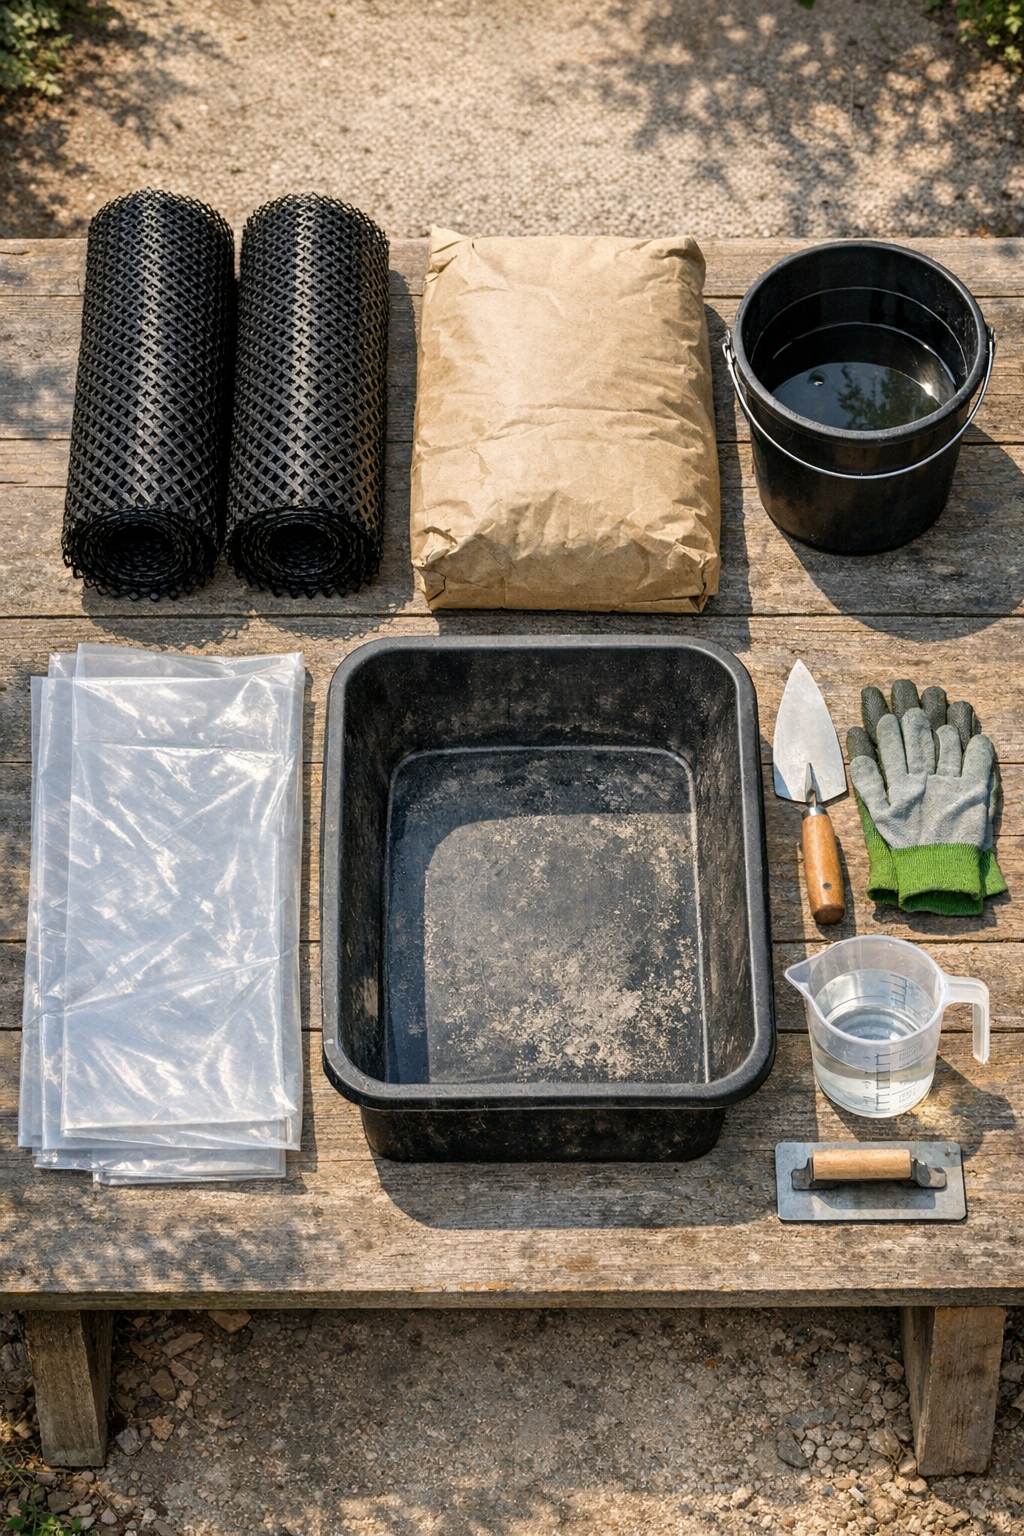
Materials
Instructions
1. Spread the plastic drop cloth over a flat outdoor work surface and set out all your materials within easy reach. Put on gloves before handling the cement mix.
2. Cut or separate the gutter guard into two equal lengths, about 24 inches each, then roll each piece into a gentle curved form like a loose half-cylinder. Prop the sides with scrap wood or bricks so both pieces hold their shape.
3. Pour the cement mix into the tub and add water a little at a time, stirring with the trowel until it reaches a thick, spreadable consistency like stiff oatmeal. Mix only until smooth, with no dry pockets left.
4. Use the trowel to spread cement over the first curved gutter guard, pressing firmly so the mix fills the openings and coats the surface. Cover the entire outside and top edge with a layer about 1/2 inch thick.
5. Repeat on the second curved form, building the cement evenly so both pieces are similar in thickness and shape. Use the putty knife or scraper to smooth ridges and tidy the edges.
6. Let the forms rest undisturbed for 20 to 30 minutes, then check whether the cement has begun to firm up. If needed, smooth the surface again with the putty knife dipped lightly in water.
7. Leave the two pieces to cure fully for at least 24 hours in a dry, sheltered spot. If the weather is hot or windy, cover them loosely with plastic so they dry more slowly and crack less.
8. Once hardened, remove any supports, stand the curved forms upright or nestle them into the garden, and brush away loose dust. If you like, you can leave them natural or seal them after several days of curing.
Variations & Tips
For a rougher old-garden look: Don’t over-smooth the cement. A little texture on the surface gives these pieces the character of old stone ornaments, which I find especially pretty in a cottage-style yard.
For wider forms: Use wider gutter guard and make a broader roll before adding cement. Just remember that a larger curve may need a slightly thicker coat for strength.
For planting use: If you want these to cradle moss, succulents, or shallow-rooted plants, let them cure fully first and add a liner or a tucked-in pocket of potting mix rather than planting directly against fresh cement.
To prevent cracking: Keep the cement layer even and avoid placing the finished forms in direct blazing sun on the first day. Slow curing nearly always gives a stronger result, and that’s an old kitchen-and-garden lesson I trust in more than one part of life.
For easier shaping: The putty knife is the simple tool that really makes the difference here. I use it to press cement into the mesh, smooth the arch, and clean the edges so the finished pair looks intentional instead of lumpy.
For a more finished surface: After several days of curing, you can brush on an outdoor concrete sealer. That helps shed moisture and keeps the forms looking nice through the seasons.