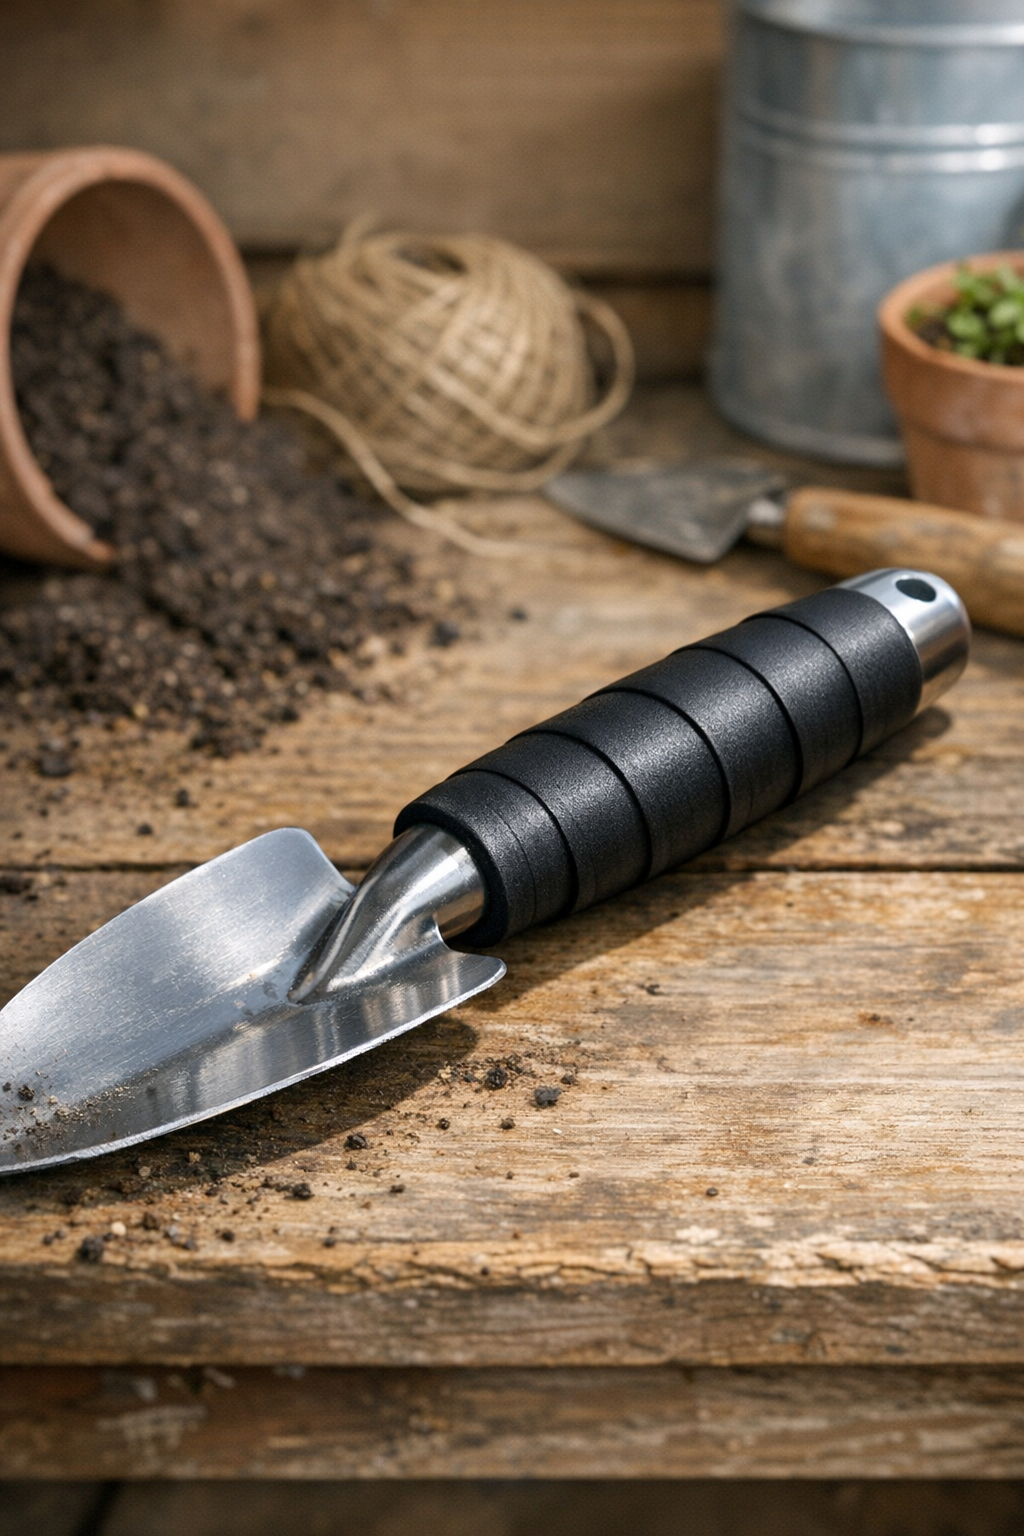
I’m always interested in small workshop fixes that make everyday tools feel better in the hand, and this one is especially satisfying because it turns a tired, slippery garden tool handle into a grippy, tougher, more comfortable hold with just a few humble materials. By softening thick rubber swim caps in hot water and stretching the rubber over the handle, you create a snug outer grip that helps protect older handles from chips and makes longer gardening sessions easier on your hands.
This project is ideal for anyone with hand tools that have cracked, hard, or undersized grips—trowels, cultivators, weeders, pruners, or even small utility handles around the garage. I like it because it’s fast, inexpensive, and practical, which is my favorite kind of DIY: the sort of fix that looks clever but is genuinely useful once you put it to work.
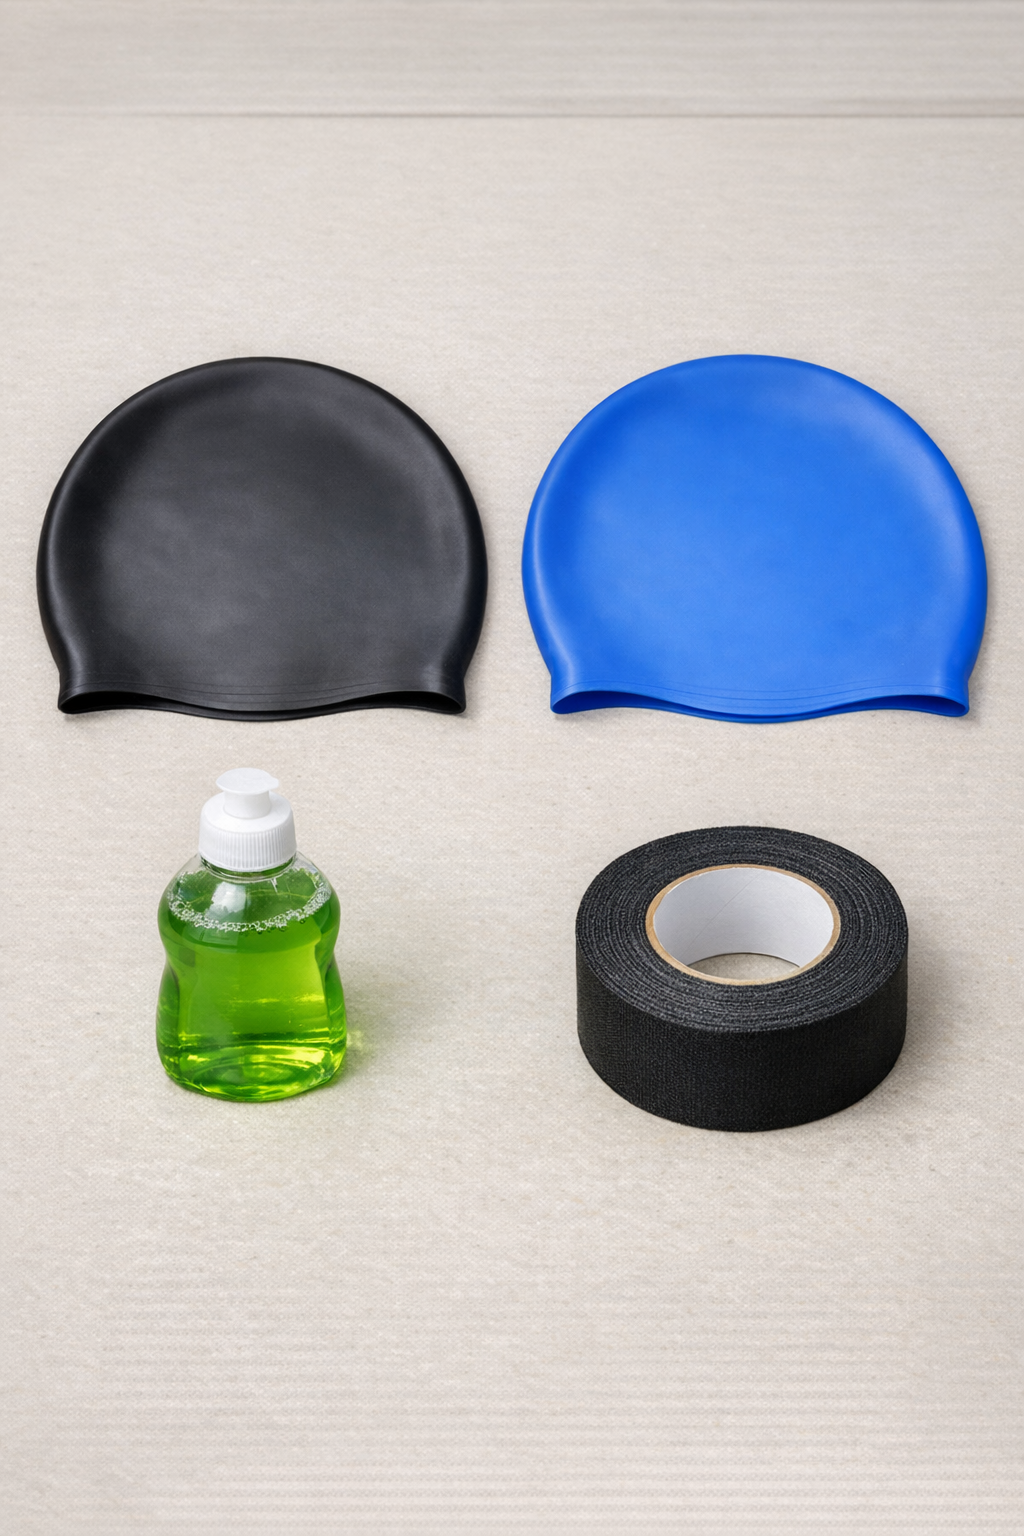
Materials
Instructions
1. Wash the tool handles with warm soapy water and dry them completely so the rubber can grip the surface evenly.
2. Wrap the area you want to cover with cloth tape, overlapping each pass by about 1/4 inch until you build a smooth padded base 4 to 6 inches long.
3. Fill a pot with enough water to fully submerge one swim cap and bring it just to a gentle boil, then reduce to a low simmer.
4. Place one thick rubber swim cap in the hot water for 2 to 3 minutes until it becomes softer and more stretchable, but do not leave it long enough to tear or become gummy.
5. Stir the dish soap into 2 cups of water, then lightly wet the taped handle and the inside edge of the softened cap to help it slide into place.
6. Remove the cap carefully with tongs, shake off excess water, and stretch the open edge over the taped end of the handle while the rubber is still warm.
7. Pull and smooth the cap down over the taped section, keeping the rubber even on all sides and trimming off excess length if the cap extends too far past the grip area.
8. Let the first layer cool for 10 to 15 minutes so it tightens around the handle and begins to hold its shape firmly.
9. For a thicker shatter-resistant grip, repeat the boiling and stretching process with the second swim cap, placing it directly over the first layer.
10. Wipe away any soap residue, then leave the tool at room temperature for several hours before using it so the grip can fully contract and settle.
Variations & Tips
For narrow handles: Use less cloth tape underneath so the finished grip does not become too bulky in the hand.
For damaged handles: If the original grip is chipped or uneven, build up low spots with extra wraps of tape before adding the rubber layer so the final surface looks smooth.
For extra traction: Leave a slight spiral ridge in the tape underneath instead of making it perfectly flat; that subtle texture can improve grip, especially when gardening in damp weather.
For longer grips: Cut the swim cap into a wider sleeve section and work slowly from one end to the other so the rubber doesn’t twist while you stretch it on.
Heat control tip: Keep the water at a gentle simmer rather than a hard rolling boil; in my kitchen, that gives rubber enough flexibility without making it overly soft and difficult to handle.
Tool choice: This works best on small to medium hand tools with straight or gently tapered handles, where the rubber can contract evenly as it cools.
Cleanup tip: A little dish soap helps with installation, but too much leaves the grip slippery for longer than necessary, so use only a light film and wipe thoroughly at the end.