
If you want a backyard project that looks surprisingly polished without eating up your whole weekend, these glowing pathway lights are such a fun one to make. I love projects like this because they take simple, inexpensive materials and turn them into something that feels cozy and custom, especially once the sun goes down and everything starts glowing.
This idea is perfect if you want to light a garden path, line a walkway, or make a patio edge feel a little more special without wiring anything. As someone who is always trying to squeeze in practical home projects between work and dinner prep, I really appreciate that these lights are straightforward, repeatable, and easy to make in batches.
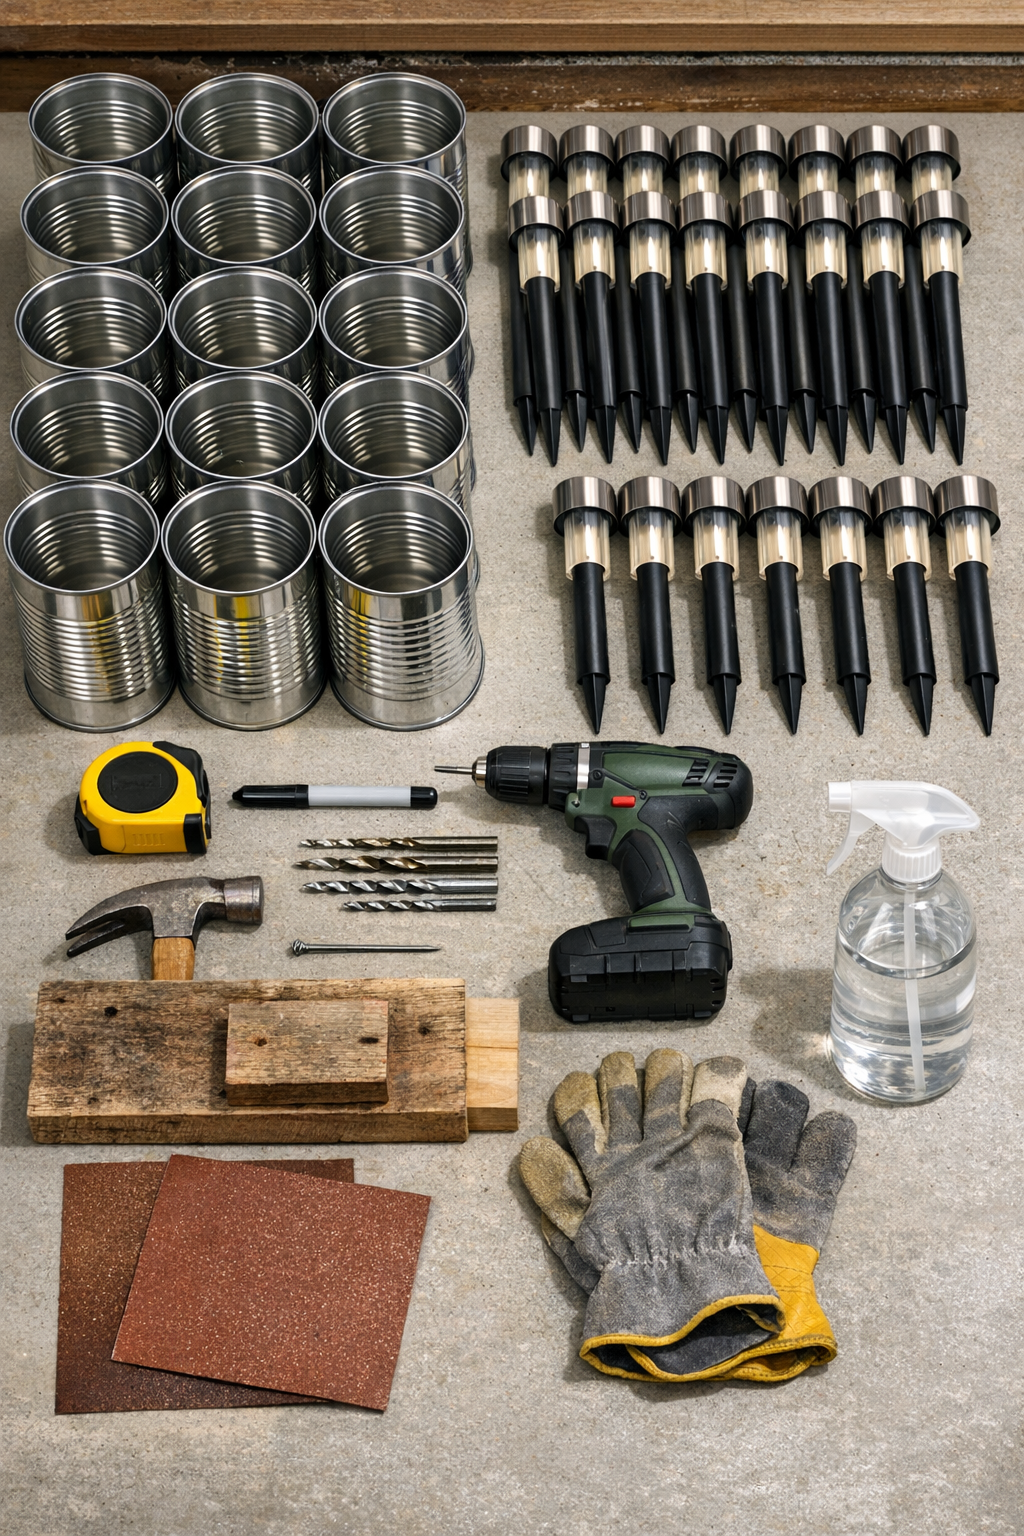
Materials
Instructions
1. Remove the labels from all 20 tin cans, wash them well with dish soap, and let them dry completely so the metal is clean and easy to mark.
2. Sand any rough adhesive spots and check each rim for sharp edges; if needed, smooth them lightly with 120-grit sandpaper while wearing gloves.
3. Turn each can upside down on a scrap board and mark the center of the base with your marker so you know where the solar light will sit.
4. Around that center mark, draw a simple pattern of evenly spaced dots for the light holes, keeping them about 1 to 1 1/2 inches apart so the glow will show through nicely.
5. Use the hammer and nail to tap a starter dent on every marked dot; this keeps the drill bit from slipping across the metal, which makes the whole job much easier.
6. Drill each marked hole with the 1/8-inch metal bit, keeping steady pressure and working on top of the scrap board to protect your surface.
7. Enlarge the center hole with the 1/4-inch bit if your solar light top needs a little more opening to let the strongest part of the light shine through.
8. Wipe away any metal shavings, then gently sand the drilled area inside and outside each can so there are no sharp burrs left behind.
9. Spray the cans with a light coat of clear outdoor sealer and let them dry fully; this helps protect the silver finish from weather and moisture.
10. Set your solar lights in direct sun for a full day before installation so you can test the brightness that evening.
11. At the edge of your walkway or garden path, place a small amount of gravel where each light will go if the ground is uneven or tends to hold water.
12. Push the 20 solar lights into the ground, spacing them about 18 to 24 inches apart for a clean, balanced look along the pathway.
13. Center one drilled can upside down over each solar light so the light sits underneath the can and shines up through the drilled pattern.
14. Adjust each can until it sits level and the warm white glow looks even from a few feet away; add a little gravel under the rim if one side needs support.
15. Wait until dark and test the full row, then reposition any light that looks dim, crooked, or too close to the next one.
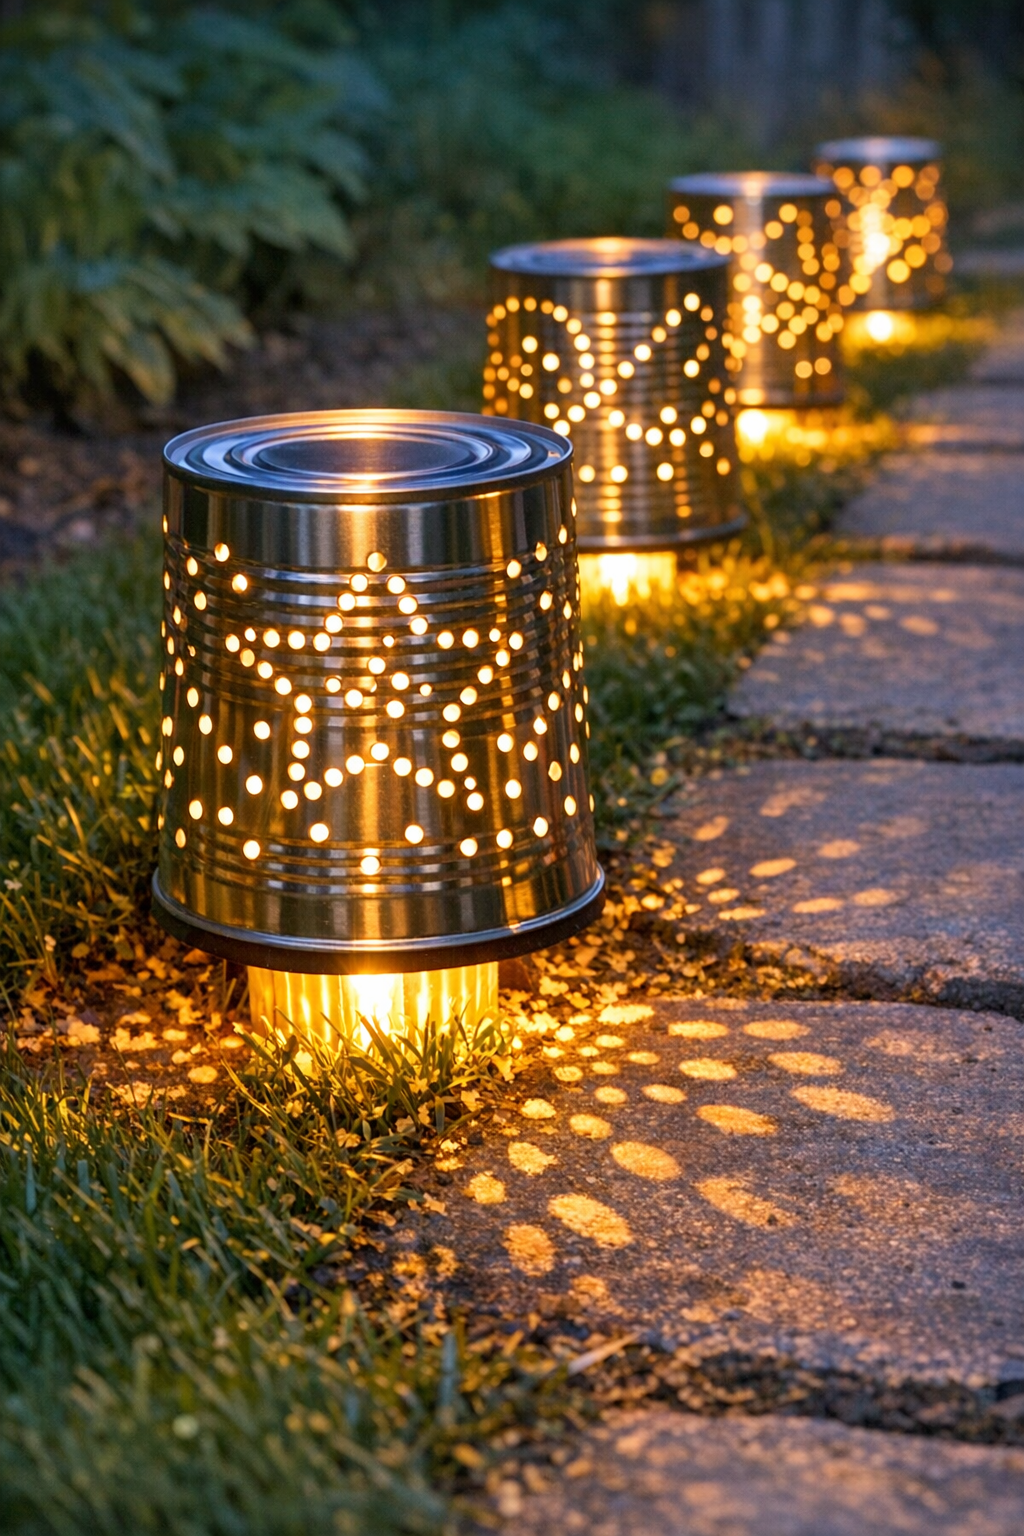
Variations & Tips
Different hole patterns: Try simple circles, stars, stripes, or staggered dots on the can bottoms if you want each light to cast a slightly different pattern.
Rust-resistant option: If your yard gets a lot of rain, use stainless steel cans if available or reapply a clear sealer every season to help extend their life.
Spacing tip: I like to set everything out before sunset and walk the path once or twice to check spacing, because what looks even in daylight can feel crowded at night.
Brightness check: Thick warm white solar lights usually give the nicest glow for this project, since cooler white bulbs can make the metal look a little harsh.
Kid- and pet-friendly placement: Keep the lights just off the main walking line so the cans do not get kicked or bumped if you have a busy backyard.
Make it faster: If you're making all 20 in one go, mark every can first, then do all the starter dents, then all the drilling; batch work makes this project move much quicker.