
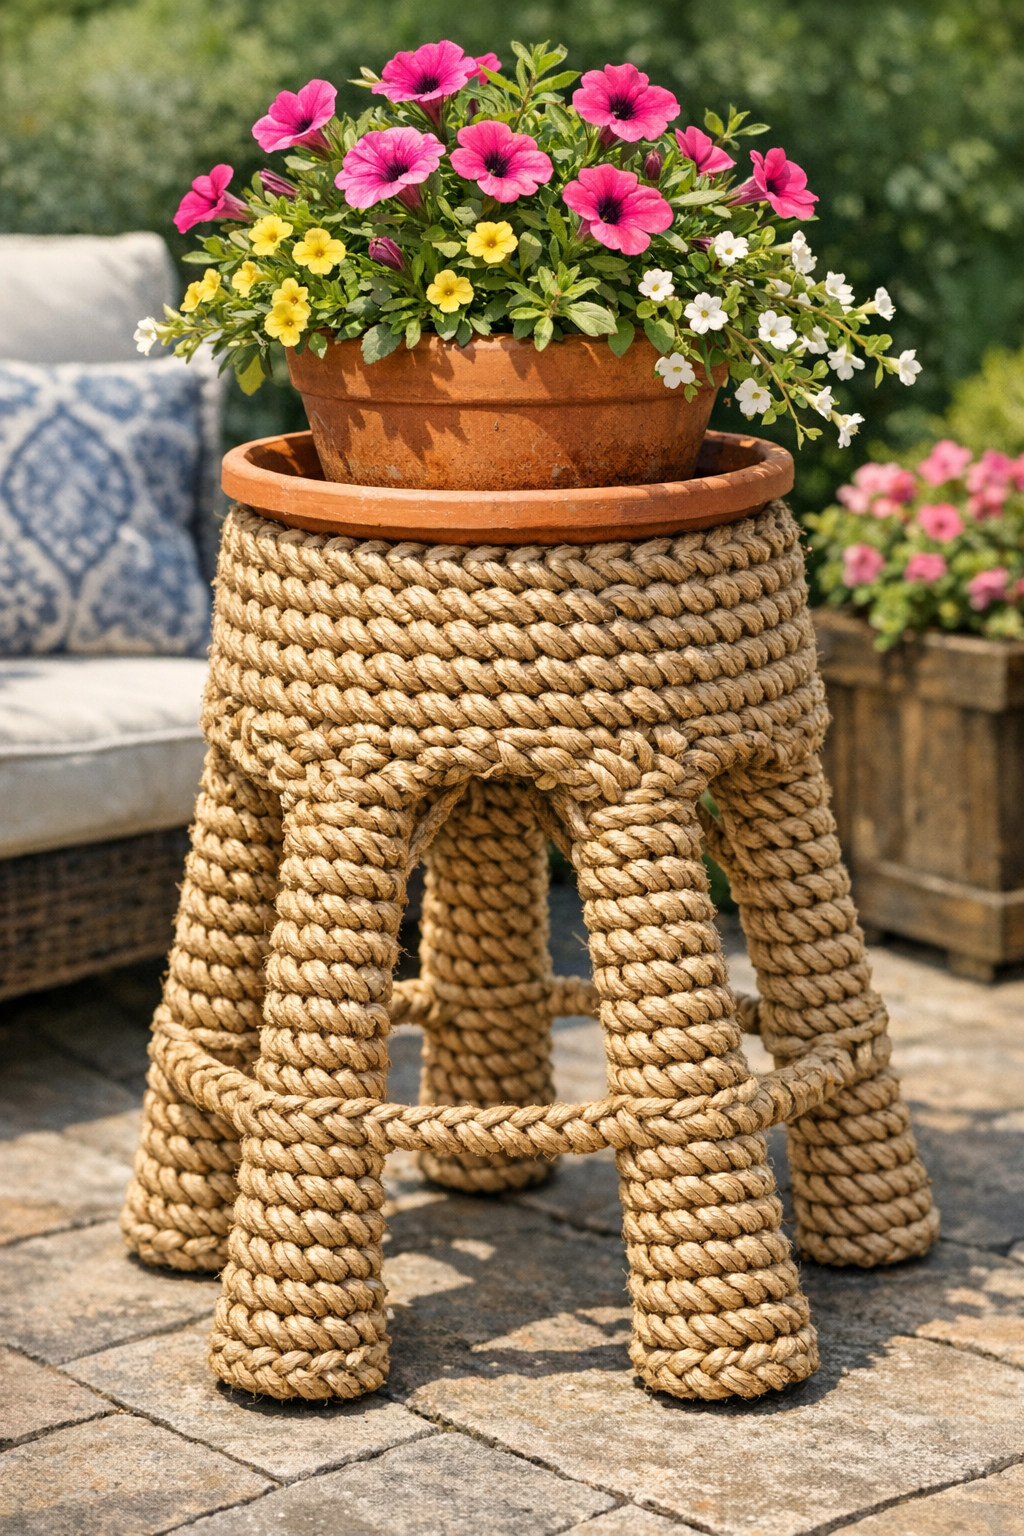
This outdoor plant stand looks a little unexpected when you first start it: an upside-down tomato cage, a coil of thick sisal rope, and a crochet hook sturdy enough to handle it all. But once the rope begins to wrap and lock through the metal frame, the whole piece turns into a breezy, textural stand that feels right at home on a summer patio, balcony, or sunny kitchen corner. I love projects like this because they borrow from the garden aisle and the fiber-crafts world at the same time, which is exactly the kind of practical creativity that keeps DIY interesting.
If you already crochet, this is a satisfying structural project with a fast payoff. If you do not, don't worry; the stitches are simple, and the tomato cage does most of the engineering for you. The finished stand is lightweight, sturdy enough for a potted plant, and has that natural rope-and-terra-cotta look that works beautifully with herbs, trailing flowers, and leafy houseplants spending the summer outdoors.
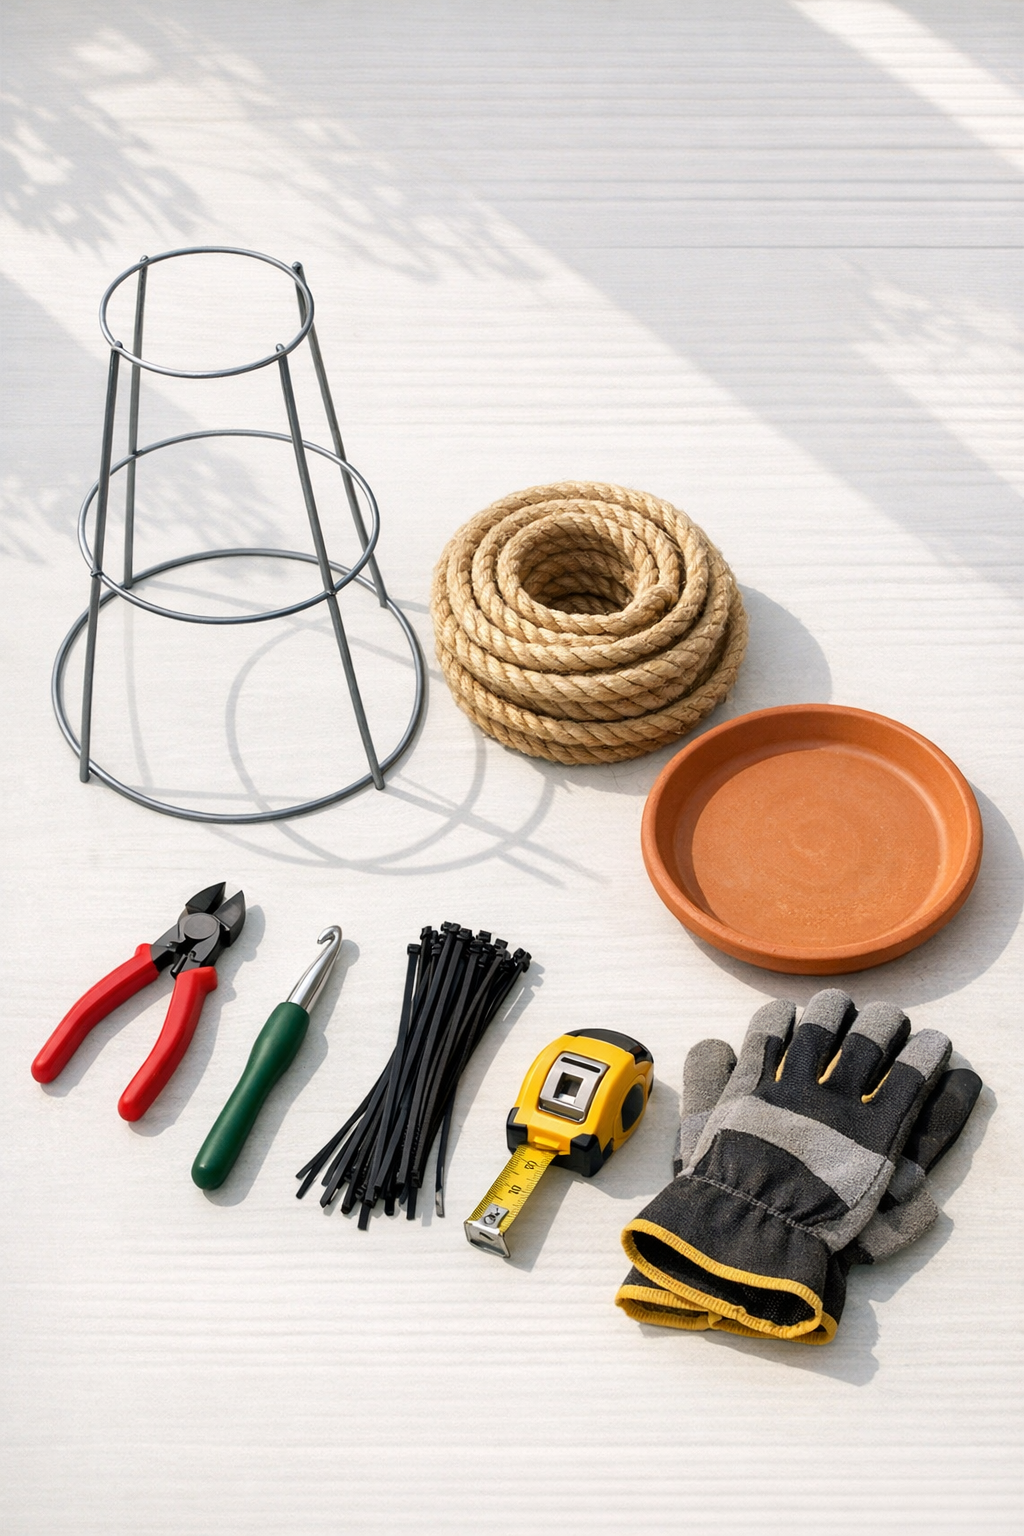
Materials
Instructions
1. Turn the tomato cage upside down so the wide ring becomes the base and the three wire legs point upward to support the saucer.
2. Check that the stand sits level on the ground, then trim any uneven wire ends with cutters and smooth rough spots with sandpaper.
3. Push rubber caps onto the three bottom contact points so the stand will not scratch decking or patio tile and will grip the surface better.
4. Wipe the cage clean with a damp cloth and let it dry completely so the rope will sit neatly against the metal.
5. Tie the sisal rope firmly around one lower vertical wire near the base ring, leaving a 4-inch tail to tuck in later.
6. Make a starting chain of 4 stitches with the rope, join it into a loop, and work 6 single crochet stitches into that loop to create a small anchor circle around the wire.
7. Continue single crocheting while feeding the rope around and through the metal frame, catching the vertical wire and lower ring as you go so the crochet forms a tight wrapped panel instead of a loose sleeve.
8. Work in rounds around the stand, packing the stitches snugly together and pulling each stitch tight so the metal frame disappears behind the rope.
9. When you reach the first horizontal ring, crochet over and around it, linking the vertical wires together to create a firm basket-like wall.
10. Add a zip tie at each vertical wire behind the crocheted section if the rope wants to slide, then trim the tie ends so they stay hidden.
11. Keep crocheting upward toward the top of the frame, maintaining even tension and covering each section of exposed wire before moving to the next.
12. Stop crocheting about 2 inches below the top wire tips so the terracotta saucer can sit directly and securely on the three upper supports.
13. Wrap the final rope tail through the last stitches, pull it tight, and secure it with a small dab of outdoor-rated craft glue if needed.
14. Set the terracotta saucer on top of the three upper wire supports and center it so the weight is balanced evenly.
15. Press down gently to test for wobble, then adjust the saucer position or add hidden zip ties just under the rim area if you want extra hold.
16. Place your potted plant on the saucer and make a final stability check before moving the stand into its sunny outdoor spot.
Variations & Tips
For a taller stand: Use a 54-inch tomato cage and increase your rope to about 220 feet. I recommend this only for lightweight plants, since height always makes balance a little more demanding.
For beginners: If crocheting directly onto the frame feels awkward, wrap the rope around each section first and use simple slip stitches to tack it in place. It is a bit less polished, but much easier on the hands.
For weather exposure: Sisal has a wonderful natural look, but it will age outdoors. On a covered porch, it lasts much longer; in full rain, expect a more rustic, weathered finish over time.
For a cleaner top edge: I like to end with one round of very tight slip stitches just below the saucer supports. It gives the stand a deliberate finished line instead of a soft edge.
For heavier pots: Keep the finished plant, soil, and pot under about 12 pounds unless you reinforce the upper supports with additional hidden ties or wire. Tomato cages are sturdy, but they are still garden supports, not wrought-iron furniture.
Saucer sizing tip: The saucer should overhang the top supports slightly without feeling tippy. A 12-inch saucer fits most standard cages nicely, but bring the cage with you when shopping if you want a perfect fit.
Style variation: You can leave small open gaps between crochet sections for a lighter, airier look, or cover the frame completely for a more sculptural stand. I tend to prefer the fully covered version because it looks intentional and hides the hardware beautifully.
Fiber substitution: If you want something a little softer on the hands, jute rope in the same thickness can work similarly. I still favor sisal for outdoor use because it holds its shape well and gives that crisp, summery texture.