
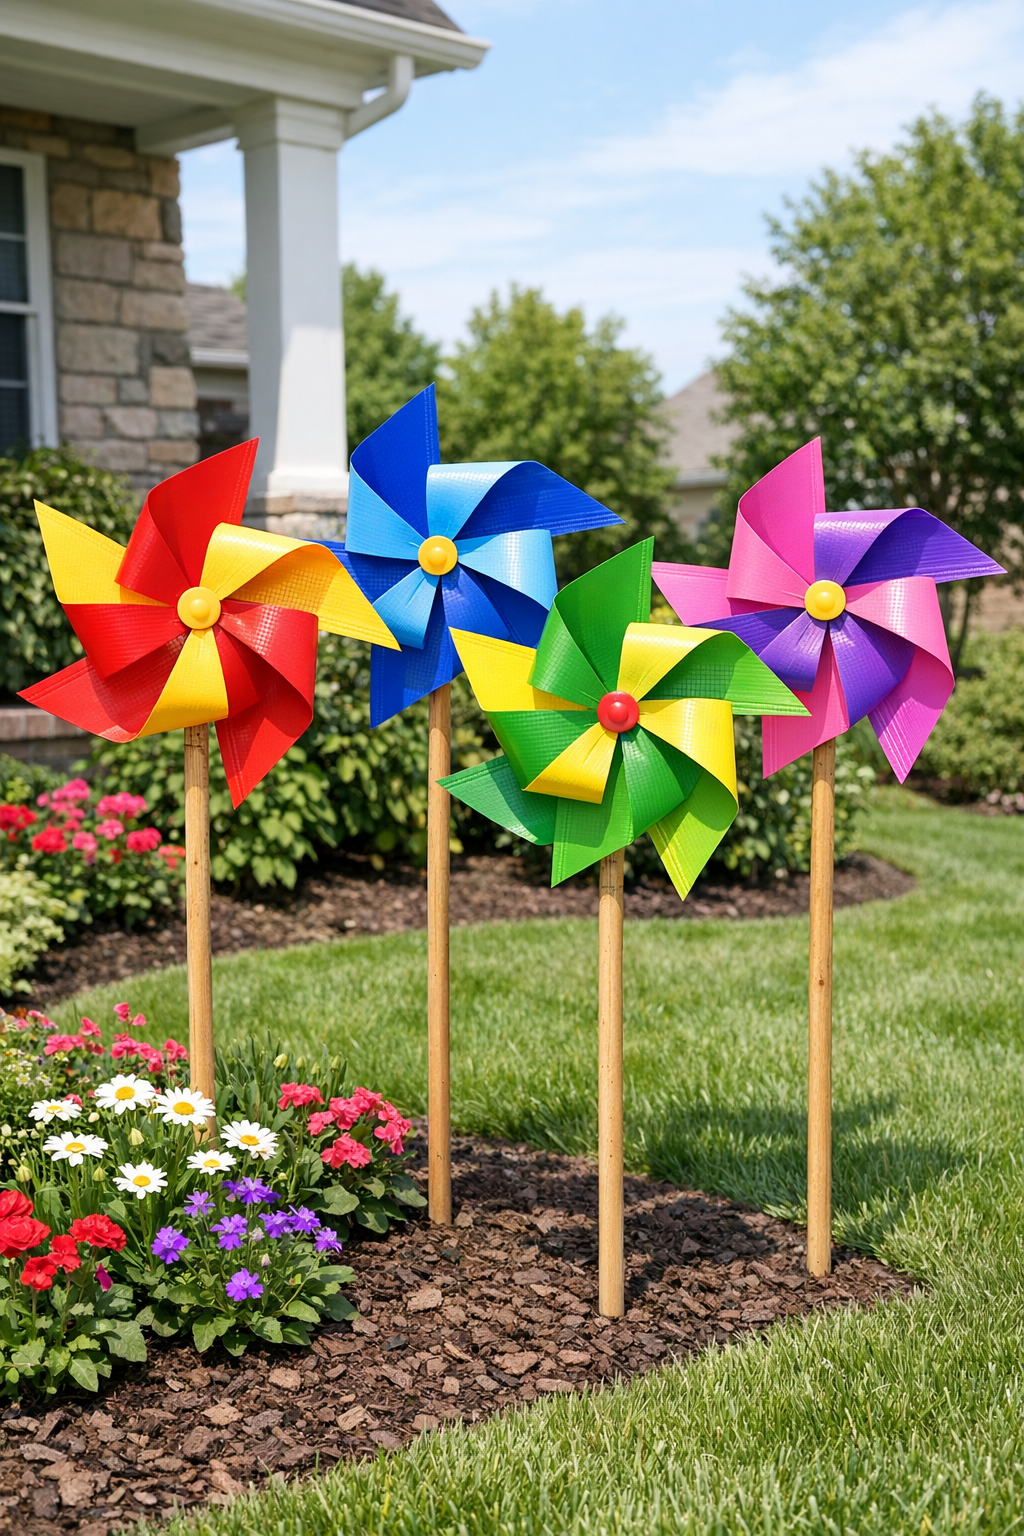
If you want an outdoor decoration that reads cheerful from the curb and costs far less than a trip to the garden center, these oversized yard pinwheels are a smart little project. I’m using inexpensive plastic placemats as the blades, then mounting them on tall wooden broom handles so they sway and spin in the breeze with plenty of color.
I like this kind of project because it borrows a simple folding idea and turns it into something bold enough for the front yard. If you’re comfortable measuring, folding, and pushing a pin through layered plastic, you can make these in an afternoon. They’re especially good for anyone decorating a porch bed, mailbox area, or a stretch of lawn that needs height and movement.
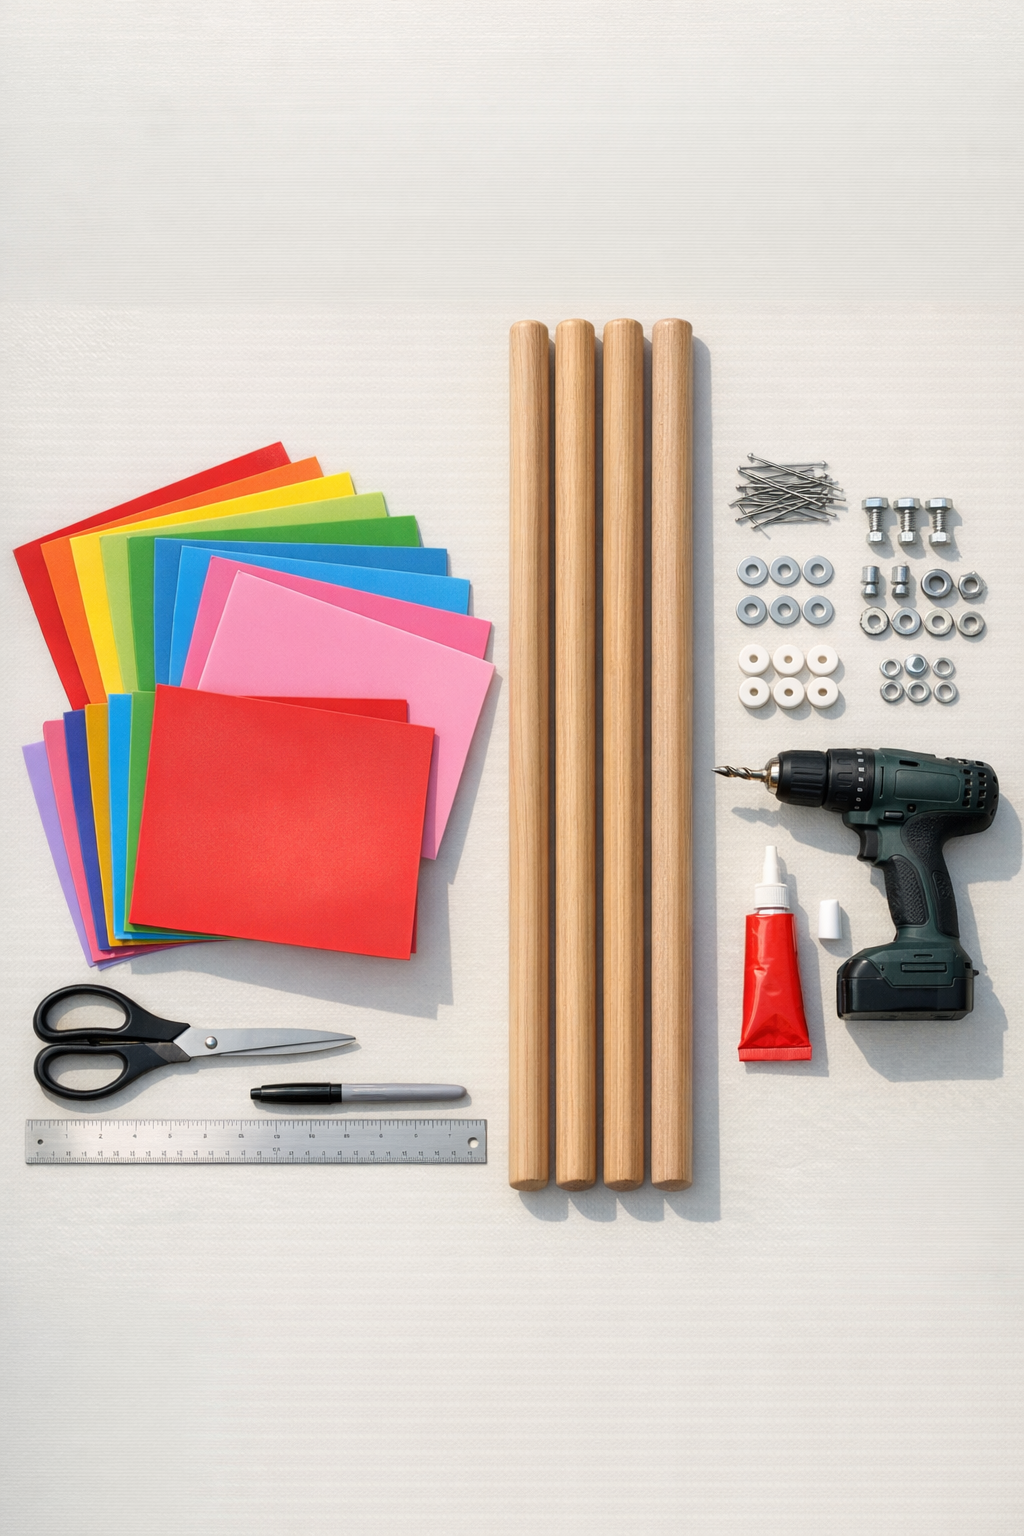
Materials
Instructions
1. Sort the 24 placemats into 4 groups of 6, mixing colors in each stack so every pinwheel has a bright, layered look.
2. Trim the placemats only if needed so all 6 in each stack match in size; uneven edges make the blades look sloppy once they’re folded together.
3. Place one placemat flat on your table and mark the center by measuring halfway across both the short and long sides. Repeat on the remaining placemats, using the first as a quick guide.
4. Fold each placemat accordion-style along the short direction, making pleats about 1 1/2 inches wide. Press each crease firmly with your fingers so the plastic holds its shape.
5. Pinch every folded placemat at its center and flatten the middle 1 inch so it fans evenly on both sides. Add a small strip of clear packing tape around the center if the plastic wants to spring open.
6. Stack 6 folded placemats together for the first pinwheel, rotating the colors slightly so the fan edges alternate and look full. Keep all center points lined up.
7. Punch or pierce a hole through the exact center of the stacked placemats. If the center feels thin, glue the stack to a 2 x 2 inch wood block or a reinforced taped pad at the back before piercing the axle hole.
8. Fan the folded stack into a full circle and overlap the outer ends enough to create a round pinwheel shape. Secure those overlaps with small dabs of hot glue so the circle holds.
9. Drill a shallow pilot hole about 2 inches down from the top of one broom handle. This gives the pin or bolt a centered starting point without splitting the wood.
10. Slide one washer onto your pin or bolt, then the placemat pinwheel center, then a spacer bead, then a second washer. Push or fasten the axle into the pilot hole so the pinwheel is secure but still loose enough to spin.
11. Test the movement by blowing on the pinwheel or turning it by hand. If it sticks, loosen the axle slightly or add a little more space between the pinwheel and handle with another thin washer.
12. Repeat the same process for the remaining 3 broom handles and 18 placemats. Space the finished pinwheels around the yard by pushing the handles into firm soil or setting them into weighted planters.
Variations & Tips
Color planning: I like grouping warm colors on one pinwheel and cool colors on another, but alternating every color in the stack gives the fullest carnival-style effect.
For stronger centers: If your placemats are thin and flexible, reinforce the center on both sides with a small square of clear plastic cut from packaging before adding the axle.
Rainy-weather tip: Plastic placemats handle moisture well, but hot glue can weaken in high heat. A small dab of outdoor adhesive at the overlaps helps the circles last longer outside.
How to make them spin better: The secret is a little breathing room at the center. A spacer bead or two washers between the pinwheel and the broom handle keeps the blades from rubbing the wood.
Placement idea: These look best where they catch cross-breezes, such as along a walkway, beside a porch, or near the corner of a fence line rather than tucked deep into dense shrubs.
Kid-friendly option: If you’re making these with children nearby, do all drilling and axle assembly yourself, then let them help sort colors and fold the placemats.
Budget shortcut: Dollar-store placemats and thrifted broom handles work beautifully here. As with so many kitchen-adjacent projects, the charm comes from repetition and color, not expensive materials.