
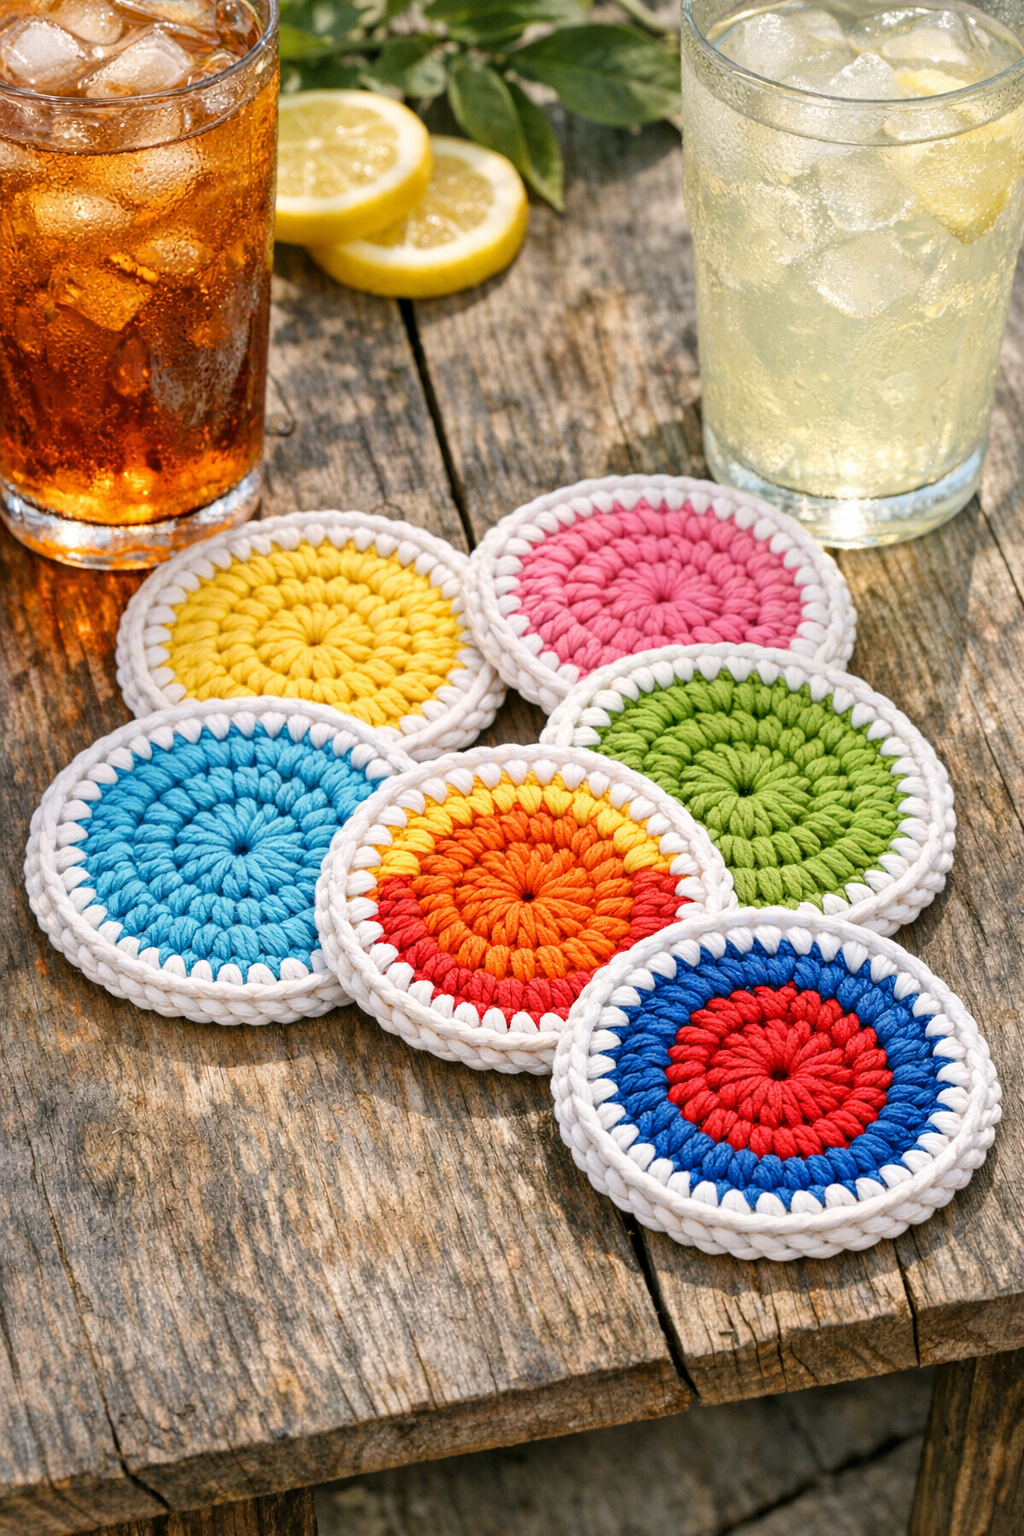
There is something especially satisfying about turning a humble little leftover into something useful, and this coaster set does exactly that. By popping the centers out of plastic mason jar lids and crocheting right through the rings, you can make a sturdy set of summer drink coasters that holds up beautifully on a porch table, picnic bench, or kitchen counter. I have always had a soft spot for projects like this—practical, thrifty, and just clever enough to make you smile every time you use them.
If you crochet a little and enjoy a good recycling trick, this is a fine afternoon project. The cotton yarn makes the coasters absorbent, the plastic lid rings give them structure, and the whole set comes together quickly enough to make several in one sitting. These are especially nice for iced tea, lemonade, and those sweating mason-jar drinks we all seem to keep close by in the summer.
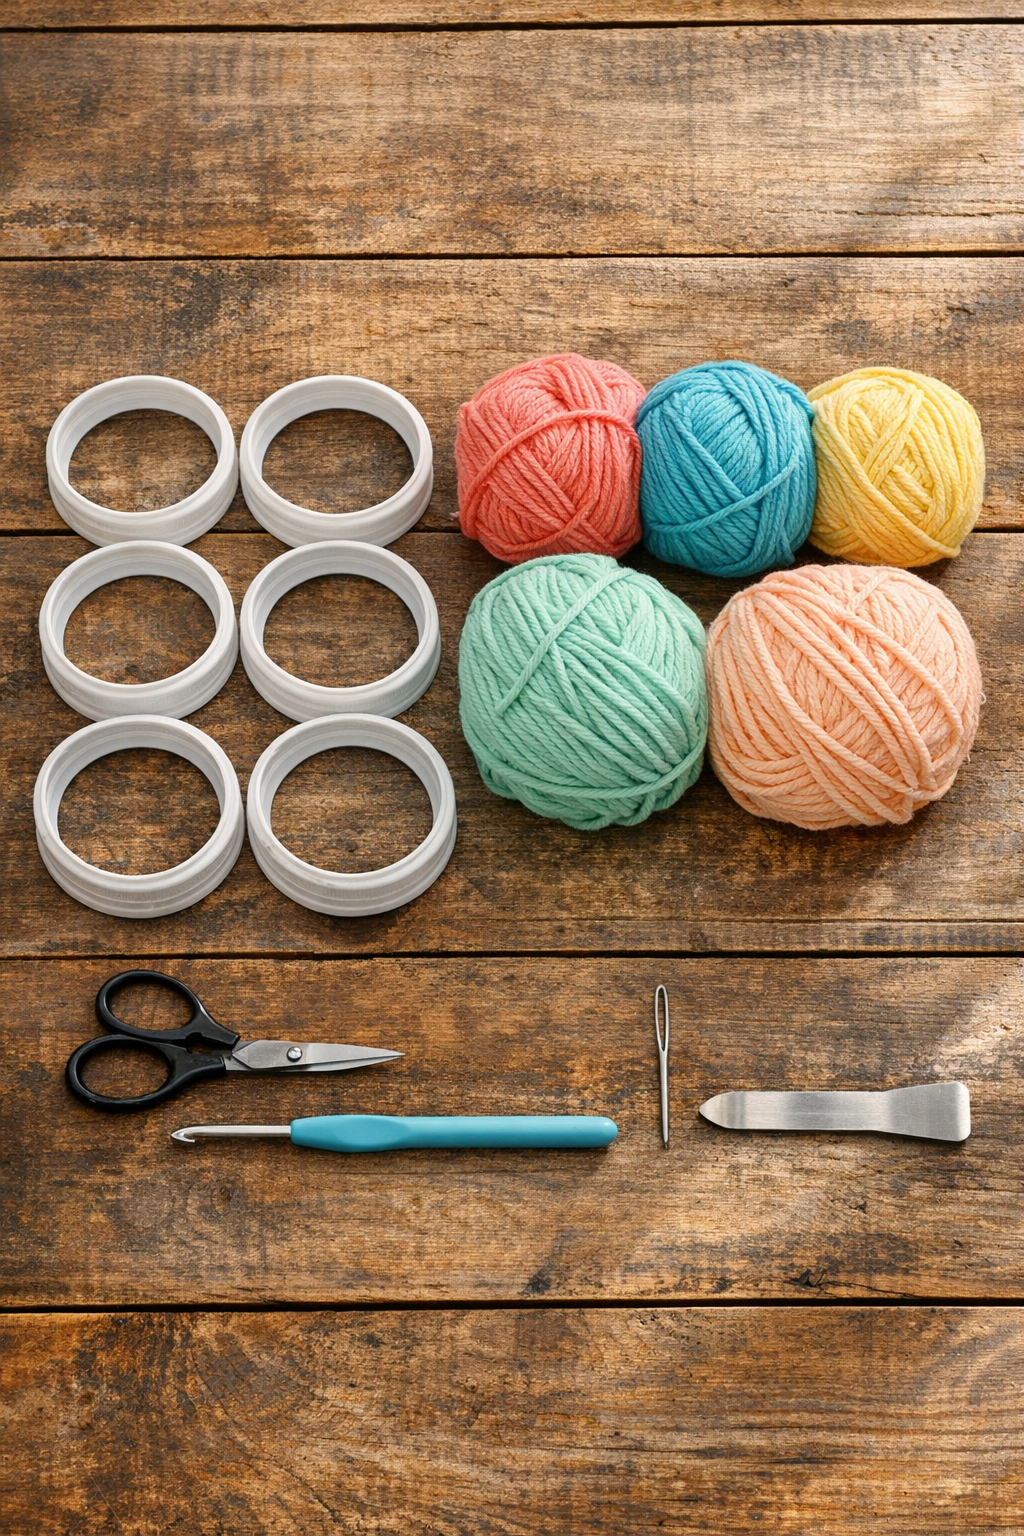
Materials
Instructions
1. Wash and dry the plastic mason jar lids, then use a small flat tool to carefully pop out the center disc from each one so only the outer ring remains.
2. Tie a slip knot on your hook, hold one lid ring in your non-dominant hand, and pull the yarn over the outer edge of the ring to begin covering it with stitches.
3. Work single crochet stitches evenly around the entire ring, placing the hook through the open center and over the plastic edge each time, until the ring is fully covered with no gaps showing.
4. Join the last stitch to the first with a slip stitch, then chain 1 to start building the coaster inward from the covered ring.
5. Work a round of single crochet stitches into the tops of the stitches around the ring, spacing them evenly so the edge lies flat and does not ruffle.
6. Continue crocheting inward in joined rounds, using single crochet or half double crochet stitches and decreasing gradually as needed, until the open center is filled and only a small hole remains.
7. Make the final decrease stitches to close the center neatly, cut the yarn leaving a 6-inch tail, and pull the tail through the last loop to fasten off.
8. Thread the yarn tail onto a yarn needle and weave it securely through the back of the stitches, then trim away the excess yarn.
9. Repeat the same process for the remaining lid rings until you have a full matching coaster set of six.
Variations & Tips
Color play: Use a different cotton color for each coaster if you want a cheerful mixed set, or keep them all one color for a tidy farmhouse look.
Best yarn choice: Stick with 100% cotton yarn rather than acrylic, because cotton handles condensation better and gives the coaster a sturdier feel.
Tension tip: If your stitches bunch up around the ring, use fewer stitches on the first round; if the plastic peeks through, add a few more so the ring is fully covered.
For outdoor use: These are especially handy outside because the plastic ring helps the coaster keep its shape even on damp picnic tables and porch railings.
Make it a gift set: Tie four or six finished coasters together with a bit of cotton ribbon or kitchen twine for a sweet little handmade hostess gift.
Cleaning advice: Spot clean or hand wash gently in cool water, then lay flat to dry so the coasters keep their nice round shape.
Beginner shortcut: If filling the center feels tricky, make a small separate crochet circle first and stitch it into the covered ring for a similar finished look.