Turning cheap plastic sunglasses into sturdy patio cover brackets is the kind of scrappy, practical project I love because it takes something flimsy and gives it a second life in a genuinely useful form. In this build, I combine chopped plastic sunglasses with a simple reinforcing filler to create thick molded brackets that can support a lightweight patio cover or shade panel when paired with proper screws and a sound frame.
I want to be clear from the start: this is best for small patio covers, shade awnings, or decorative roof extensions, not for major structural loads. If you enjoy upcycling and don’t mind a little careful heating, pressing, and shaping, this is a satisfying weekend project that feels a bit like kitchen prep crossed with shop work—which, admittedly, is right in my wheelhouse.
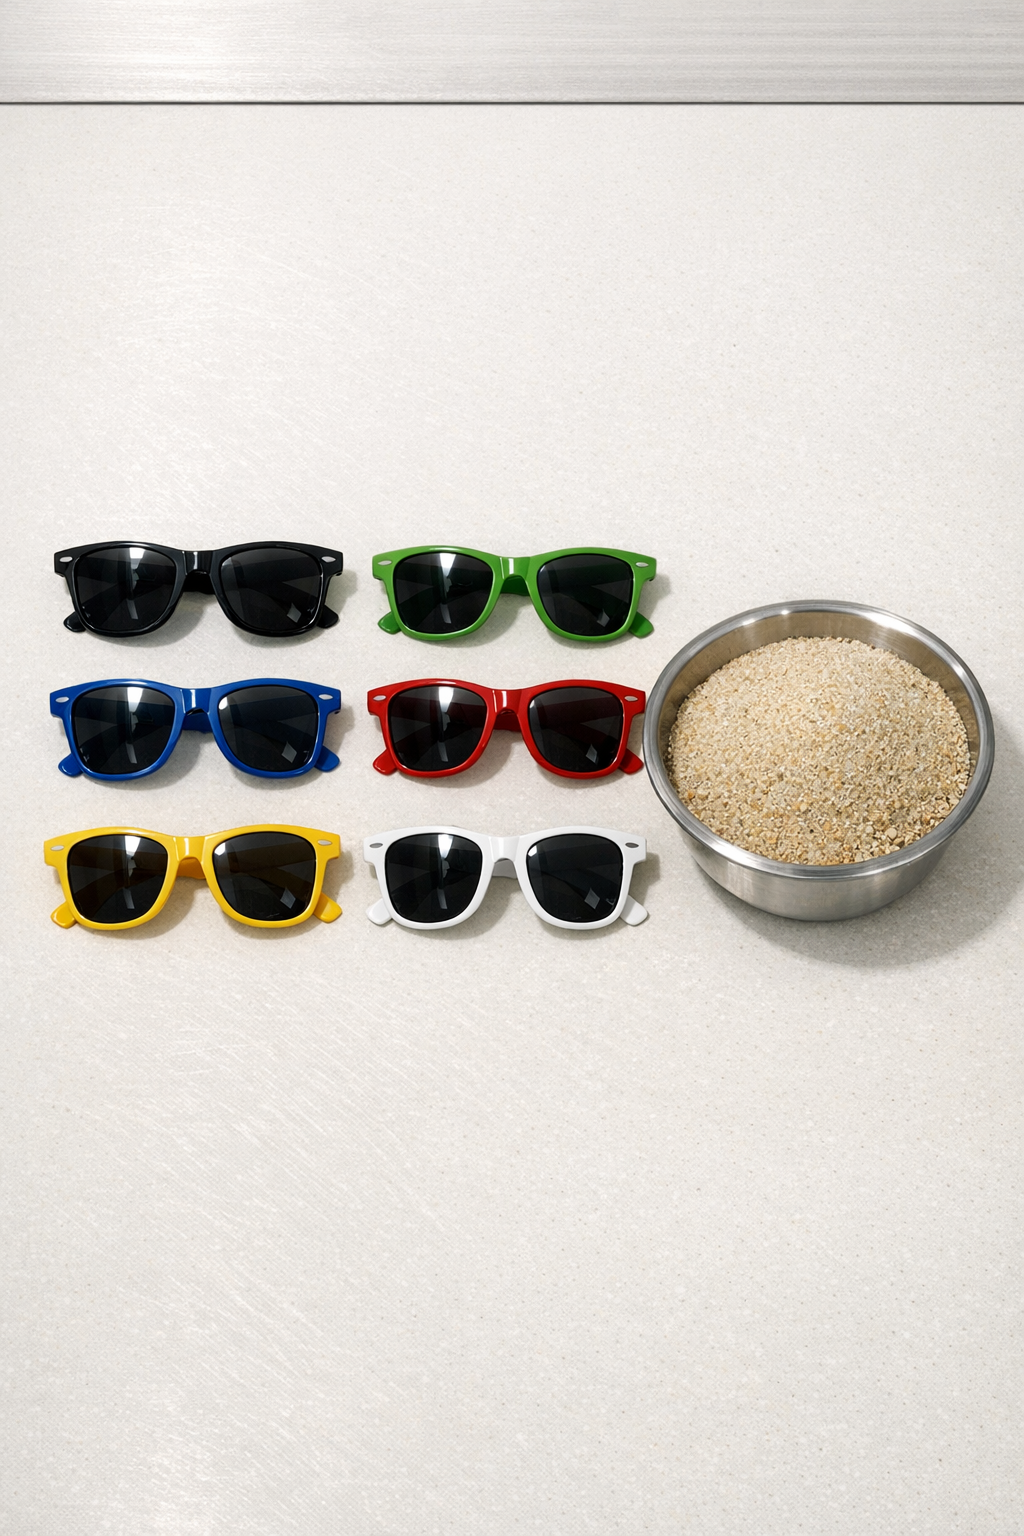
Materials
Instructions
1. Remove any metal screws, nose pads, or lens pieces that are not plastic, and sort out only the hard plastic frames and arms. Break the plastic into pieces about 1 to 2 inches wide so it heats more evenly.
2. Wash the plastic pieces in warm soapy water, rinse well, and dry them completely. Clean material melts more consistently and gives a denser finished bracket.
3. Build or set out a simple bracket mold using a metal angle form or two flat metal surfaces clamped at 90 degrees. Plan for each bracket to be about 6 inches long, 4 inches tall, and roughly 3/4 inch thick.
4. Preheat the chopped plastic in a dedicated metal pan or on a metal tray in a well-ventilated heating setup until it becomes soft and pressable, not burnt. Work in small batches so you can control the texture and avoid scorching.
5. Stir in dry sand while the plastic is soft, using roughly 1 part sand to 3 parts softened plastic by volume. Fold and press the mixture until the sand is fully embedded and the mass looks thick and uniform.
6. Transfer the hot mixture into the right-angle mold and pack it tightly into the corner. Compress it firmly with a flat metal scraper or block so there are no air gaps.
7. Shape the bracket body to an even thickness and slightly round the outside edges while the material is still warm. Keep both legs of the bracket flat so they sit cleanly against posts and beams.
8. Let the bracket cool until it is firm but still slightly workable, then form or drill two mounting holes on each side, spaced about 1 1/4 inches in from the ends. Make each hole sized for the fasteners you plan to use later.
9. Repeat the melting, mixing, and molding process until you have the number of brackets your patio cover needs. For a small cover, I usually make at least 4 matching brackets and try to keep the weight and dimensions as consistent as possible.
10. Once fully cooled, test each bracket by clamping it in place and applying gradual hand pressure before installation. Discard any piece that shows cracking, crumbling, or uneven softness.
11. Install the finished brackets only on a properly built wooden or metal frame using suitable exterior-grade fasteners. Use them to support a lightweight patio cover, sun shade panel, or decorative canopy rather than a heavy roof.

Variations & Tips
Use matching plastic: If possible, use sunglasses that feel and look similar so the melted plastic behaves more predictably. Mixed plastics can soften unevenly, rather like combining two cheeses with very different melt points.
Try sand as the secret item: Fine dry sand is inexpensive, easy to find, and adds body to the plastic so the bracket feels less rubbery. It also helps the finished piece hold its shape during cooling.
Keep the bracket thick: For outdoor support pieces, I would not make these thin or delicate. A solid 3/4-inch body with broad contact surfaces gives much better results than a narrow, fussy shape.
Work with ventilation: Melt plastic only with strong ventilation and dedicated tools that will not return to food use. I treat this like any serious heat project in the kitchen or workshop: clean setup, steady attention, and no shortcuts.
Best use case: These brackets are most suitable for lightweight covers, lattice tops, fabric shade frames, or decorative patio elements. For anything structural, load-bearing, or code-regulated, use engineered hardware instead.
Smoother finish option: If you want a cleaner appearance, press the warm bracket faces between smooth metal sheets before final cooling. That extra compression can make the edges sharper and the surface more refined.