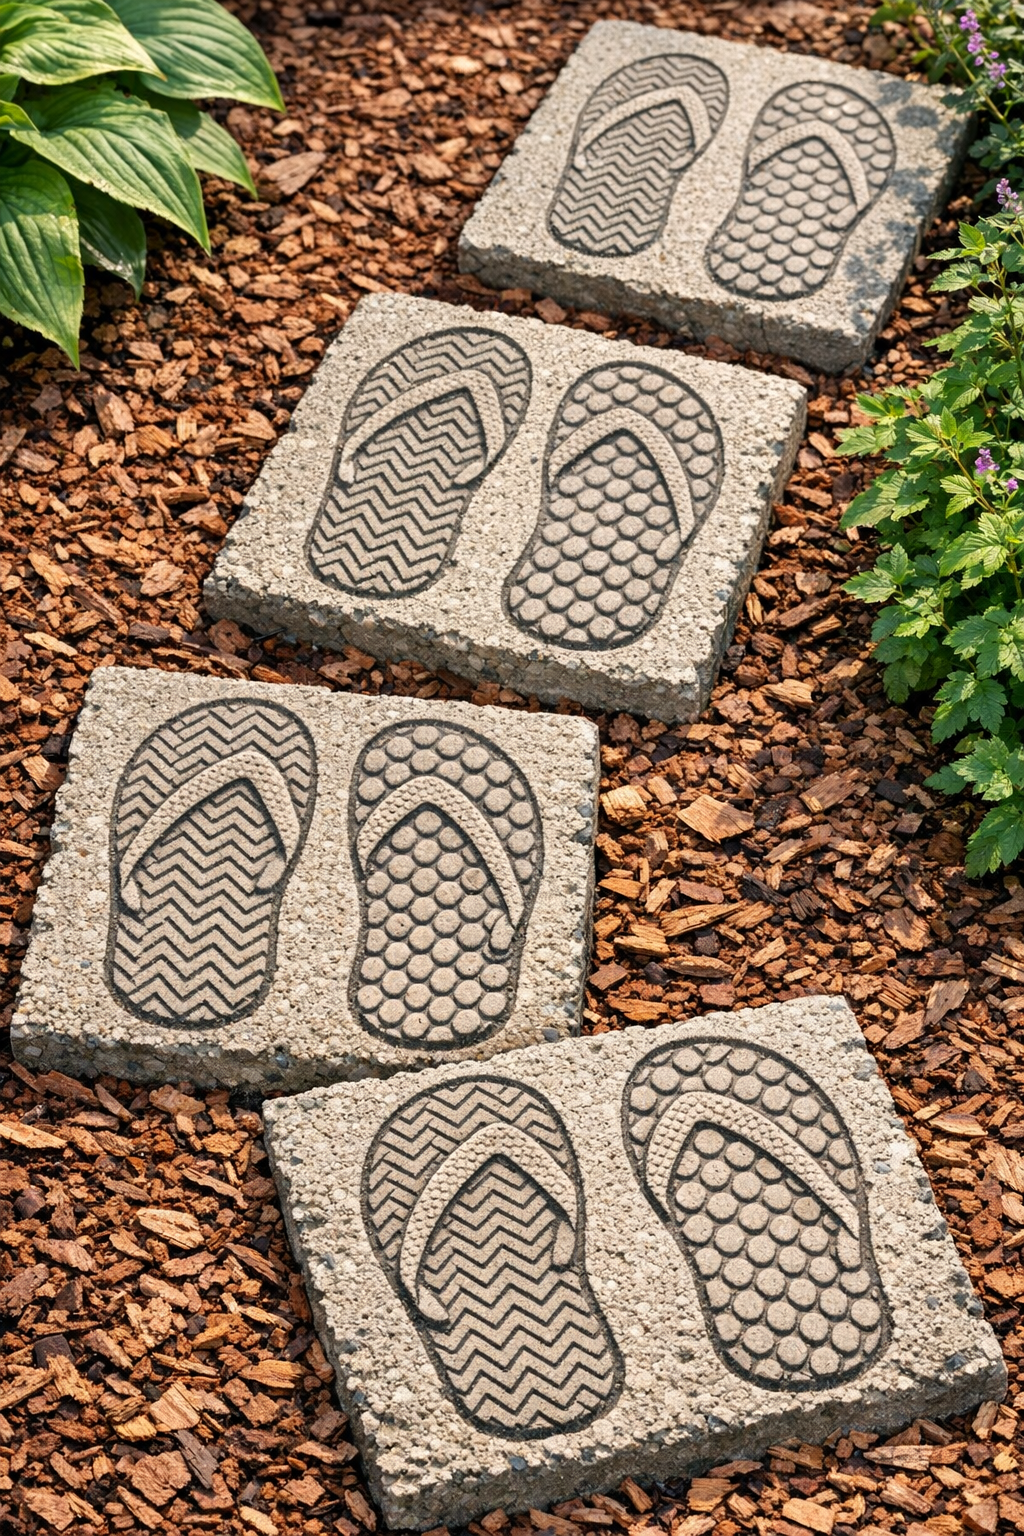
I love a yard project that uses a few inexpensive materials and still ends up looking like something you would spot at a garden center for three times the price. These tread-textured yard slabs are made by using stacked rubber flip-flops to create a bold sole pattern in cement, and the finished look is surprisingly polished once they’re set into a path or tucked between garden beds.
This is a great weekend DIY if you want a sturdier alternative to plain stepping stones without getting into complicated molds or power tools. I’m always looking for projects that fit into a busy schedule, and this one does exactly that: simple materials, very little prep, and a fun textured finish that gives the slabs extra grip and character.
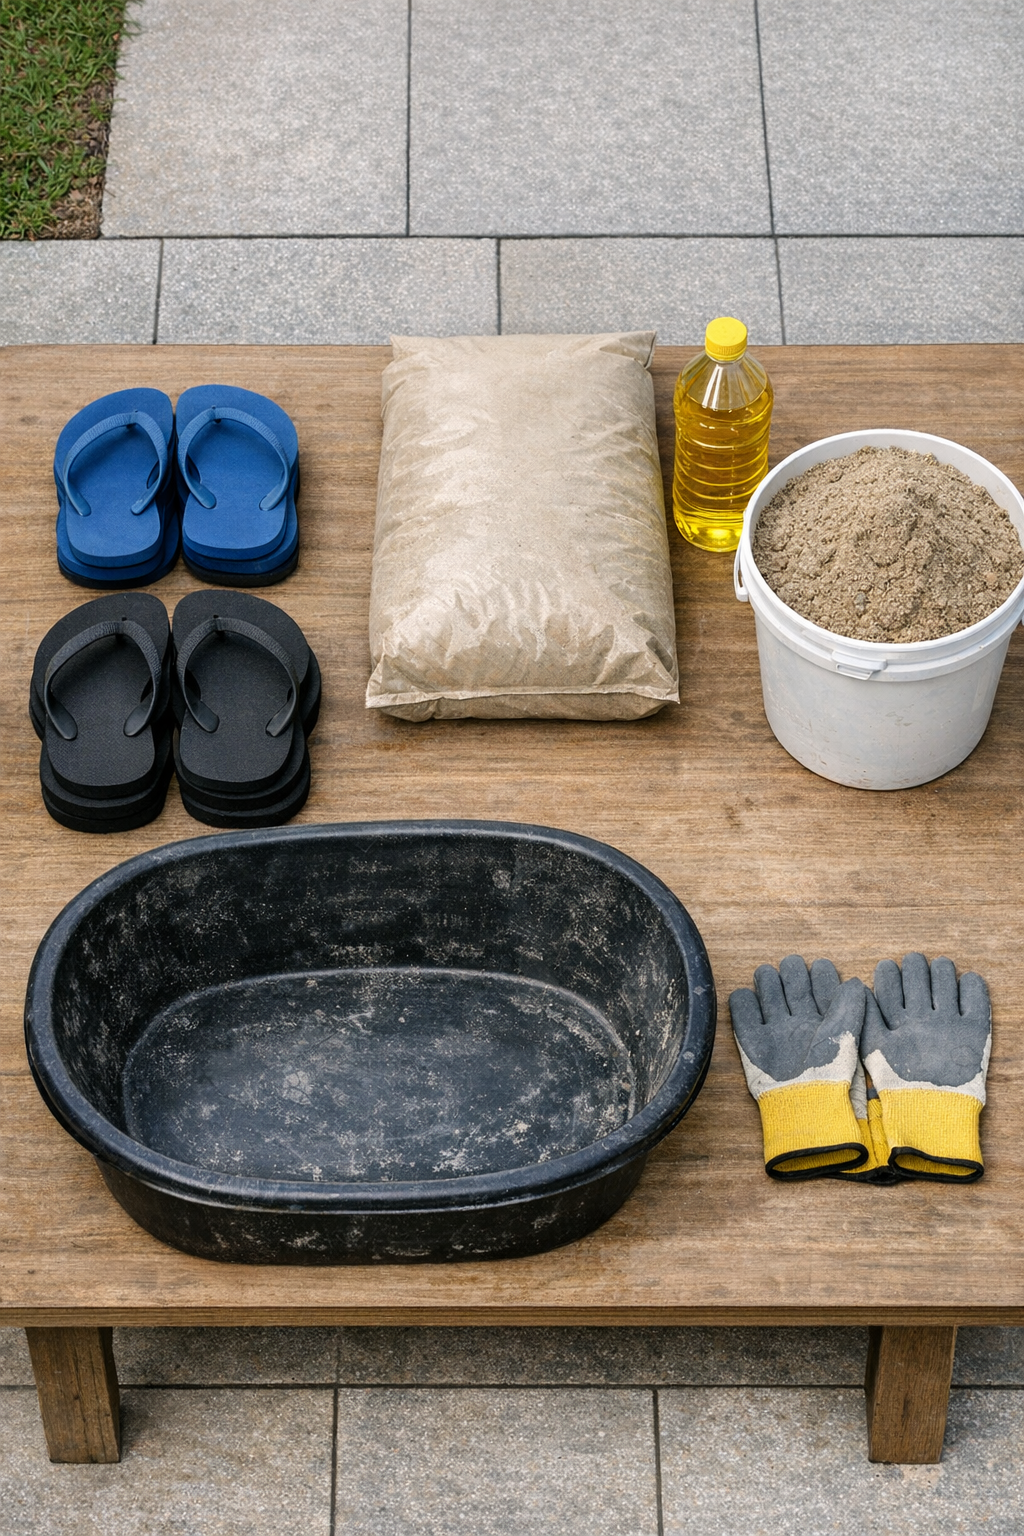
Materials
8 rubber flip-flops, adult size, to make 4 stacked imprint forms
Instructions
1. Choose a flat work area outdoors and set down a scrap board, plastic sheet, or piece of cardboard to protect the surface. Gather all four pairs of flip-flops and match similar sizes so your slabs come out consistent.
2. Stack two flip-flops sole-side up for each slab, lining up the edges as closely as possible to create a thicker mold base. If the straps get in the way, trim them off or tuck them flat so only the treaded soles will press into the cement.
3. Rub a very thin coat of cooking oil over the treaded sole surface of each top flip-flop. This helps the cement release cleanly and keeps the texture sharper.
4. Pour the cement mix into your tub and add water a little at a time, stirring until it reaches a thick peanut-butter-like consistency. The mix should hold its shape when scooped, not run or slump like soup.
5. Scoop a mound of cement onto each stacked pair of flip-flops and shape it into an oval or rounded rectangle about 1 1/2 to 2 inches thick. Press and smooth the top gently with your trowel so the slab is compact and even.
6. Tap the sides lightly and press down just enough to make sure the tread pattern contacts the cement evenly underneath. If the edges crack or look dry, dab on a little water and smooth them back together.
7. Let the slabs sit undisturbed for 24 hours until firm enough to handle. If the weather is hot or windy, loosely cover them with plastic so they cure more slowly and stay stronger.
8. Carefully lift each slab and peel away the flip-flops to reveal the tread texture on the underside. Set the slabs textured-side up or down depending on the look you want, then let them cure another 24 to 48 hours before placing them in the yard.
Variations & Tips
Use matching flip-flops: If all your flip-flops are the same size and pattern, the finished path looks more intentional and clean. I like mixed patterns too, but matching pairs give it a more designed feel.
Add color: You can mix a small amount of concrete pigment into the cement if you want a darker gray, terracotta, or stone-inspired finish. This is especially pretty if your landscaping already has a color palette going.
Make them thicker for soft ground: If your yard stays damp or the soil is loose, shape the slabs closer to 2 inches thick so they hold up better over time. Heavier slabs also settle less when stepped on.
Set them into sand: A thin layer of sand under each finished slab helps with leveling once you install them. I do this anytime I want the path to look neat without having to dig too deep.
Keep the texture crisp: Don’t over-oil the flip-flops or the tread impression can soften. A light wipe is enough, and it makes a big difference in how defined the pattern looks once cured.
Plan for curing time: Even if the slabs feel hard after a day, they’re stronger if you wait a couple more days before heavy use. For a busy week, I usually make these on a Saturday and place them midweek after work.