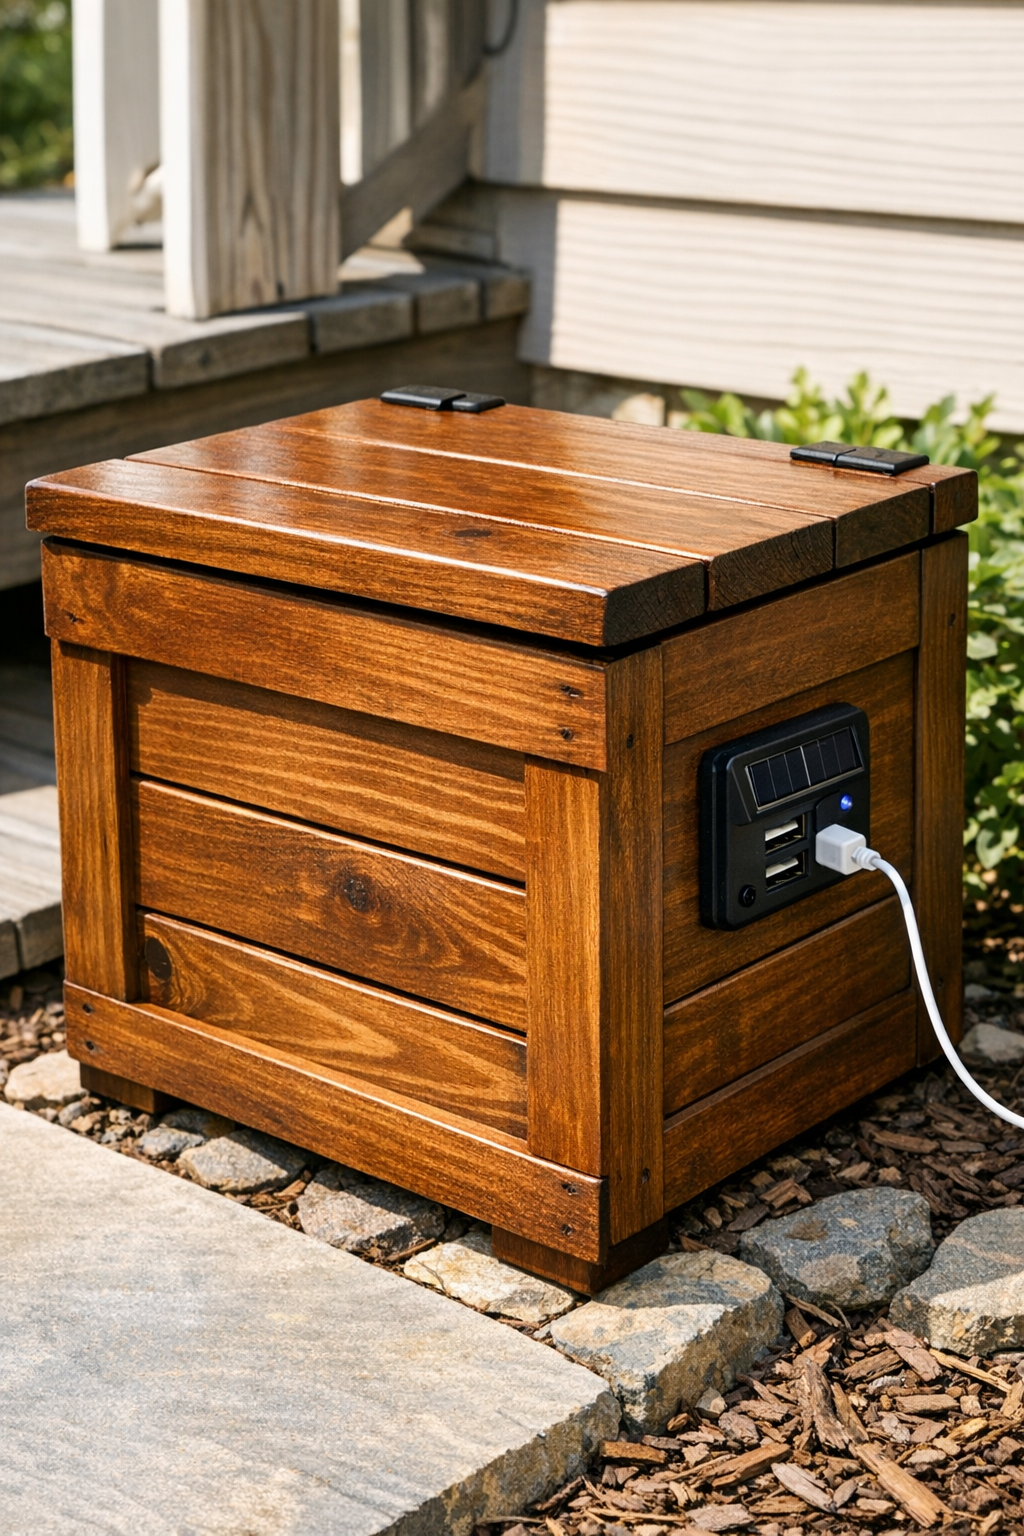
Keeping phones, small speakers, and rechargeable lanterns powered up outside is one of those little things that makes a patio or deck feel much more usable. This outdoor charging station is basically a weatherproof wooden crate with a solar USB port mounted through the side, so you can tuck cords and devices neatly inside while they charge. It is simple to build, doesn’t take a full weekend, and it helps keep outdoor clutter under control.
As a mom, I love projects that make family time easier without looking fussy, and this one does exactly that. If you spend time on the deck for cookouts, quiet morning coffee, or evenings with the kids chasing fireflies, this crate-style charging station gives you one tidy place to keep everyday devices powered and protected.
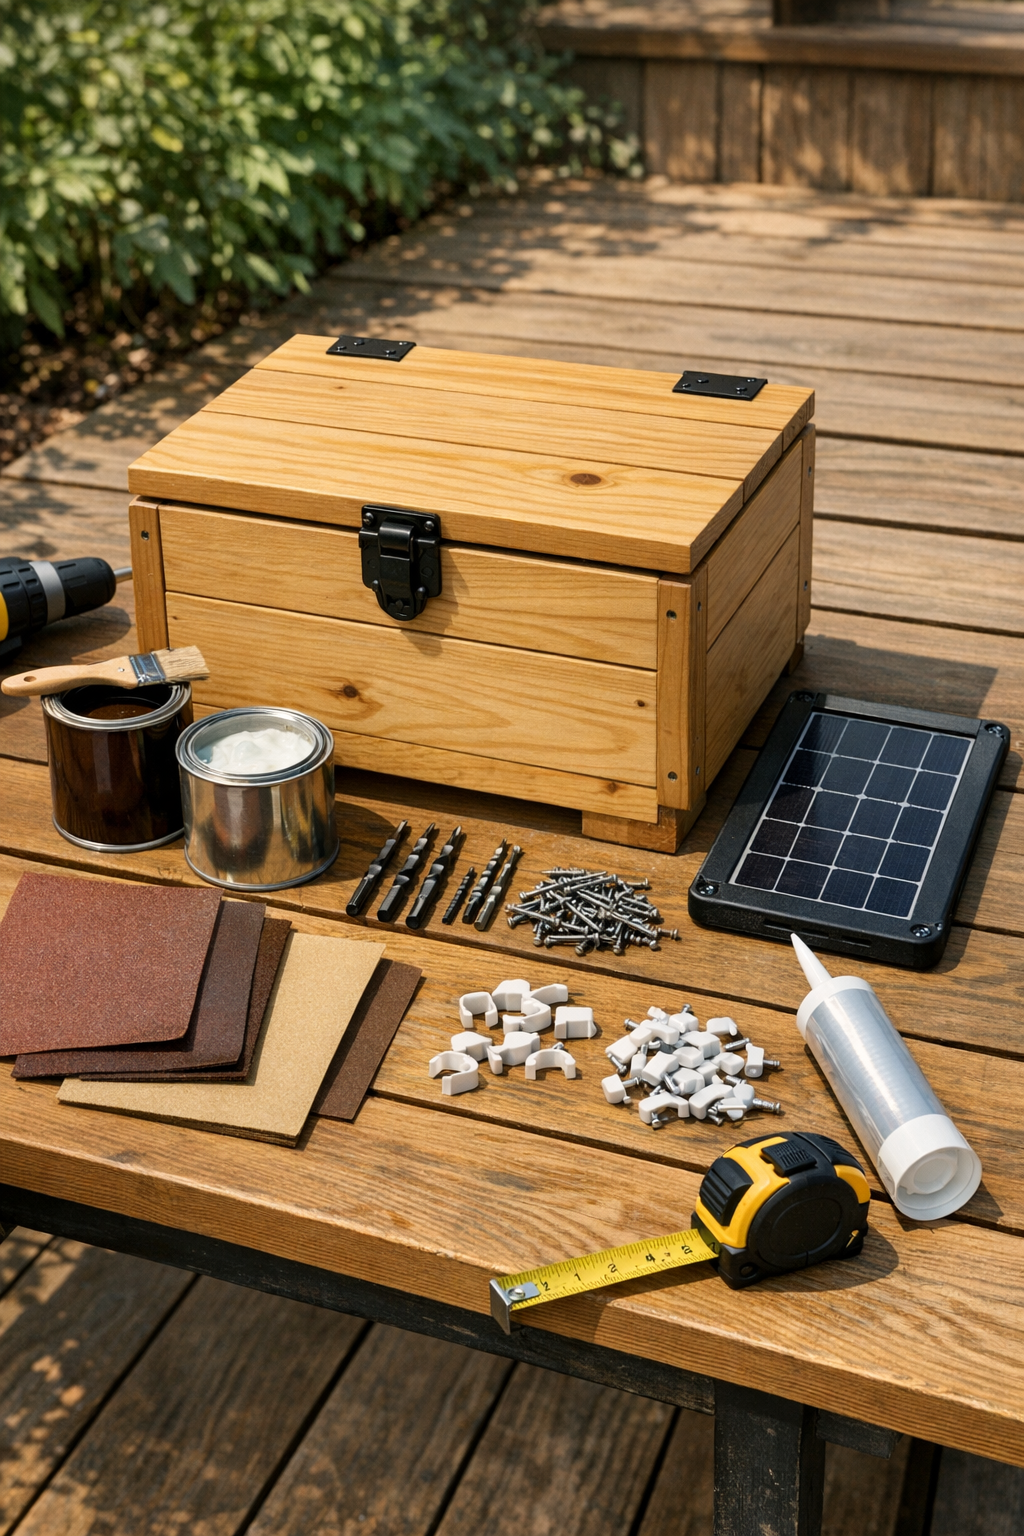
Materials
1 weatherproof wooden crate with hinged lid, approximately 18 inches long x 12 inches wide x 12 inches high
Instructions
1. Set the crate on a steady work surface and decide which side will face the sun most often. Mark the USB panel location near the upper half of that side so cords can route neatly inside.
2. Sand the entire crate with 120-grit sandpaper, then smooth it with 220-grit. Wipe away all dust so the stain and sealer will go on evenly.
3. Apply one even coat of exterior wood stain with a brush or cloth, following the grain. Let it dry fully according to the product directions before adding any finish.
4. Brush on two light coats of clear outdoor polyurethane or spar urethane, allowing proper drying time between coats. This extra layer is what helps the crate hold up better through damp mornings and changing weather.
5. Hold the solar USB panel in place and trace its mounting area, then mark the center point for the cable hole. Drill a small starter hole first, then enlarge it carefully to fit the cable grommet.
6. Insert the grommet into the drilled hole and test-fit the solar USB panel and cable. The cable should pass through cleanly without rubbing on raw wood edges.
7. Secure the solar USB panel to the crate with the exterior screws, or according to the panel’s mounting style. Run a thin bead of clear silicone around the edges to help keep out splashes and moisture.
8. Feed the USB extension cable inside the crate and anchor it with adhesive cable clips so it stays tidy. Add the hook-and-loop strap inside to bundle extra cord length and keep the storage space usable.
9. Attach the rubber feet to the bottom of the crate so it sits slightly above the deck surface. That little bit of lift helps reduce moisture contact and keeps the wood looking better longer.
10. Place the crate near the deck where it will get good sun, then test the USB ports with a phone or small device. Once it is working, use the crate to store charging cords, a battery bank, or outdoor speaker accessories neatly inside.
Variations & Tips
Add a power bank: If you want charging after sunset, keep a compact USB power bank inside the crate and let the solar panel top it off during the day.
Make it more weather-resistant: For a spot that gets frequent rain, add adhesive weatherstripping around the lid so the crate closes more snugly.
Use it for family gear: I like projects that pull double duty, and this crate can also hold earbuds, flashlights, and our little portable speaker so everything is in one place before we head outside.
Pick a darker stain: A medium walnut or deep cedar tone tends to hide dirt better on an outdoor piece, especially if your deck gets lots of foot traffic from kids and pets.
Check your panel fit first: Before drilling, set the panel exactly where you want it and make sure the lid still opens easily and the interior has room for cables.
Adjust for picky setups: If your family uses different devices, choose a dual-port or mixed USB-A and USB-C panel so nobody is hunting for the “right” charger when it is time to relax outside.