
I love a project that turns something a little rough and forgotten into something soft, useful, and unexpectedly pretty, and this outdoor lampshade does exactly that. If you’ve got an old wire lobster trap with the top cut off, a spool of cotton lace thread, and a little patience, you can crochet directly through the wire to make a breezy coastal-style shade that looks right at home on a porch, patio, or screened-in deck.
This is a great project for anyone who enjoys crochet but wants to try it in a more freeform, decorative way. I’m always looking for ways to make outdoor spaces feel more finished without spending a fortune, especially in the summer when we actually use our patio every evening, and this one gives you that collected seaside look with very basic stitches and a salvaged base.
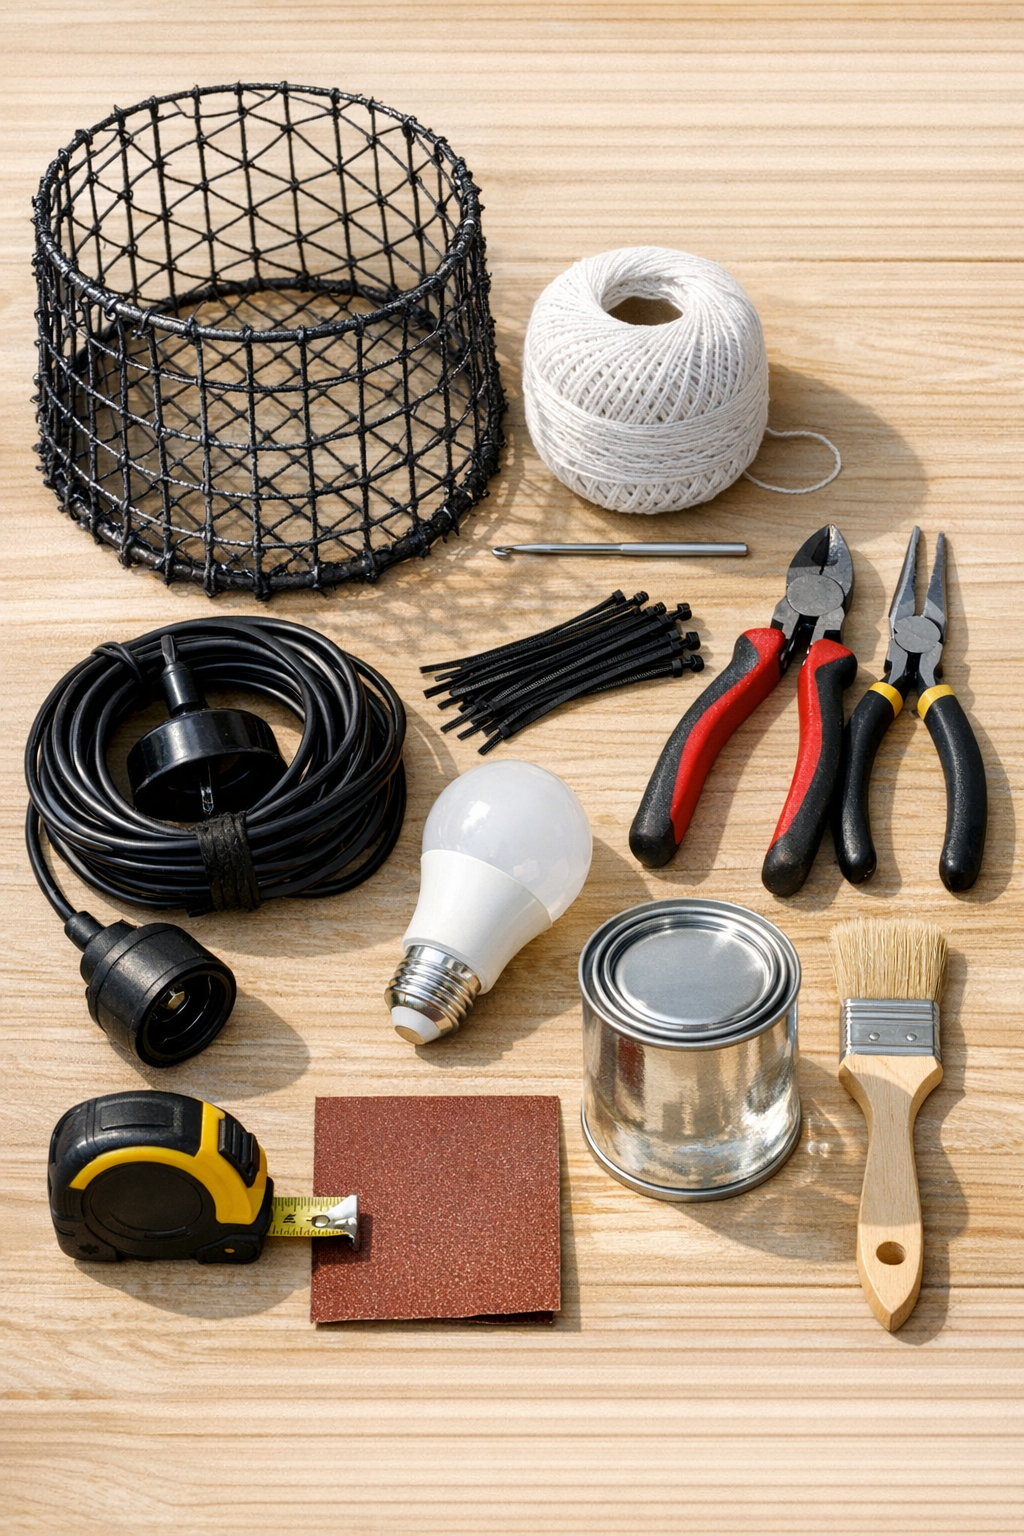
Materials
1 old wire lobster trap, approximately 24 inches tall x 18 inches wide, with top already cut off
Instructions
1. Inspect the lobster trap for broken welds, sharp points, and loose wire ends, then trim or bend anything hazardous with wire cutters and pliers. Sand any rough spots until they feel smooth enough that the cotton thread won’t snag.
2. Brush on a thin, even coat of clear outdoor metal sealer over the trap and let it dry completely according to the product directions. This helps reduce rust transfer and gives the finished shade a longer life outdoors.
3. Measure the height and widest circumference of the trap so you can plan your crochet spacing. If the trap tapers, note the narrower top opening and wider lower section, because your stitch tension will need to relax slightly as you work downward.
4. Tie the cotton thread securely to the wire near the top edge with a double knot, then work a foundation round of single crochet directly around the top rim, stitching over the wire. Keep the stitches close together so the edge looks finished and the thread has a firm anchor.
5. Begin building the lace by working chain loops from one wire section to the next, attaching each loop with a single crochet around the vertical or horizontal wire intersections. Aim for loops about 1 to 1 1/2 inches wide so the pattern stays airy but still holds its shape.
6. Continue downward in rounds, staggering the chain loops so each new loop lands between the loops from the previous round. This creates a netted lace effect that softens the trap without hiding its coastal wire structure.
7. Add visual interest every 3 to 4 rounds by switching to a shell or picot round, working the decorative stitches into the chain spaces instead of into solid fabric. I like this part because it makes the piece feel more intentionally “lampshade” and less like plain netting.
8. Check the spacing every few rounds and adjust by adding an extra chain in wider areas or using one less chain where the trap narrows. Don’t worry about making it mathematically perfect; this kind of organic shaping actually looks charming once the light is inside.
9. Work until the crocheted lace covers the sides of the trap, stopping 1 to 2 inches above the bottom edge if you want a more open, breezy look. For a fuller shade, continue all the way to the bottom rim and crochet a final round of tight single crochet around that edge.
10. Fasten off the thread, weave the end back through several nearby stitches, and knot it discreetly around a wire joint for extra security. Trim the excess thread closely with scissors.
11. Thread the outdoor pendant light cord down through the top opening and center the socket so the bulb will hang inside the shade without touching the crochet or the wire. Secure the cord to the trap frame with zip ties or galvanized wire at 3 or 4 points around the top.
12. Install the LED bulb, hang the finished shade in a covered outdoor spot, and test the light at dusk. Make sure the bulb remains well clear of all thread and that the shade hangs level before leaving it in place.
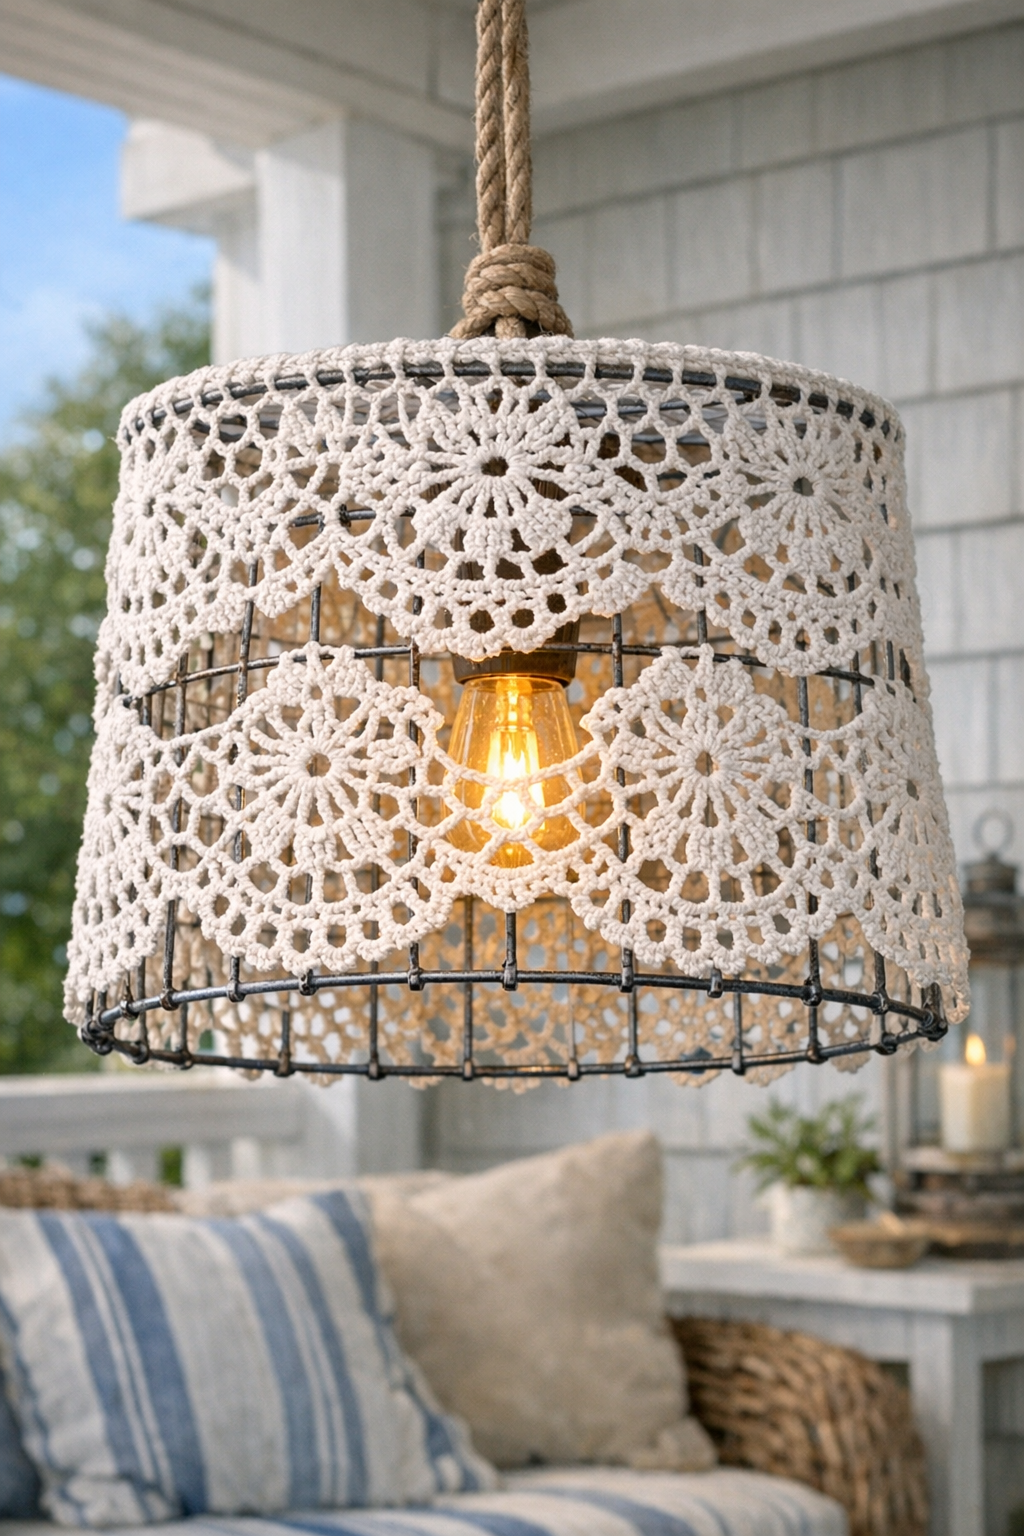
Variations & Tips
Color choice: Natural ecru cotton gives this project a softer, vintage boat-house look, while bright white feels crisp and beachy. I’d avoid dyed novelty threads outdoors because they tend to fade faster in direct sun.
Outdoor safety: Always use an outdoor-rated cord kit and a low-heat LED bulb for this project. Cotton thread should never sit against a hot bulb, so leave plenty of clearance in the center.
Pattern flexibility: If you don’t want to freehand the lace, use a simple repeat of single crochet, chain 5, single crochet around the next wire section. That repeat is easy to remember, which is ideal if you’re fitting in a few rows after work like I usually do.
Rusty trap fix: If your trap has heavy rust, scrub it with a wire brush before sanding and sealing. You want the frame stable and clean enough that it won’t keep shedding onto the thread.
Hanging location: This shade lasts best in a covered porch or screened patio rather than fully exposed rain. Think of it as outdoor-friendly, not indestructible.
Decorative additions: You can weave a little jute rope around the top rim or add a few wooden beads near the bottom edge for extra coastal character. Keep embellishments minimal so the lace and trap shape stay the focus.