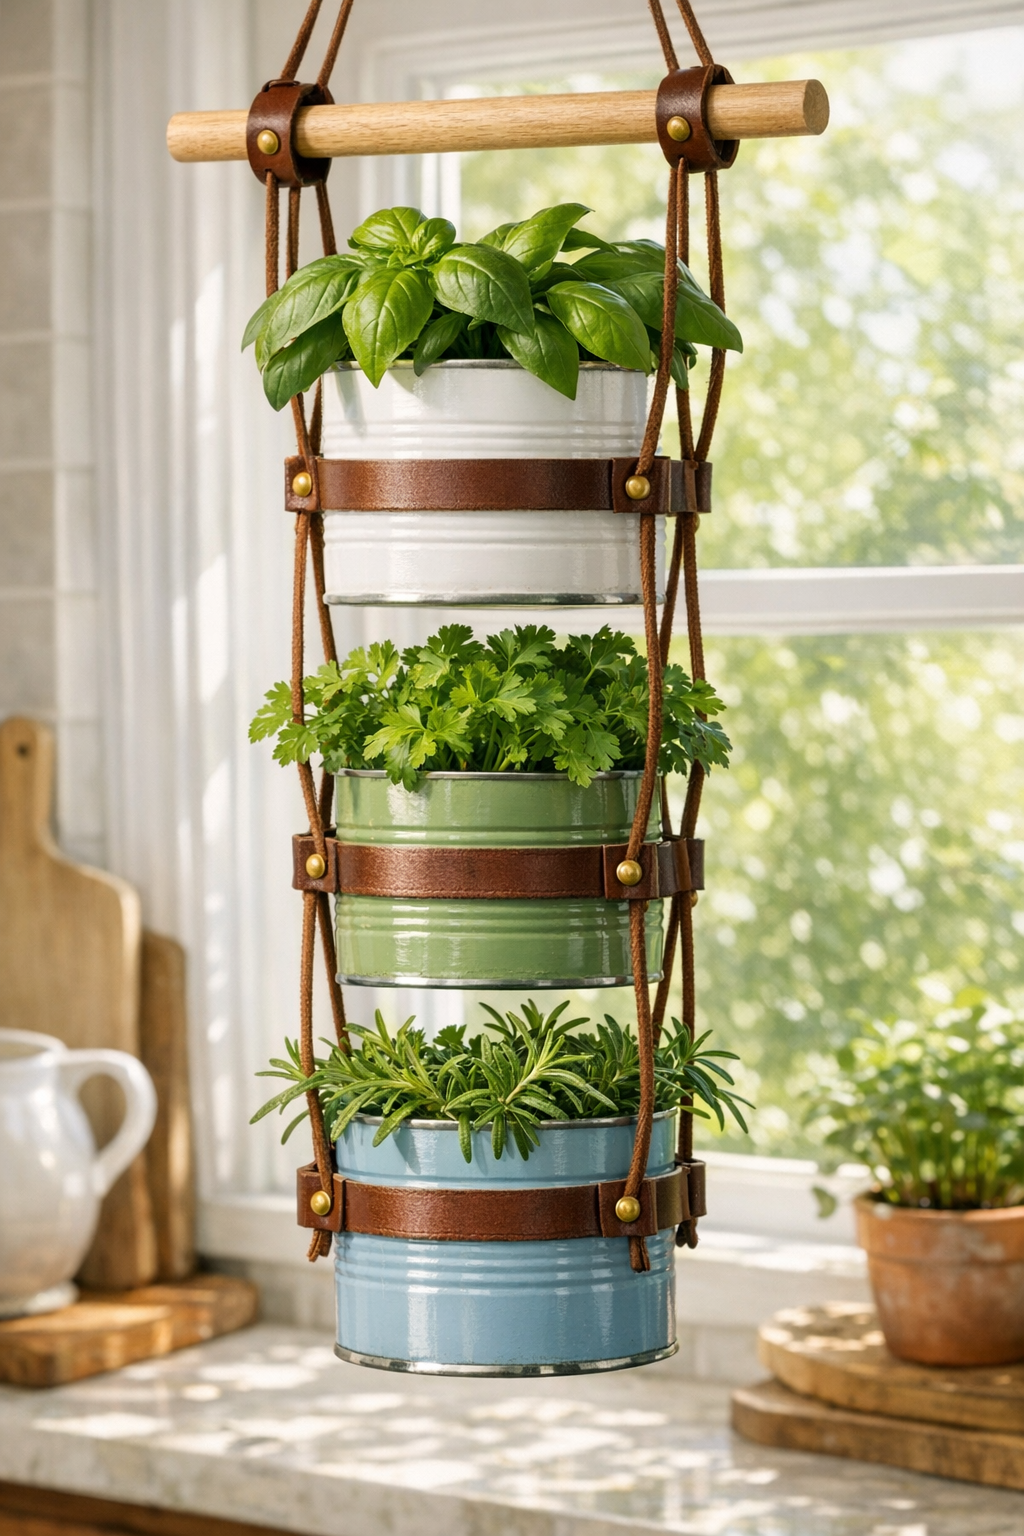
I love a project that makes a kitchen feel a little more alive, and this hanging herb garden does exactly that. In this DIY, I turn a few cleaned tin cans into painted planters, thread leather straps through them, and hang the whole piece from a wooden dowel so it sits beautifully in a sunny kitchen window. It’s simple, affordable, and gives fresh herbs a proper little home instead of leaving them crowded on the sill.
This is a lovely project for anyone who wants fresh basil, thyme, or mint close at hand without taking up precious counter space. As a parent, I’m always looking for ways to make the kitchen feel both useful and welcoming, and I’ve found that growing herbs right by the window makes everyday cooking feel a touch more special.

Materials
Instructions
1. Wash the tin cans thoroughly, remove any paper and glue, and let them dry completely. Lightly sand the outside so the primer and paint will grip well.
2. Mark two holes near the upper rim of each can, placing them directly opposite each other about 1 inch below the top edge. Keep the hole placement consistent on all three cans so they hang evenly.
3. Create the holes with a drill or metal hole punch, then smooth any sharp edges inside and out. If you plan to plant directly into the cans, add 3 or 4 small drainage holes in the bottom of each can as well.
4. Apply a thin coat of metal primer to the outside of each can and let it dry fully. Once dry, paint the cans in your chosen colors, using two light coats for a smooth finish.
5. Seal the painted cans once the paint is dry, especially if the window gets strong sun or moisture. Let the sealer cure according to the product directions before assembling.
6. Cut or trim the leather straps if needed so both are exactly the same length. On each strap, mark three can positions spaced about 7 inches apart, leaving enough extra length at the top for hanging over the dowel.
7. Thread one side of each can onto the left leather strap and the other side onto the right strap, lining the holes up with your strap marks. Secure each connection with a Chicago screw or rivet so the cans sit level between the two straps.
8. Slide the top loops of both leather straps over the wooden dowel, or wrap and fasten them around the dowel if you prefer a fixed position. Check that the cans hang straight and adjust the spacing before tightening everything fully.
9. Add a thin layer of drainage pebbles to the bottom of each can, then fill each about two-thirds full with potting soil. Set one herb plant into each can and add more soil around it, pressing lightly to hold it in place.
10. Hang the dowel securely in a sunny kitchen window using your preferred mounting hardware or brackets rated for the weight. Water lightly after planting, then keep the herbs trimmed so they stay healthy and don’t become top-heavy.
Variations & Tips
Color palette: I like soft sage, cream, or dusty blue for a kitchen project like this, but bold colors can be wonderful too. If your family enjoys cheerful spaces, try one color per can for a playful look.
Best herbs to grow: Basil, parsley, chives, thyme, and oregano all do well in a sunny window. For picky eaters, I’d start with basil or chives since they’re easy to tuck into pasta, eggs, and butter without making a meal feel too adventurous.
Drainage option: If you’re worried about drips near the window, keep each herb in its nursery pot and set it inside the painted can instead of planting directly. That makes watering easier, especially on busy weekdays.
Leather substitute: If leather isn’t your style, sturdy canvas strapping works too. Just make sure it’s strong enough to support the weight of damp soil and mature plants.
Kid-friendly helper job: If little hands want to join in, let them help paint the cans or choose which herb goes in each planter. My own family always seems more excited about dinner when they’ve had a hand in growing part of it.
Mounting tip: Before hanging, weigh the finished piece in your hands and choose hardware that can safely hold more than that amount. A fully watered planter is always heavier than it looks.