
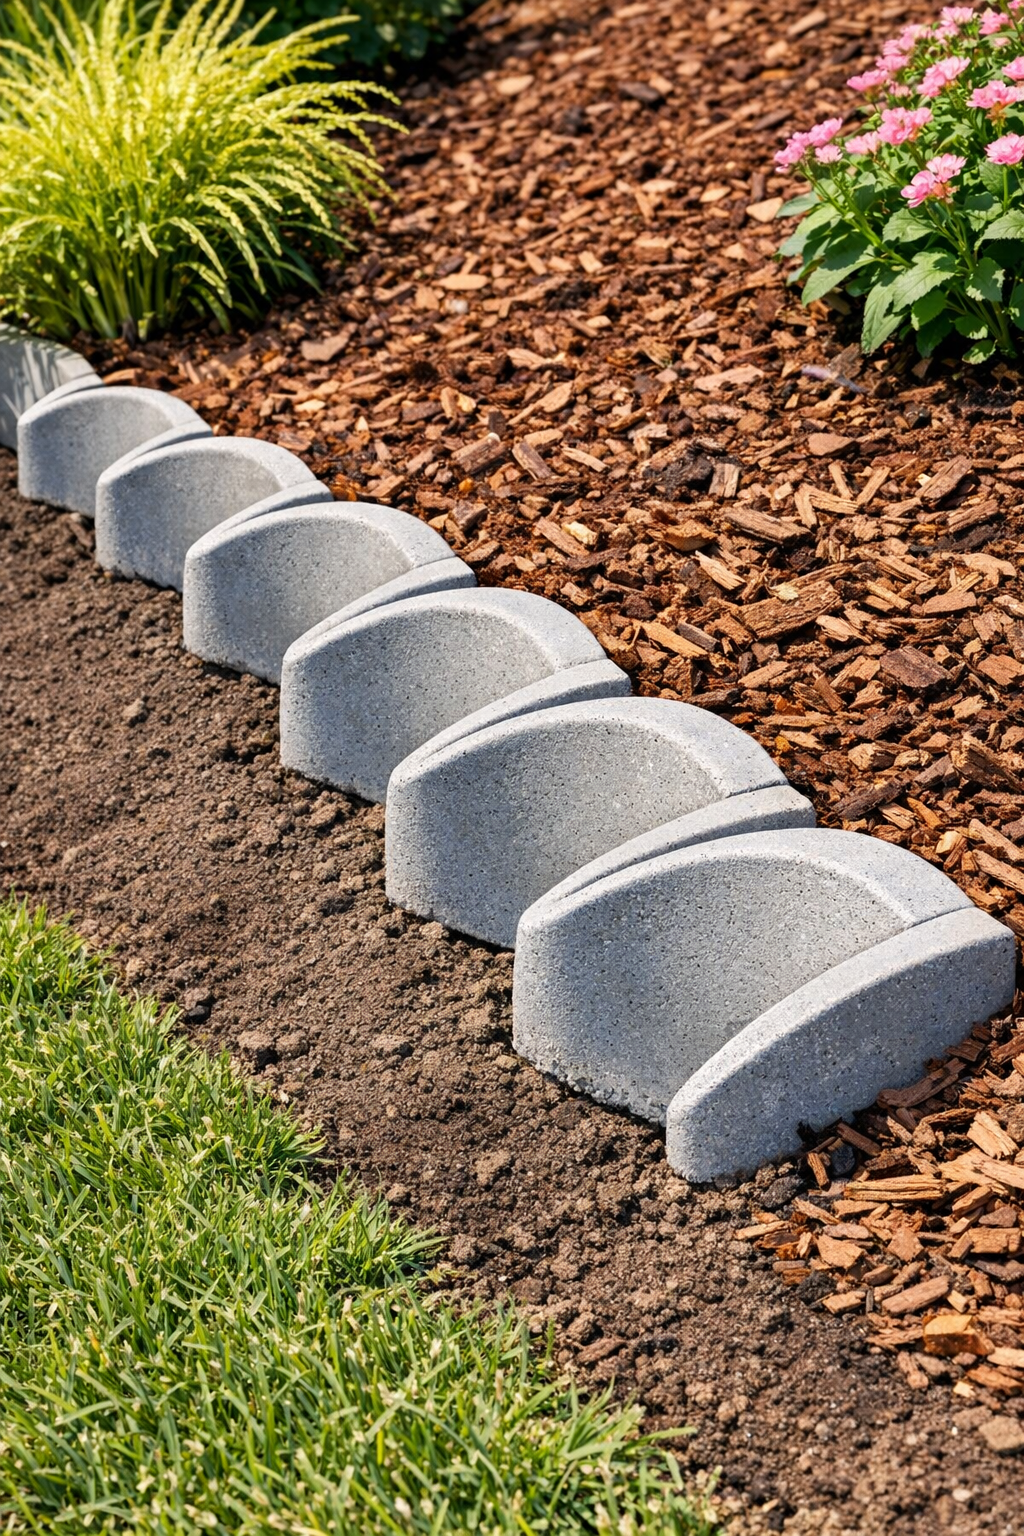
If you need a simple way to tidy up a sloped flower bed or keep mulch from sliding where it shouldn’t, this little dustpan-and-cement project is such a clever fix. The idea is wonderfully practical: cheap plastic dustpans become molds for sturdy cement edging pieces, and once they’re set into the ground, they create a neat, curved border that looks far more expensive than it is.
I’m always drawn to projects that stretch a budget without looking homemade in a bad way, and this one does exactly that. It’s especially nice for anyone working with a hill, uneven garden edge, or a spot where lightweight edging keeps shifting. These cement pieces have enough weight to stay put, and the curved dustpan shape gives the finished border a soft, finished look.
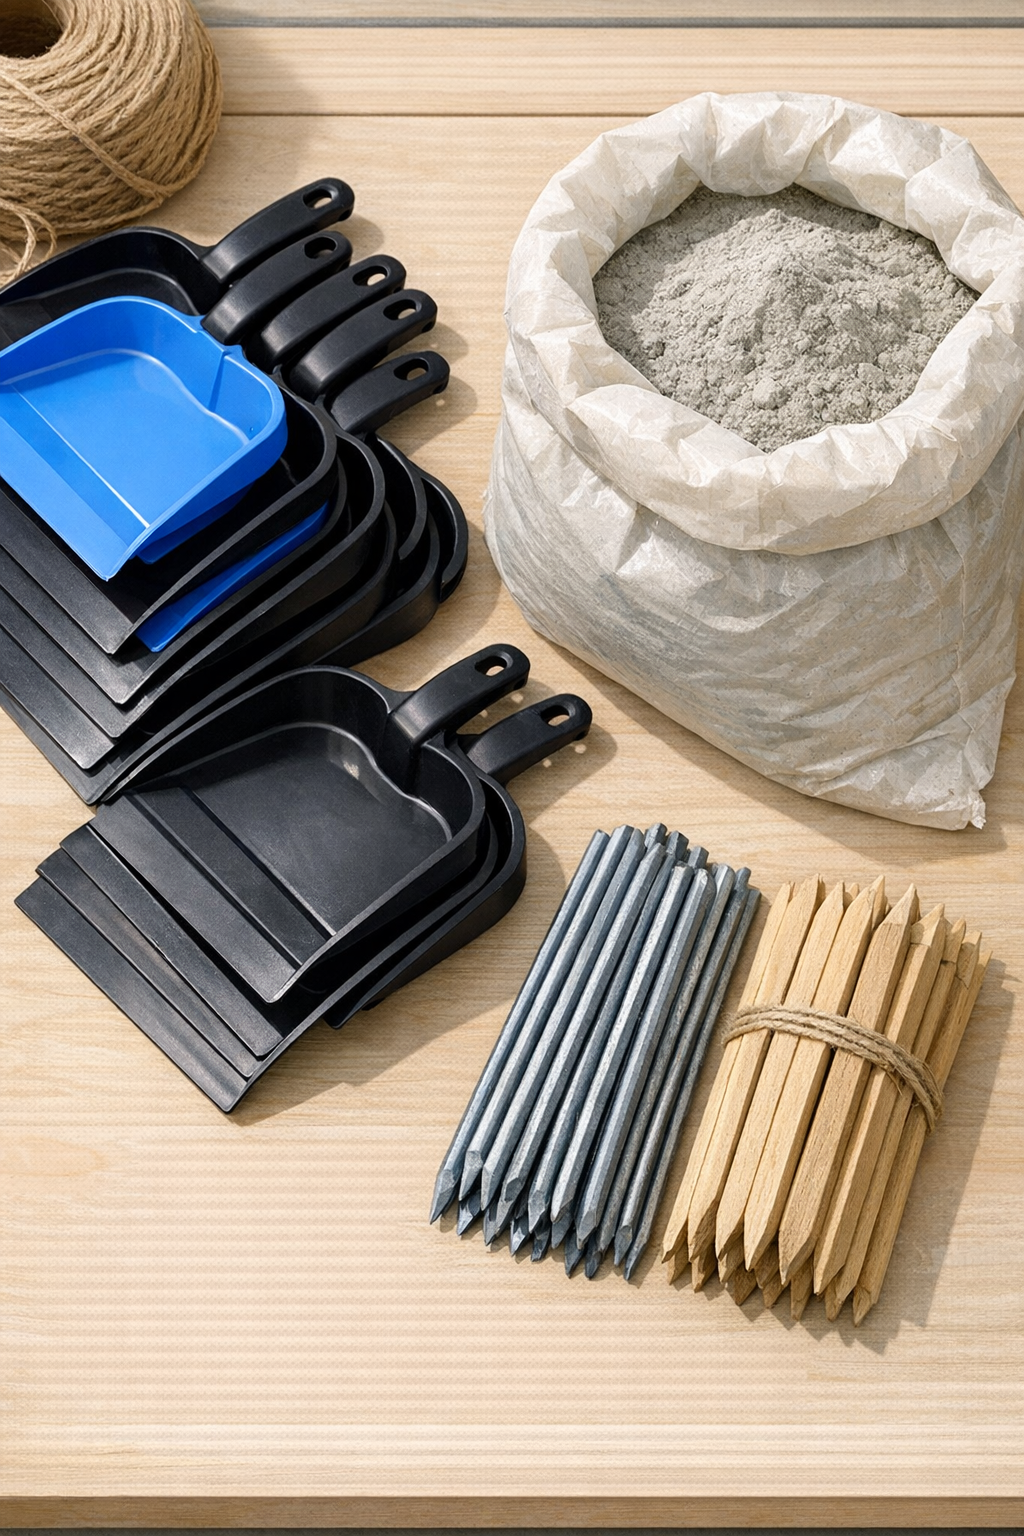
Materials
10 plastic dustpans, standard size about 12 inches wide x 10 inches deep each
Instructions
1. Choose the section of sloped landscape where you want the edging, and mark the line with a garden hose or string so you can see the curve before you start digging.
2. Clean the dustpans and lightly coat the inside of each one with cooking spray or vegetable oil so the cured cement releases more easily later.
3. Mix the concrete in a bucket or wheelbarrow with water until it reaches a thick brownie-batter consistency that holds its shape but still settles when tapped.
4. Fill each dustpan about three-quarters full with wet concrete, then tap the sides firmly a few times to release trapped air bubbles.
5. Press one 12-inch stake or dowel into the center of each dustpan so about half its length is buried in the cement and the remaining length sticks out for anchoring in the ground.
6. Smooth the top surface with a small trowel or scrap board, then let the pieces cure undisturbed for at least 24 to 48 hours, depending on the weather.
7. Flex the plastic dustpans carefully to release the hardened pieces, and set them aside gently so the edges do not chip.
8. Dig a narrow trench along your marked line on the slope, making it deep enough that each cement piece will sit securely with its stake driven into firm ground.
9. Add a thin layer of gravel in low spots if the slope is uneven, then check the angle as you go so the top edges of the pieces follow the grade neatly.
10. Place the cement pieces one by one with the curved faces outward, overlap or nest them slightly if needed, and drive the stakes into the soil to lock each section in place.
11. Backfill around the edging with soil or mulch on both sides, pressing it in firmly so the border looks built-in and stays steady through rain.
12. Rinse off any loose cement dust, make final spacing adjustments, and enjoy a strong finished edge that helps hold the line on a slope.
Variations & Tips
For a stone-look finish: Before the concrete fully hardens, dab the surface lightly with a stiff brush or sponge to give the pieces a more natural, textured look.
For picky gardeners who like a softer look: If the plain gray cement feels too stark, brush the cured edging clean and use an outdoor masonry stain in a warm tan or stone shade.
For extra strength: If your slope gets heavy runoff, tuck a short piece of wire mesh or hardware cloth into each dustpan before the concrete sets around the stake.
For smoother installation: Make all the edging pieces first, then lay them out along the bed before digging so you can adjust spacing and see exactly how many you need.
For safer curing: Set the filled dustpans on a flat board or piece of plywood while they harden; that keeps the bottoms level and makes the finished edging more consistent.
For winter climates: Use a concrete mix rated for outdoor freeze-thaw conditions so the edging holds up better year after year.