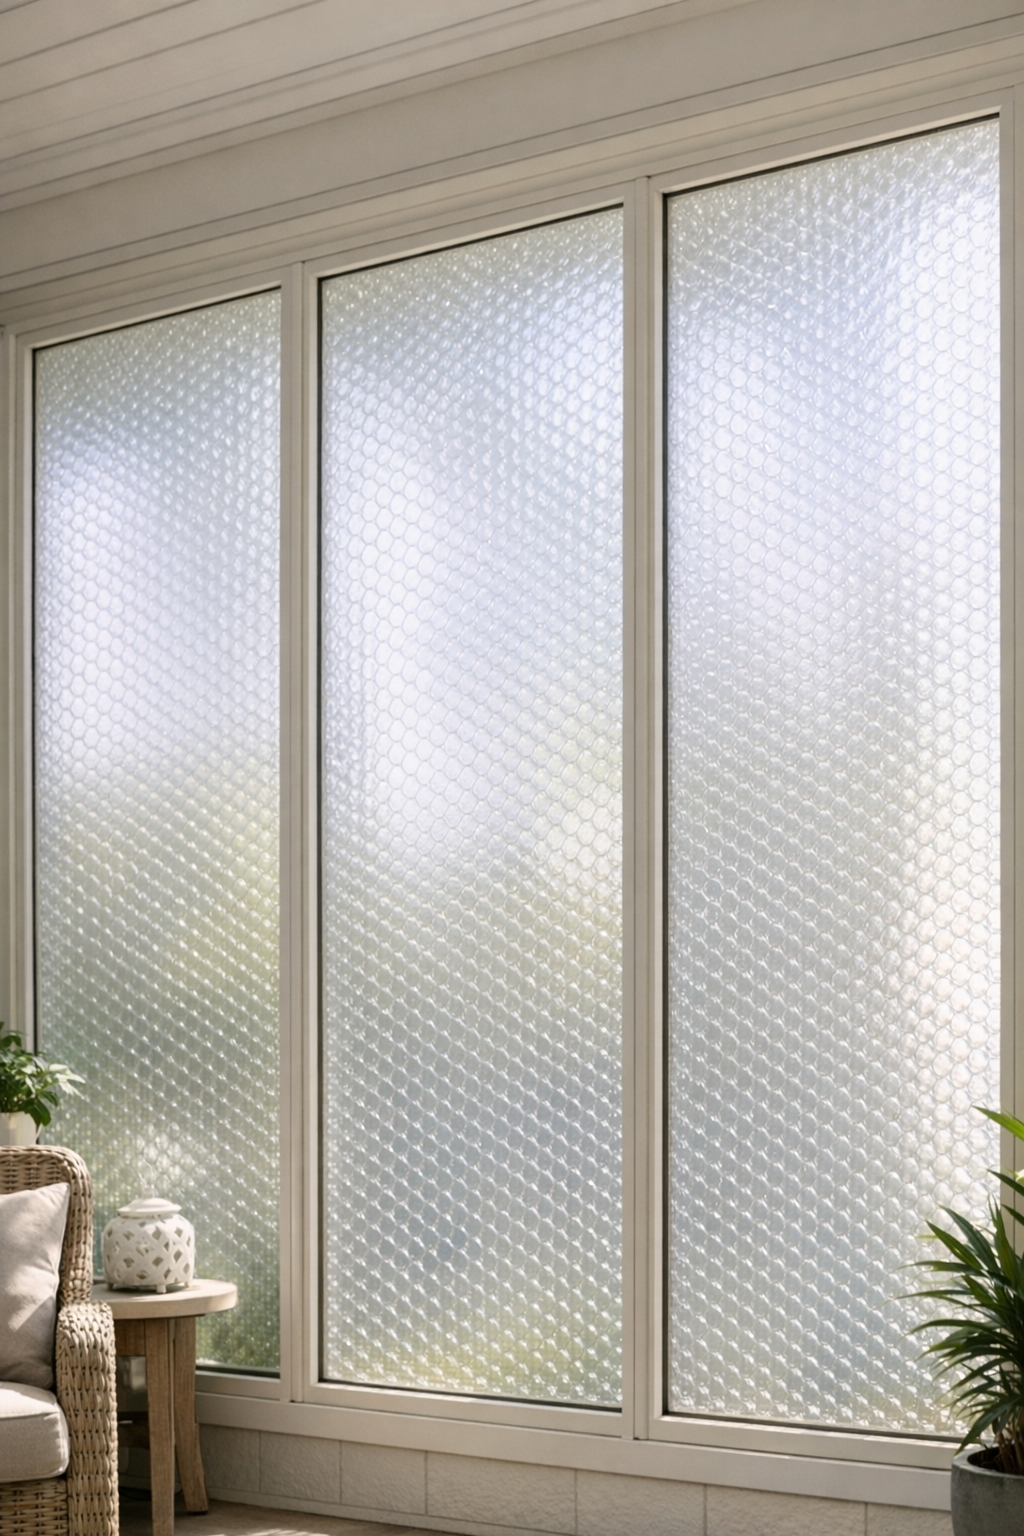
I love a project that turns everyday materials into something surprisingly practical, and this one absolutely fits that category. By ironing layers of clear plastic bubble wrap between protective sheets, you can create lightweight, semi-rigid patio panels that are far more durable than they look and much safer to handle than glass. The finished panels work beautifully as wind screens, privacy inserts, greenhouse-style side panels, or seasonal weather barriers for a porch or patio.
What makes this project especially appealing is how approachable it is. You do not need woodworking experience or a workshop full of tools to make these panels, just a careful setup, steady heat, and a little patience. As someone who spends plenty of time in the kitchen thinking about heat, texture, and transformation, I find this process oddly satisfying for the same reason caramelizing onions is satisfying: a simple material changes character completely when treated the right way.
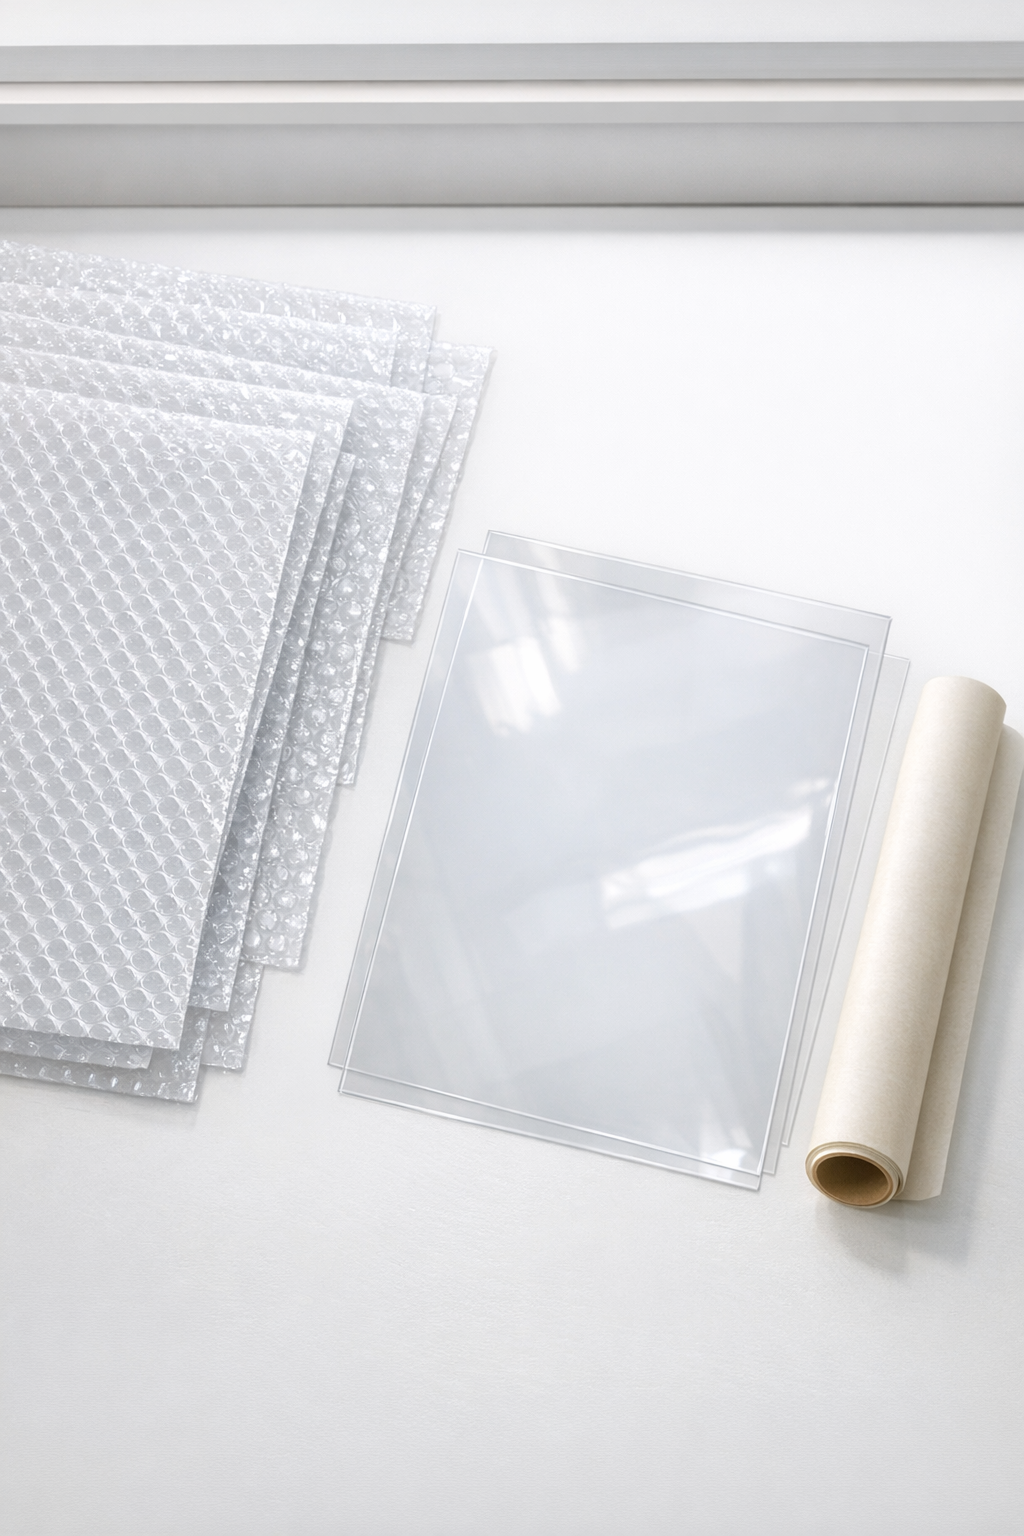
Materials
2 clear plastic sheets, 24 x 36 inches each, 0.02 to 0.04 inch thick
Instructions
1. Clean a large, heat-safe flat surface and set your iron to a low synthetic setting with steam turned off. Test the heat on a small bubble wrap scrap first; the plastic should soften and bond, not scorch or wrinkle aggressively.
2. Lay one sheet of parchment paper on the work surface, then place one clear plastic sheet on top of it. Center two layers of bubble wrap over the plastic sheet, keeping the edges as even as possible.
3. Place the second clear plastic sheet over the bubble wrap, then cover the entire stack with the second sheet of parchment paper. Smooth everything gently with your hands so the layers lie flat without major trapped folds.
4. Press the iron onto the parchment using light, even pressure, working in slow passes from one corner to the other. Keep the iron moving the whole time so the plastic fuses gradually instead of melting into thin spots.
5. Lift one corner of the top parchment paper after the first full pass and check the bond. If the bubbles are only lightly attached, replace the parchment and repeat with one or two more passes until the panel feels unified and semi-rigid.
6. Let the fused panel cool completely on a flat surface for 10 to 15 minutes before moving it. Cooling in place helps the sheet stay flatter and keeps the bonded layers from shifting.
7. Trim any uneven edges with scissors or a utility knife, keeping the final panel square for easier patio installation. If you want a thicker panel, repeat the process with two more bubble wrap layers and fuse them onto the first finished panel using parchment on both sides.
8. Fit the finished panels into your patio frame, screen track, or temporary mounting system, leaving a little room for expansion in warm weather. The result is a lightweight shatter-resistant barrier that diffuses light while adding privacy and weather protection.
Variations & Tips
For more privacy: Use double the bubble wrap layers in each panel for a cloudier, more obscured finish that still lets in light.
For flatter panels: Work in smaller sections and overlap your ironing passes slightly; that gives a more even bond across the whole surface.
Heat control: If the plastic curls, yellows, or flattens too much, the iron is too hot. Lower the setting immediately and always keep parchment paper above and below the plastic stack.
Best plastic choice: Semi-rigid clear plastic sheets, such as acetate or thin poly sheets, give better structure than very flimsy drop cloth plastic.
Panel sizing: Measure your patio opening first and cut all layers 1/4 inch smaller on each side so installation is easier and the panel has room to shift slightly with temperature changes.
Weather use: These panels are great for mild seasonal protection, but I would not rely on them in extreme summer heat or in spots with constant direct high-wind exposure unless they are supported in a sturdy frame.