
I’m always a little too excited when I can turn something headed for the trash into something genuinely useful, and this project absolutely scratches that itch. If you have broken styrofoam coolers taking up space and a few small cracks or gaps in a driveway, you can turn that waste into a tough patching compound with just three core materials.
This is a practical, budget-friendly DIY for homeowners who don’t need a full driveway resurfacing job but do want a quick, sturdy filler for small non-structural repairs. I like projects like this because they fit real life: they’re scrappy, effective, and doable in an afternoon if you plan ahead.
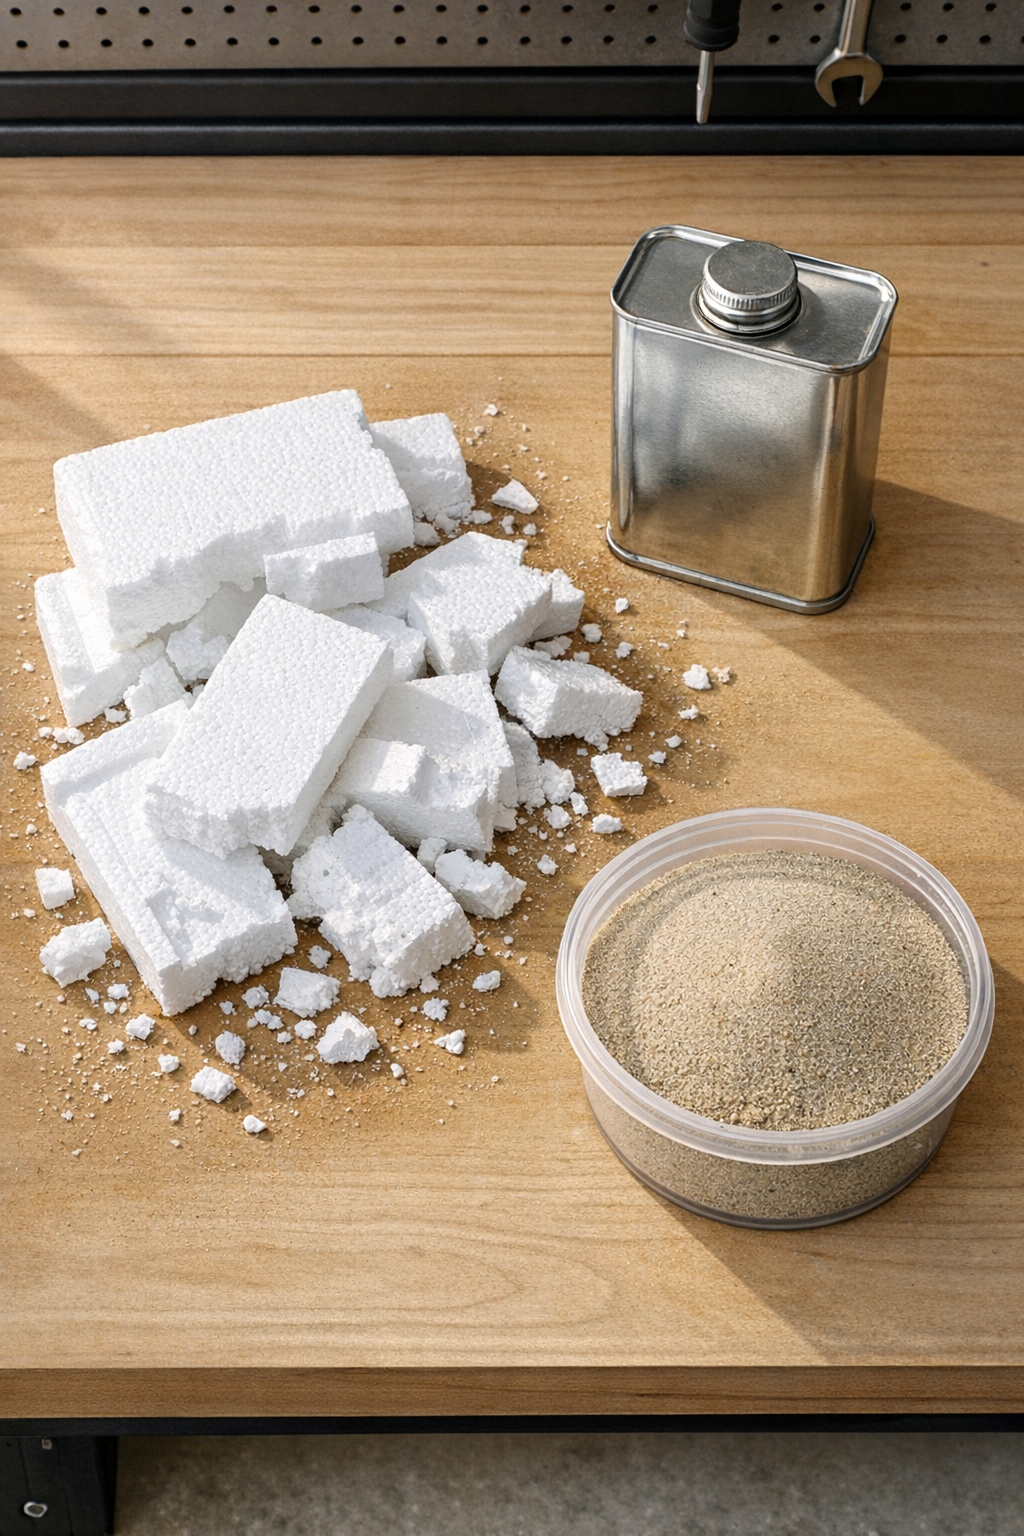
Materials
Broken styrofoam cooler pieces, 1 large cooler or about 8 to 10 quarts of loose foam pieces
Instructions
1. Sweep out the driveway crack or hole thoroughly and remove all loose gravel, dust, and debris so the filler can bond to a clean surface.
2. Let the area dry completely before patching; if I’m working after rain, I usually give it a full sunny day because trapped moisture weakens the repair.
3. Break the styrofoam cooler into small pieces about 2 to 4 inches wide so it dissolves more evenly and quickly.
4. Pour 2 cups of acetone into a metal container, then add the styrofoam pieces gradually, pressing them down as they melt into a thick paste.
5. Continue adding styrofoam a handful at a time until the mixture becomes dense and putty-like, with very little free liquid left in the container.
6. Mix in the fine sand 1 cup at a time, stirring well after each addition, until you have a gritty, heavy filler that holds its shape when scooped.
7. Press the filler firmly into the crack or hole with a putty knife, forcing it into the bottom and sides before slightly overfilling the surface.
8. Smooth the top so it sits flush with the surrounding driveway, then let the patch harden undisturbed for at least 24 hours before light contact.
9. Wait 48 to 72 hours before driving over the repaired area so the filler has time to fully set and firm up.
Variations & Tips
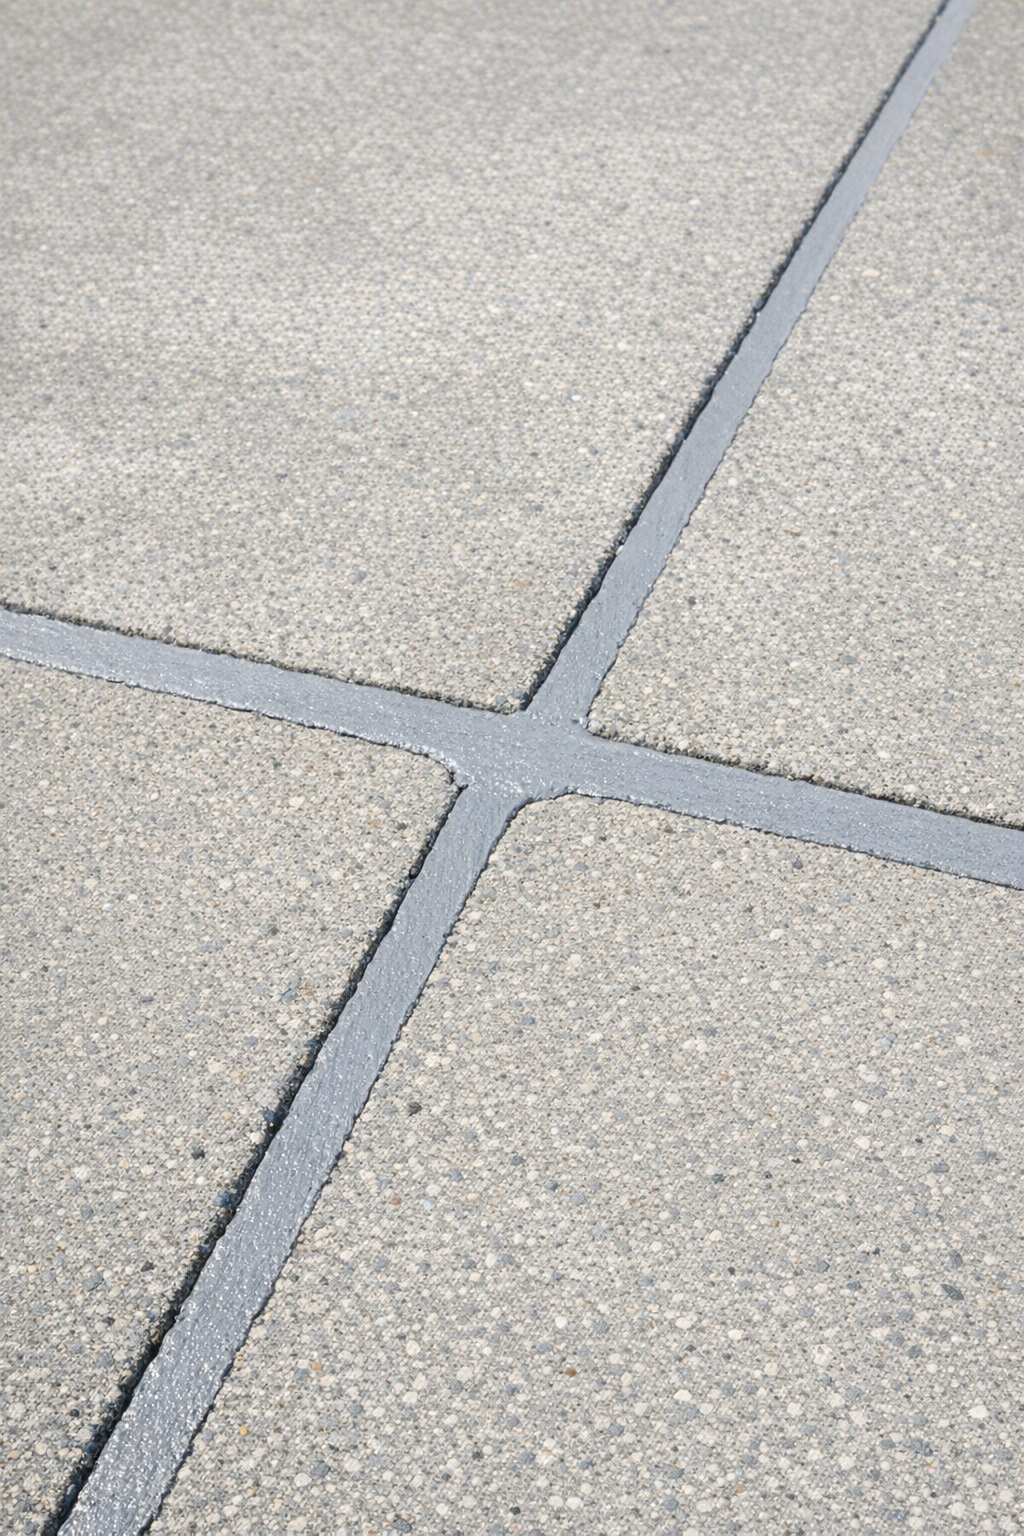
For small cracks: Use a slightly softer mix with a bit less sand so the filler presses deeper into narrow gaps.
For wider gaps: Pack the material in thin layers instead of one thick mass; I’ve found that helps it settle better and reduces air pockets.
Work in small batches: The melted foam mixture thickens fast, so I prefer mixing only what I can apply in about 10 to 15 minutes.
Choose dry weather: A warm, dry afternoon is ideal for this project because both the driveway and the filler need time without extra moisture.
Best use case: This works best for minor surface cracks and small chips, not major structural damage or areas with active shifting.