
There is something deeply satisfying about turning plain, everyday materials into something useful and handsome for the yard. This project makes simple textured patio pavers by pressing cut rubber bath mats into a basic concrete mix, and the result has that old-fashioned, hand-cast look I have always loved around garden paths and back steps. It is an easy weekend project, and you do not need fancy molds or specialty tools to make it work.
I especially like this kind of project for folks who want to dress up a patio, tuck a few stepping stones through the garden, or make a small sitting area on a budget. It reminds me of the practical Midwestern habit of making do with what you have on hand, then standing back and admiring something better than store-bought. If you can mix, pour, and wait for concrete to cure, you can make these.
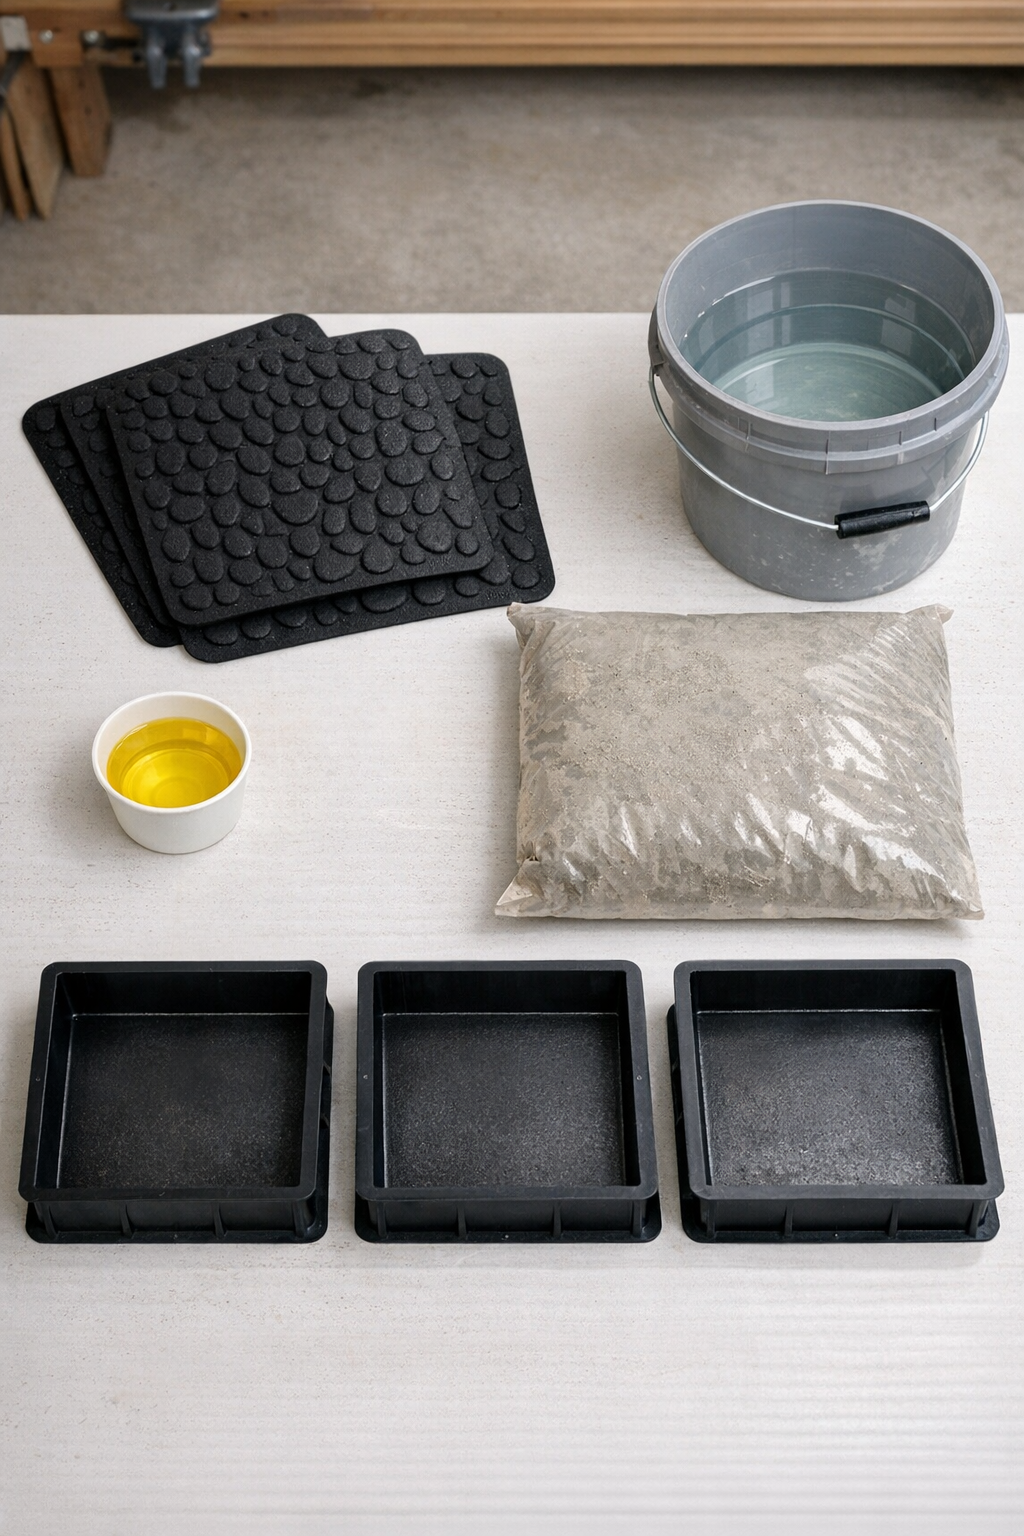
Materials
Instructions
1. Set up your work area on a flat surface outdoors or in a well-ventilated shed, and spread out the plastic drop cloth to catch spills. Place the three molds on a level surface so the pavers cure evenly.
2. Measure the inside bottom of each mold, then cut the rubber bath mats to fit snugly inside with the textured side facing up. Trim carefully so the mats lie flat without curling at the edges.
3. Lightly coat the inside of each mold and the exposed surface of each rubber mat with a thin film of vegetable oil. If your molds are especially smooth, dust a pinch of fine sand over the oil to help prevent sticking.
4. In a mixing bucket or wheelbarrow, combine the concrete mix with water a little at a time until it reaches the consistency of thick oatmeal. Mix thoroughly so there are no dry pockets hiding in the corners.
5. Fill each mold halfway with concrete, pressing it gently into the corners so the pattern will transfer cleanly. Tap the sides of the molds several times to release trapped air bubbles.
6. Add more concrete until each mold is filled to about 2 inches thick, then smooth the tops with a scrap board or trowel. Keep the surface as level as you can, since this will become the bottom of the finished paver.
7. Let the pavers sit undisturbed until the concrete firms up, usually 24 to 48 hours depending on weather. If the air is hot and dry, cover them loosely with plastic so they do not dry too fast and crack.
8. Turn each mold over carefully, ease the paver out, and peel away the rubber bath mat to reveal the texture. If a mat clings a bit, flex it gently instead of pulling hard on one corner.
9. Cure the pavers for another 5 to 7 days in a shaded spot before placing them in the yard. Once fully cured, set them on a leveled bed of sand or compacted soil for a stable patio or garden path.
Variations & Tips
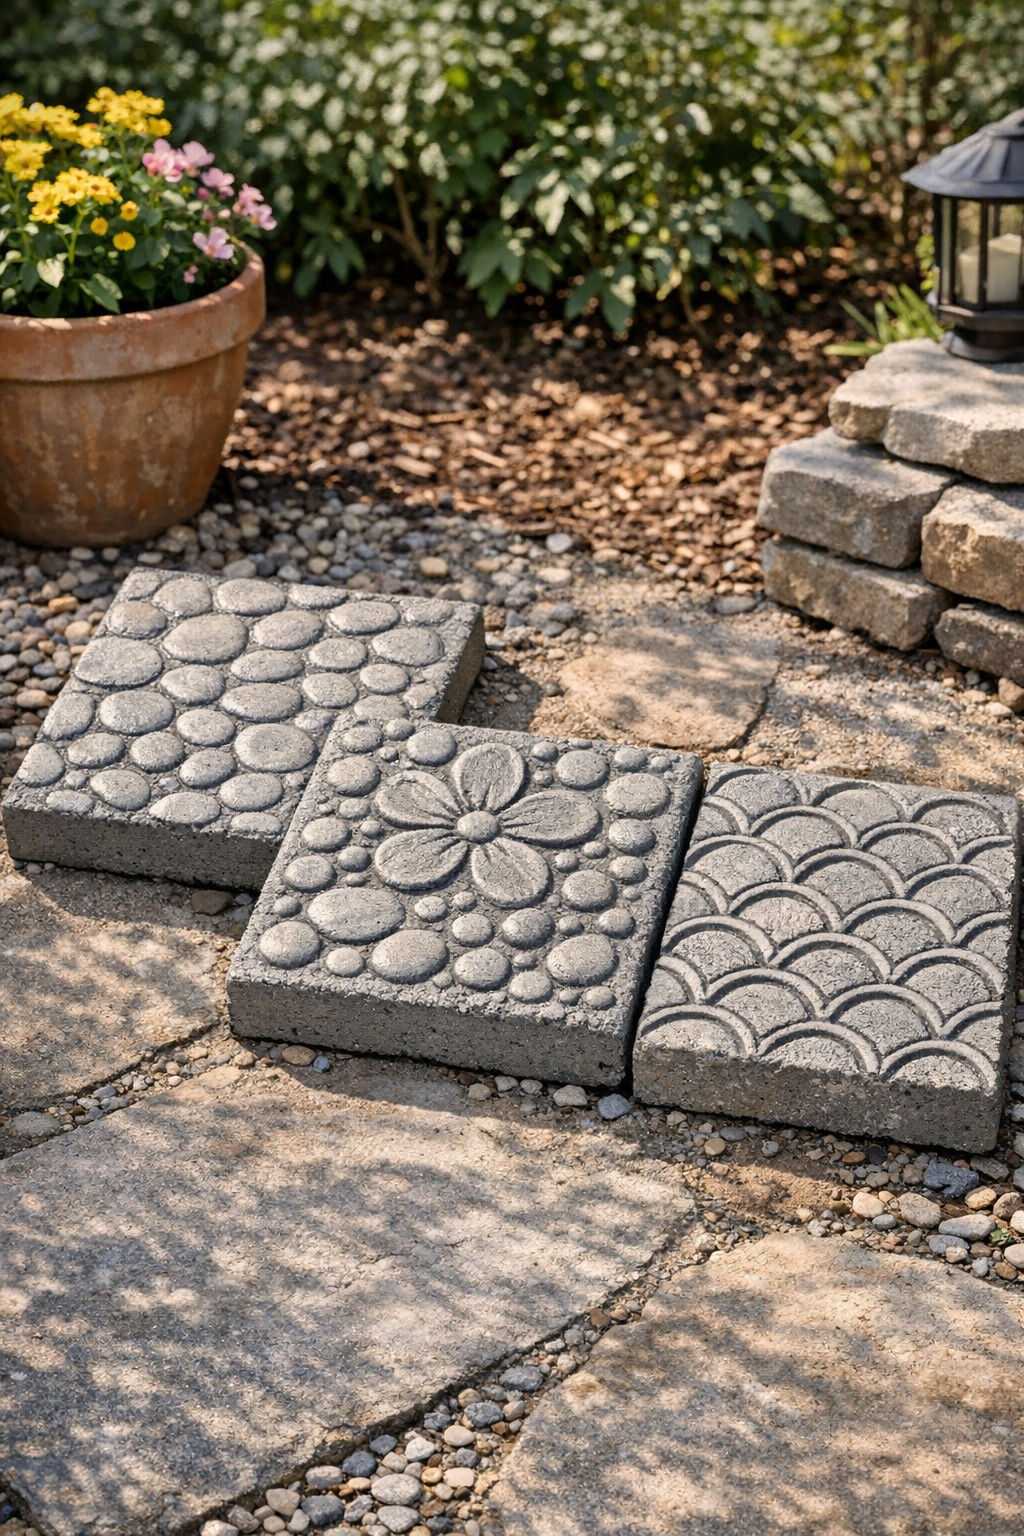
Different mat patterns: Try bath mats with pebbled, woven, or geometric textures to get different surface designs. I always suggest testing one paver first, because some patterns read more clearly in concrete than others.
Larger patio pieces: If you want bigger pavers, use larger molds and increase the concrete thickness to at least 2 1/2 inches so they hold together well. A little extra heft goes a long way outdoors.
Color option: You can mix in concrete colorant if you want a warmer stone look. Soft terra-cotta, charcoal, or slate shades can make these look especially handsome along a garden edge.
Cleaner edges: After unmolding, rub the edges lightly with a scrap of wood or a masonry rubbing stone before the concrete fully hardens. It gives the pavers a tidier finish without making them look too perfect.
Best placement: These are ideal for light foot traffic, such as a small patio corner, herb garden walkway, or path to the clothesline. I would not use this style for a driveway or anywhere that needs to bear vehicle weight.
Cold-weather caution: Let the pavers cure completely before exposing them to hard rain or freezing temperatures. Patience here saves heartbreak later, and that is a lesson every garden and kitchen has taught me more than once.