
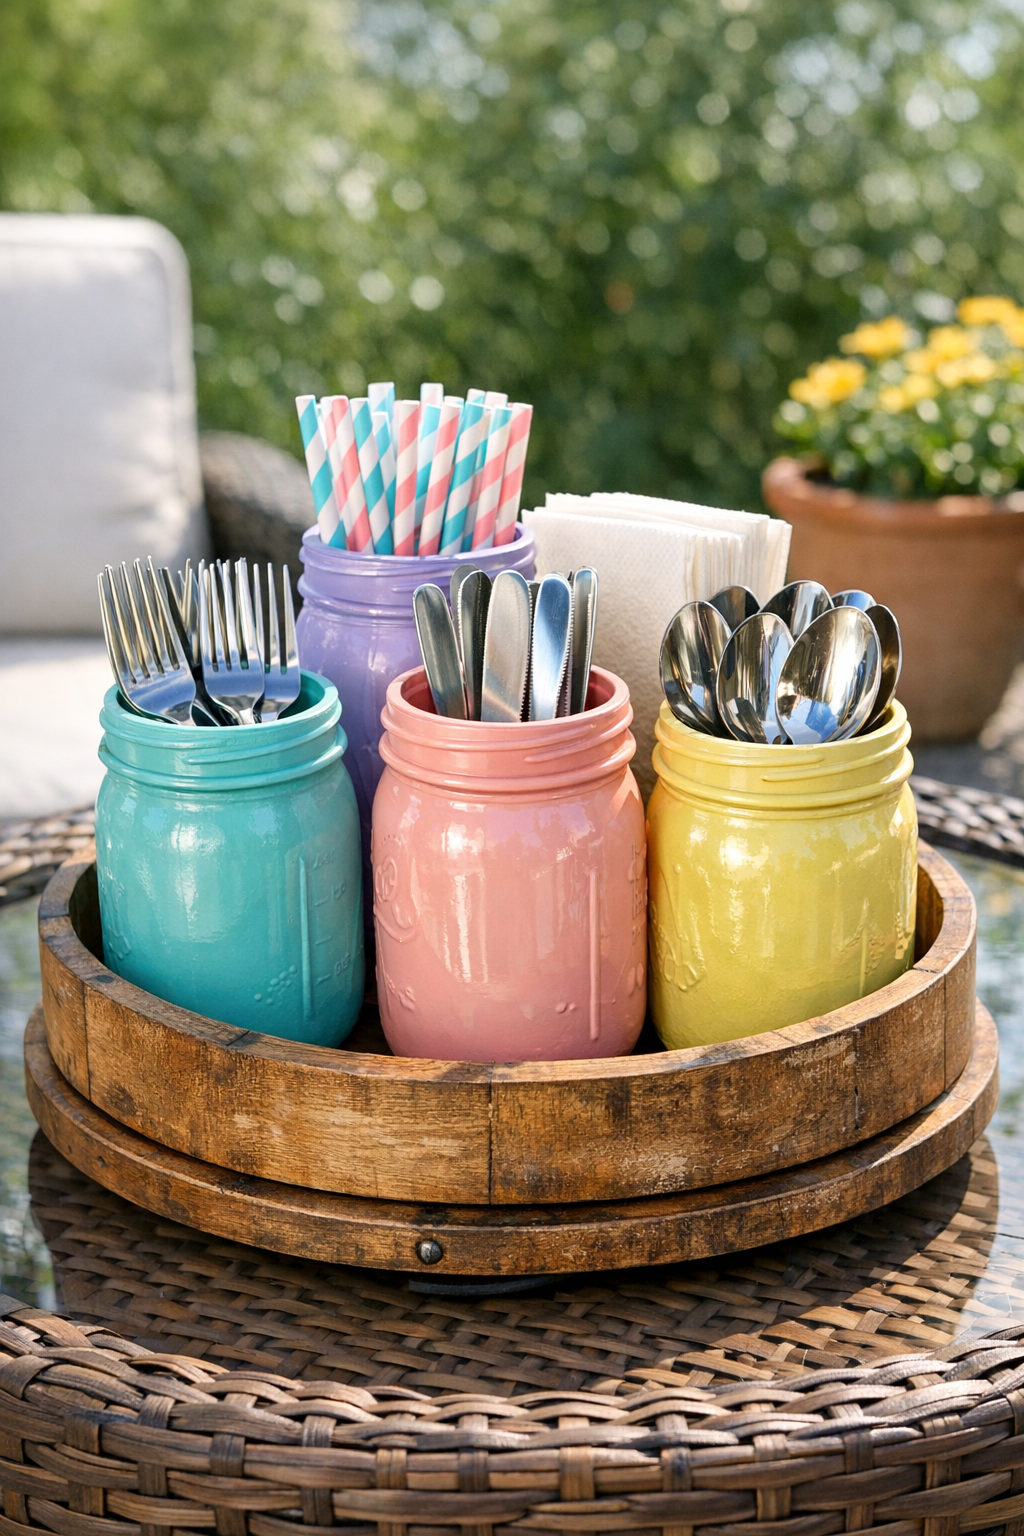
I love a project that makes outdoor meals feel a little more pulled together without adding one more complicated thing to my weekend, and this rotating mason jar utensil caddy absolutely does that. It combines a wooden lazy Susan tray with painted mason jars, so you end up with a patio-friendly organizer that keeps forks, spoons, napkins, and straws easy to grab from every side of the table.
This is a great beginner DIY if you want something functional but still pretty enough to leave out for a barbecue, porch dinner, or casual family gathering. I’m always looking for ways to make hosting feel simpler, especially on busy weeknights, and this is one of those projects that looks thoughtful without taking a full day to finish.
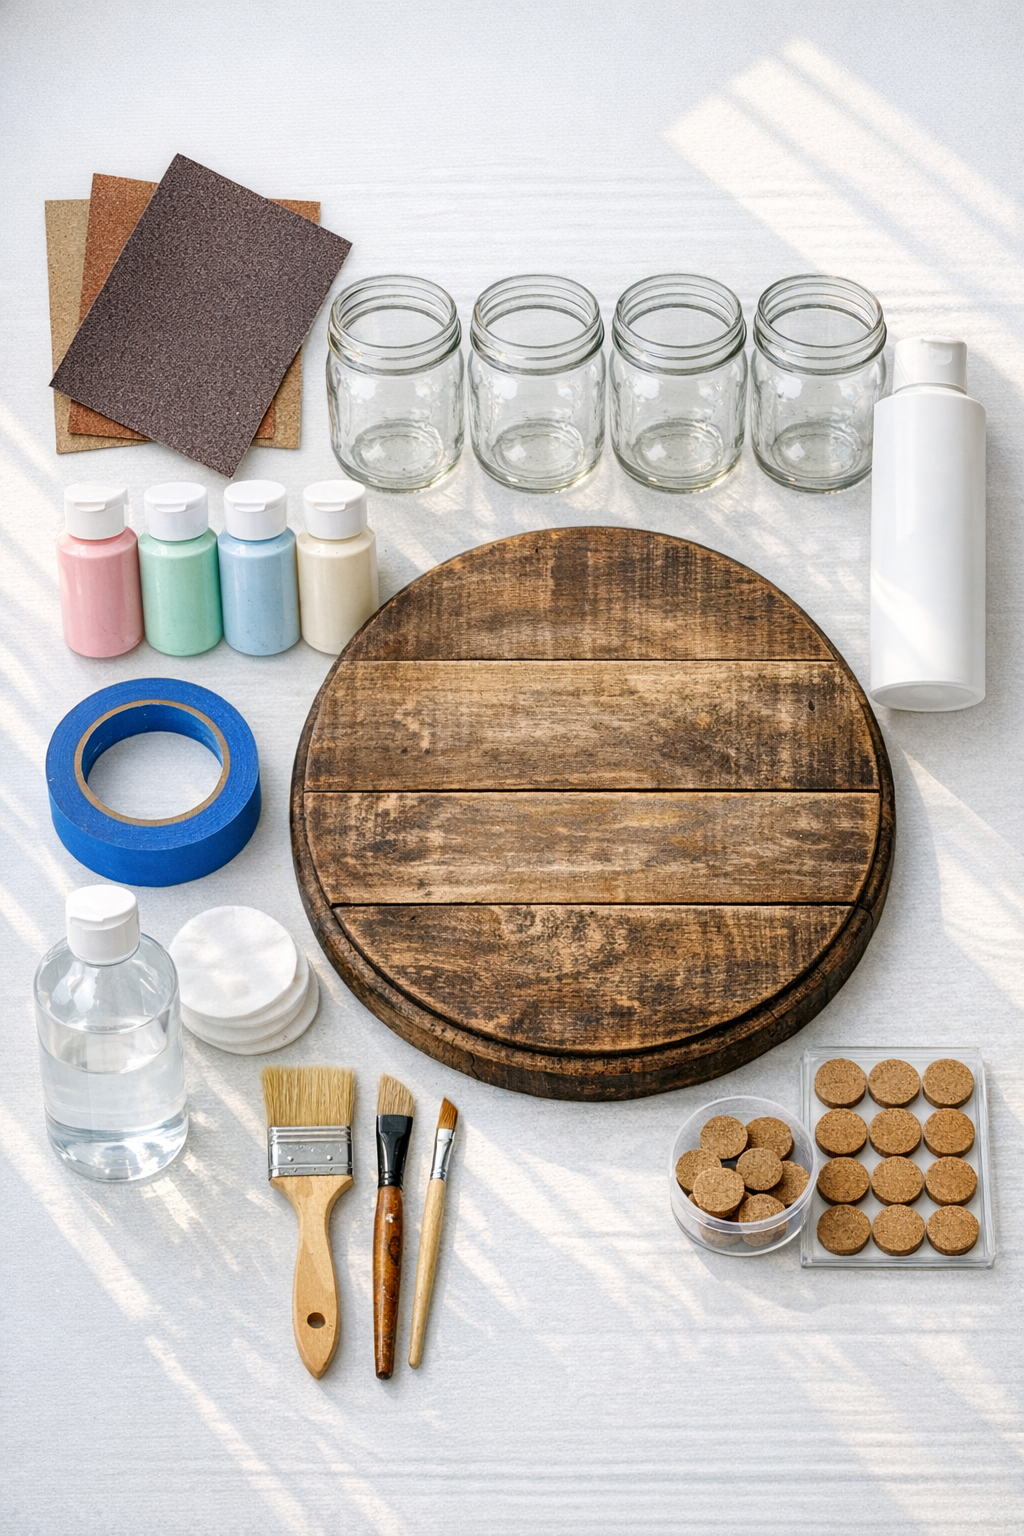
Materials
1 round wooden lazy Susan tray, 14 to 16 inches wide
Instructions
1. Clean the mason jars and the wooden tray thoroughly with rubbing alcohol or glass cleaner, then let everything dry completely so the paint adheres well.
2. Lightly sand the wooden tray with 120-grit sandpaper, then smooth it with 220-grit sandpaper to remove rough spots without losing the rustic texture.
3. Wipe away all sanding dust, then tape off any tray areas you want to keep unpainted, such as the rim or center detail.
4. Paint the outside of each mason jar in a different pastel shade using thin, even coats, and let the first coat dry before adding a second coat for solid coverage.
5. If you want the tray painted too, apply one to two thin coats in a coordinating color or leave the wood natural for a rustic look, then allow it to dry fully.
6. Distress the jars and tray lightly with 220-grit sandpaper on raised edges if you like a weathered finish, keeping the sanding subtle so the colors still feel fresh.
7. Brush or spray a clear matte sealer over the painted jars and tray, then let the sealer cure according to the product directions before assembling.
8. Attach one cork or felt pad to the bottom of each jar to help prevent sliding and protect the tray surface.
9. Arrange the jars evenly around the lazy Susan tray, spacing them so the tray can rotate smoothly without the jars touching.
10. Fill the jars with utensils, napkins, paper straws, or small condiment packets, then place the caddy on your patio table and give it a spin to check the balance.
Variations & Tips
Color palette: Use soft pastels for a spring patio look, or switch to white, navy, and sage if you want something that works all summer long. I usually pick colors that already show up in my outdoor cushions so the whole table feels intentional.
Paint choice: Chalk paint gives a softer, cottage-style finish, while multi-surface acrylic holds up nicely and comes in lots of colors. If your caddy will stay outside often, make sure your sealer is suitable for light outdoor use.
Jar sizing: Quart jars are ideal for full-size utensils, but pint jars work well for toothpicks, drink stirrers, or sauce packets. You can also mix sizes if your tray is wide enough.
Easy hosting tip: I like to dedicate one jar just to folded napkins because it makes quick weeknight grilling nights feel much less chaotic. It’s one of those tiny systems that saves a surprising amount of back-and-forth to the kitchen.
Stability: If the jars slide when the tray turns, add a small circle of museum putty under each jar instead of gluing them down permanently. That way you can still remove the jars for washing or seasonal updates.
Care and storage: Bring the caddy indoors when it’s not in use for the longest life, especially during heavy rain or very humid stretches. Wipe the jars clean with a damp cloth instead of soaking the painted exterior.