
There is something especially satisfying about turning the plainest, most practical items into something that looks right at home on a welcoming front porch. This project does exactly that. By spray painting inexpensive rubber car floor mats in a rich metallic bronze and wrapping them around basic black nursery pots, I can create a set of porch planters that look far more expensive than they really are.
I love projects like this because they stretch a dollar without looking homemade in the wrong way. If you enjoy easy weekend decorating, need a quick porch refresh, or simply want a clever way to dress up nursery pots before planting your flowers, this is a simple project that delivers a handsome result with very little fuss.
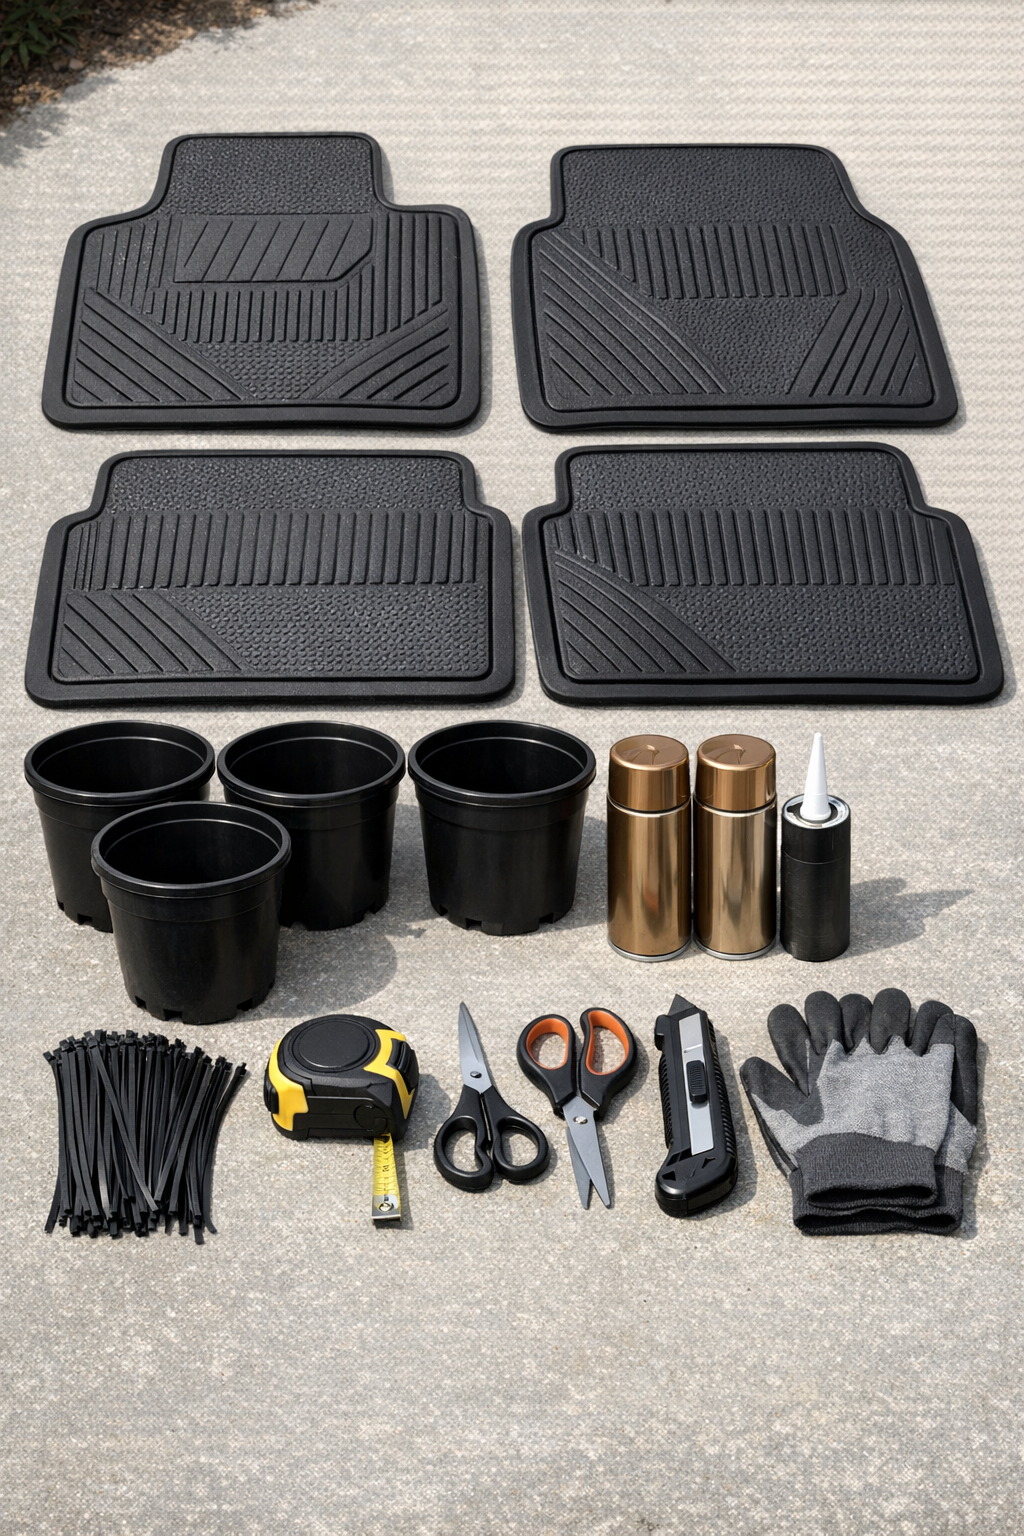
Materials
Instructions
1. Set your floor mats on a drop cloth outdoors in a well-ventilated area, then wash off any dust or residue and let them dry completely. A clean surface helps the primer and paint hold much better.
2. Lightly scuff the textured side of each mat with 120-grit sandpaper, then wipe away the dust. This little extra step reminds me of old kitchen wisdom: what sticks best is what has something to grab onto.
3. Apply an even coat of spray primer to all four mats, covering the side that will show on the outside of the planter. Let the primer dry according to the can directions before moving on.
4. Spray each mat with metallic bronze paint using light, sweeping passes, and build up 2 to 3 thin coats instead of one heavy coat. Let each coat dry before adding the next so the finish looks smooth and even.
5. Measure the circumference of one nursery pot around its widest straight section, then compare that measurement to the width of a floor mat. Trim the mat as needed so it wraps around the pot with about 1 inch of overlap at the seam.
6. Repeat the measuring and trimming for all four mats, keeping the bottom edge straight so the finished planter looks neat on the porch. Use scissors for easy cuts or a utility knife for thicker spots.
7. Test-wrap each painted mat around its pot with the painted side facing out, and mark where the seam will meet. If needed, trim a little more until the wrap sits snug without buckling.
8. Run a vertical bead of exterior construction adhesive along the back side near one short edge of the mat, then wrap it tightly around the nursery pot. Press the overlapping edge firmly into place at the seam.
9. Secure the seam temporarily with 3 to 4 black zip ties spaced from top to bottom while the adhesive sets. Keep the ties snug enough to hold the mat flat without denting the pot.
10. Repeat the wrapping and securing process for the remaining three pots, then let all four sit undisturbed until the adhesive fully cures. Check the glue instructions for drying time, especially if your weather is cool or humid.
11. Once cured, trim the ends off the zip ties if you want to leave them hidden at the back, or remove them if the adhesive bond is strong enough on its own. Turn each seam toward the wall or porch rail for the cleanest look.
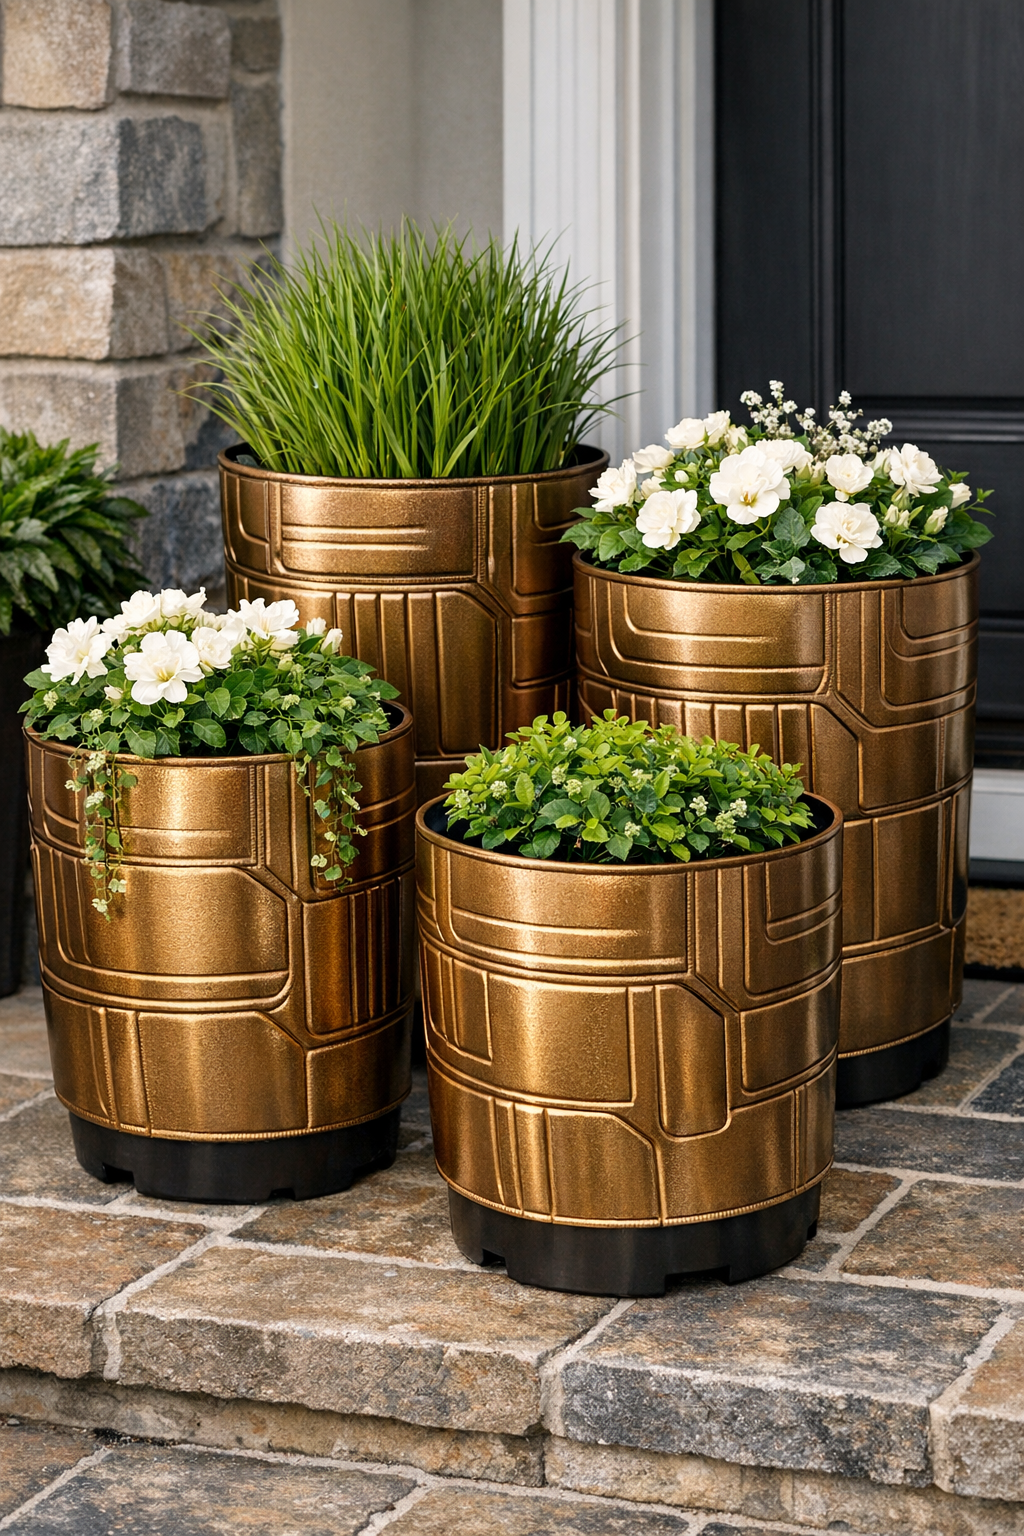
12. Place your potted flowers or greenery into the finished wrapped planters and arrange them on the porch in pairs or grouped by the door. That warm bronze finish catches the light beautifully, especially in the evening.
Variations & Tips
Use different finishes: If bronze is not your style, try matte black, aged copper, or oil-rubbed gold spray paint. A deeper finish can make the pots look even more like cast metal.
Add a decorative band: Wrap jute rope, weatherproof ribbon, or adhesive trim around the top or bottom of the planter for another layer of detail. I would keep it simple so the mat texture still gets to shine.
Choose the right pot shape: Straight-sided nursery pots are easiest for this project because the mats wrap smoothly around them. Pots with dramatic curves can make the mat buckle or gap.
Protect the paint: For extra durability, finish the painted mats with a clear outdoor sealer once the bronze paint is dry. This is especially useful if your porch gets hard afternoon sun or plenty of rain.
Hide the seam well: Place the seam at the back of each planter or face it toward the least visible side. That one small choice makes the finished set look much more polished.
Keep drainage in mind: Always leave the nursery pots functional and make sure excess water can still escape. I like using the wrapped pots as outer covers so I can lift the planting pot out when needed.
Style them as a set: These look especially handsome when all four are planted in a coordinated way, such as matching ferns, white petunias, or trailing ivy. Grouping them together gives that generous, welcoming porch look I have always loved.