
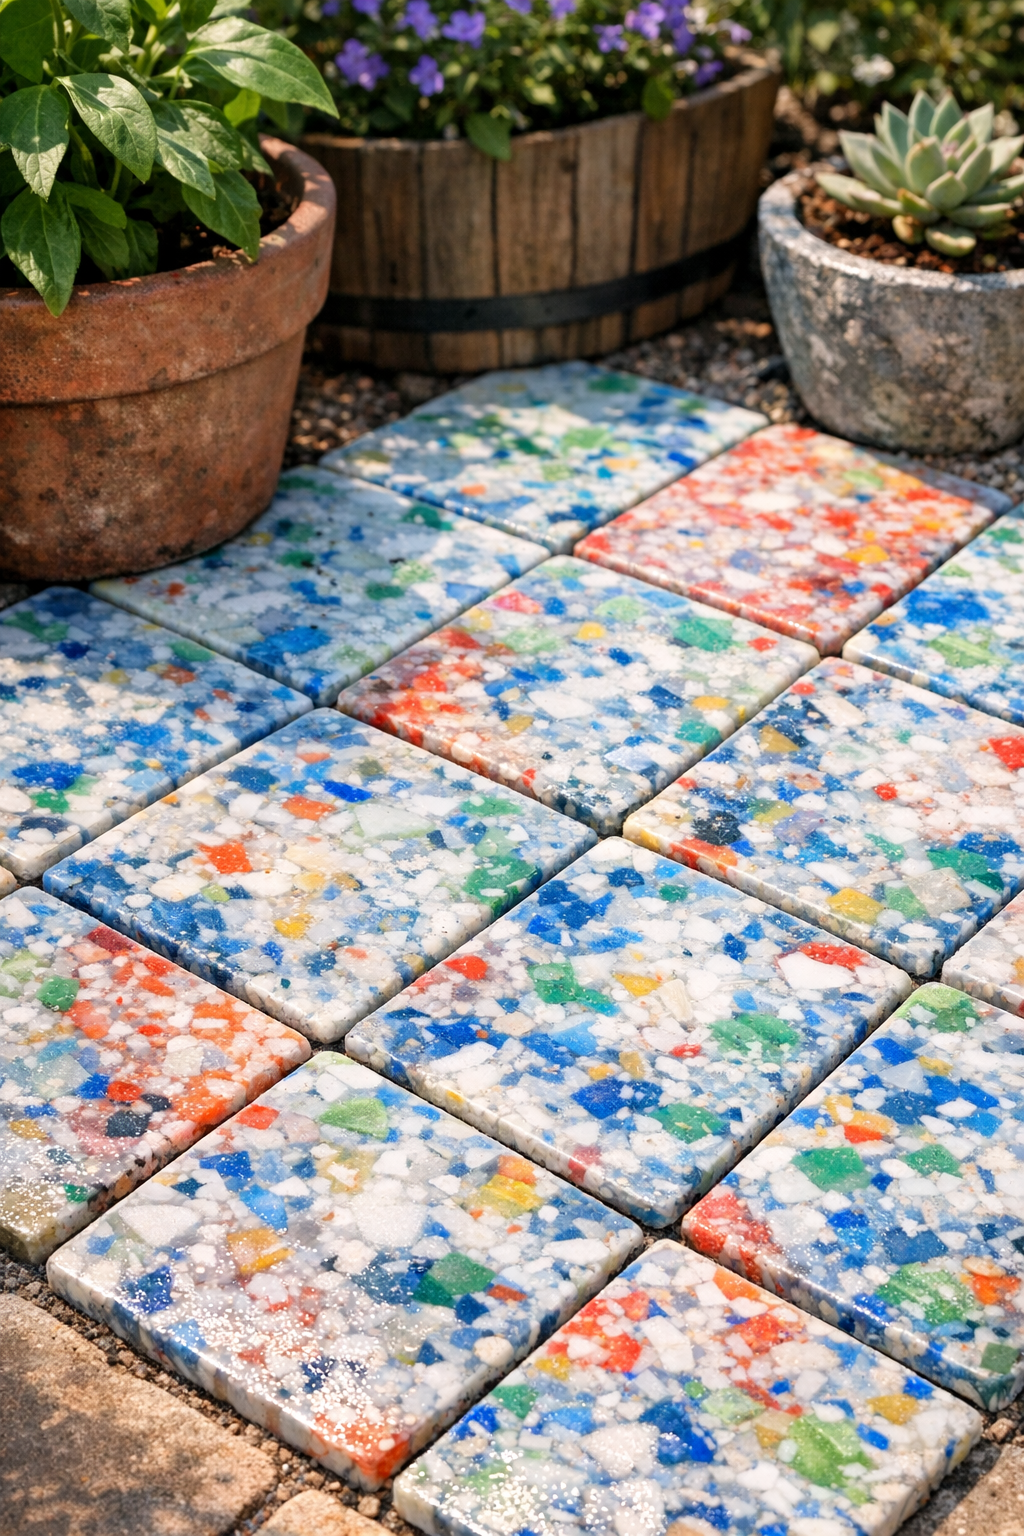
These DIY patio tiles turn a stack of old plastic cutting boards into sturdy, colorful stepping tiles that are surprisingly useful around a grill station, mudroom entry, or a little garden sitting spot. I love projects like this because they make something practical out of things that might otherwise get tossed, and the finished tiles have that chunky, heavy-duty look people never expect from such simple materials.
If you enjoy upcycling and want a weekend project that feels a little different from the usual planter or wreath, this one is for you. I’d use these in small sections rather than for a whole large patio, and I always recommend working carefully with heat and good ventilation, but once you get the hang of the process, it’s a satisfying way to make tough outdoor tiles on a budget.
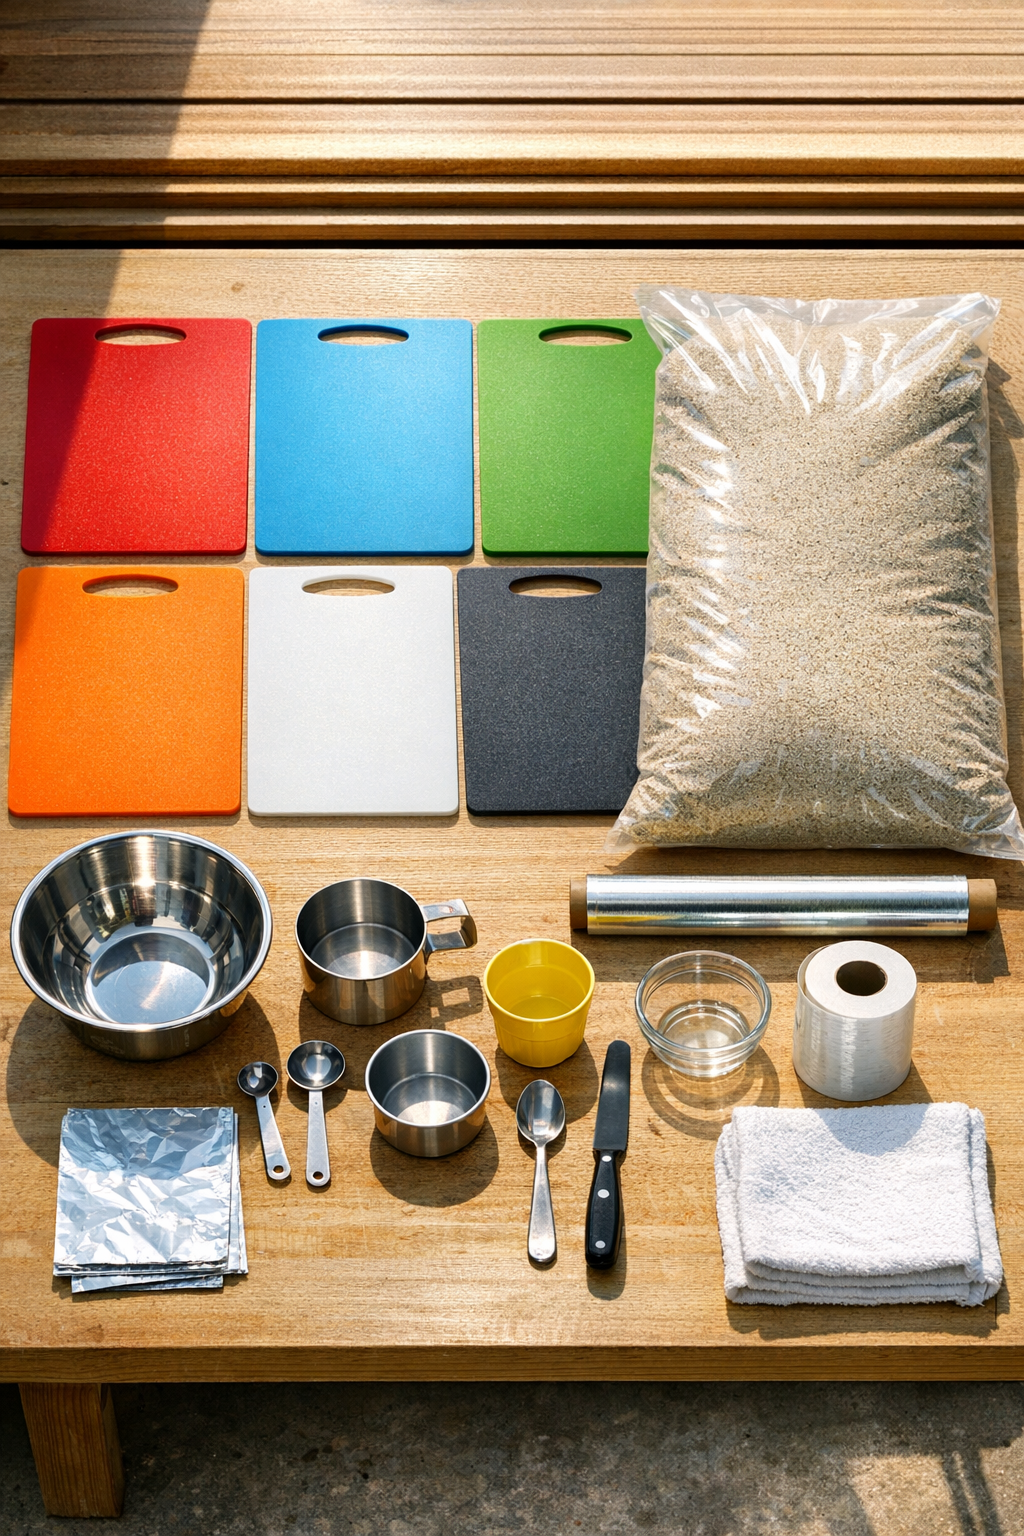
Materials
6 plastic cutting boards, standard 11 x 14 inch size, polypropylene or high-density polyethylene
Instructions
1. Wash and dry the cutting boards thoroughly so there’s no grease, crumbs, or sticker residue left on the surface.
2. Slice each cutting board into thin strips about 1/4 inch wide, then cut the strips into small pieces about 1/2 to 1 inch long so they melt more evenly.
3. Line a metal baking pan or square cake pan with heavy-duty aluminum foil, pressing it tightly into the corners and leaving enough overhang to lift the tile out later.
4. Pour in enough dry sand to make a firm, level base about 1 inch deep, then press a flat-bottomed bowl or small dish into the sand to create a shallow tile mold.
5. Fill the molded area with a thick, even layer of the chopped plastic pieces, mixing colors if you want a speckled or marbled look.
6. Cover the pan loosely with another sheet of foil and heat it in a dedicated toaster oven or workshop oven at 375°F for 25 to 35 minutes, until the plastic softens and fuses into one solid mass.
7. Remove the pan carefully and press the softened plastic down with the back of a metal spatula wrapped in foil so the tile becomes dense and level.
8. Let the tile cool completely in the pan for at least 1 hour, then lift it out using the foil overhang and peel the foil away.
9. Trim any rough edges with sturdy shears or sand them smooth once the plastic is fully hardened.
10. Repeat the process until you have enough tiles for your space, then set them over compacted gravel or sand for a stable outdoor surface.
Variations & Tips
For a cleaner color mix: Use cutting boards of the same color for each tile if you want a more uniform, stone-like finish instead of a confetti look.
For family-friendly patterns: Layer light and dark plastic pieces in simple stripes or blocks before melting. It’s an easy way to make each tile look a little special without extra materials.
For better thickness: Pack the mold generously before heating, because the plastic settles as it softens. A thicker tile will hold up better outdoors.
For safer crafting: Always work in a well-ventilated area and use a heat source dedicated to workshop use rather than one you cook food in for your family.
For easier installation: These work best as stepping tiles, under container gardens, or in a small seating nook over a compacted base of sand or gravel rather than as structural pavers for a driveway.
For picky-style decorating: In my house, everyone likes to have a say in how outdoor spaces look, so I’d let each family member choose a color blend for one tile. It turns a practical project into something personal, which always makes people more excited to use the space.