
I love a project that looks far more expensive than it really is, and these scroll-pattern patio stones are exactly that kind of weekend win. By using an old rubber welcome mat as a texture mold and plain cement for the pour, you can make heavy, decorative stepping stones that look like something you'd spot in a garden center for three times the price.
This is a great DIY if you want to dress up a walkway, fill in a muddy spot near the back door, or add a little charm around a garden bed without taking on a huge landscaping project. I’m always looking for ways to make outdoor spaces feel pulled together on a realistic budget, and this one is especially satisfying because the reveal is so good.
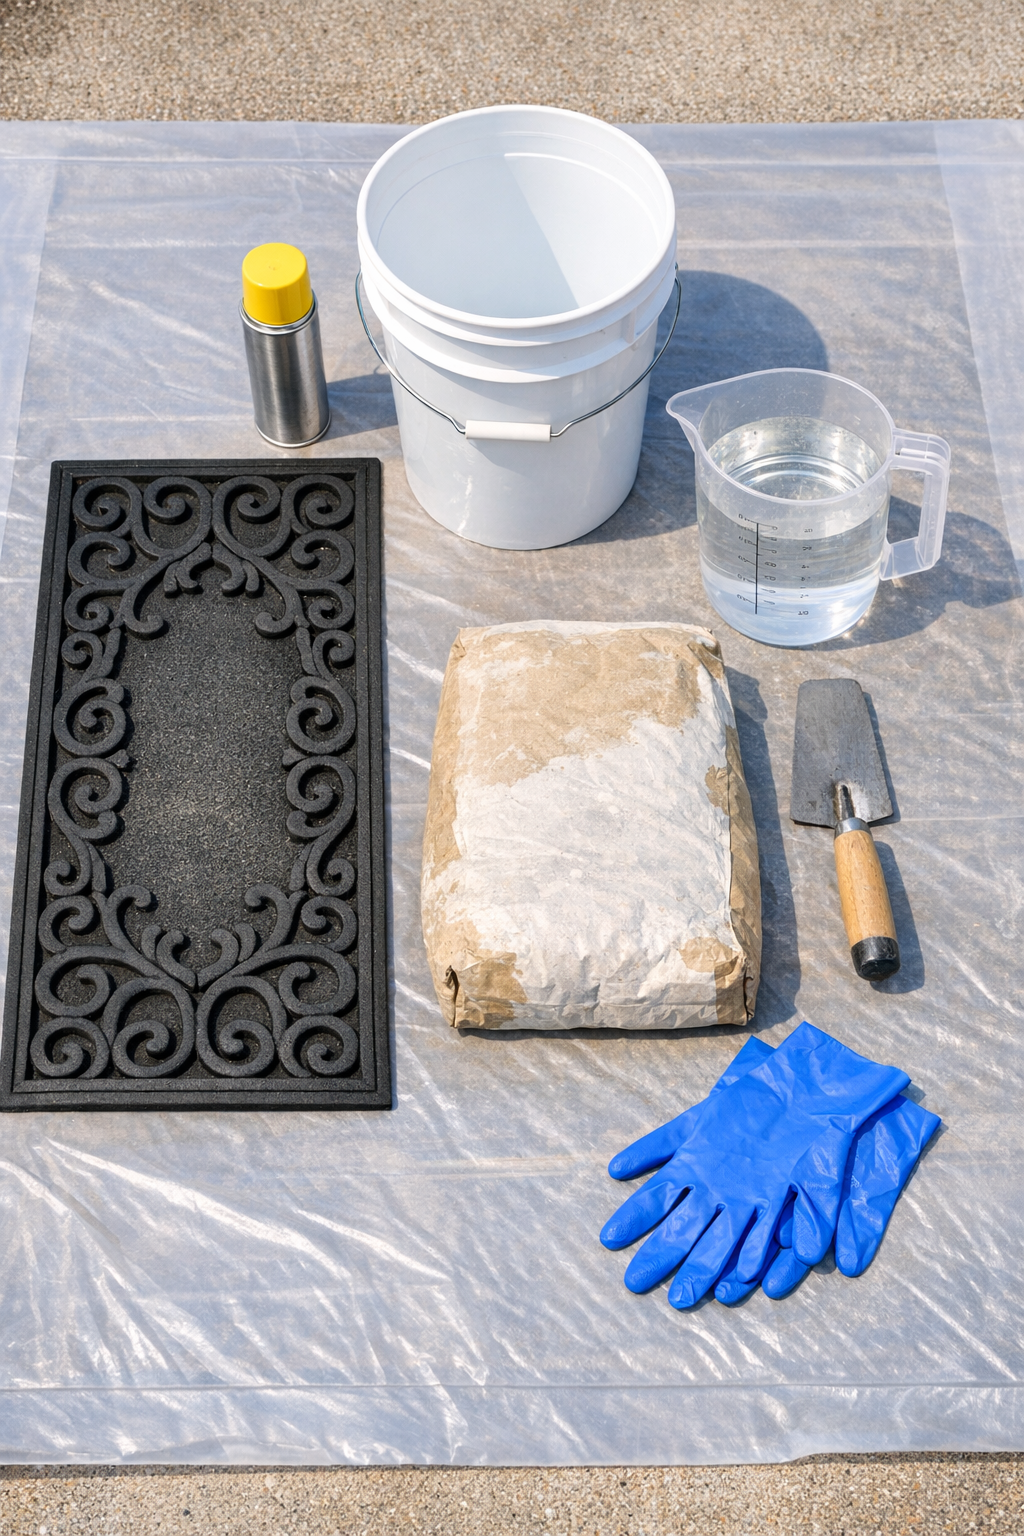
Materials
Instructions
1. Choose a flat outdoor work area and lay down the plastic drop cloth to protect the surface and make cleanup easier.
2. Place the rubber welcome mat face up on the plastic, then spray the patterned surface lightly with cooking spray or mold release so the cement will release cleanly later.
3. Pour the cement mix into the bucket, add water a little at a time, and stir until it reaches a thick brownie-batter consistency that holds shape without being dry or crumbly.
4. Scoop the wet cement onto the mat, starting in the center and working outward to cover the scroll pattern evenly.
5. Spread the cement to about 1 1/2 to 2 inches thick across the whole design, pressing it firmly into the raised details so the pattern transfers clearly.
6. Smooth the back with the hand trowel so the stone sits flat once cured, and square off or softly round the edges if any cement spills beyond the mat shape.
7. Let the cement set undisturbed for 24 to 48 hours, depending on temperature and humidity, until it feels hard and fully firm to the touch.
8. Carefully flip the piece over, peel back the rubber mat, and reveal the scroll pattern; if needed, use a soft brush to remove any loose residue from the surface.
9. Allow the stone to continue curing for another 3 to 5 days before placing it in the yard, especially if you want maximum strength for foot traffic.
10. Set the finished stone into your patio, garden path, or lawn, pressing it into a level spot so it feels stable underfoot.
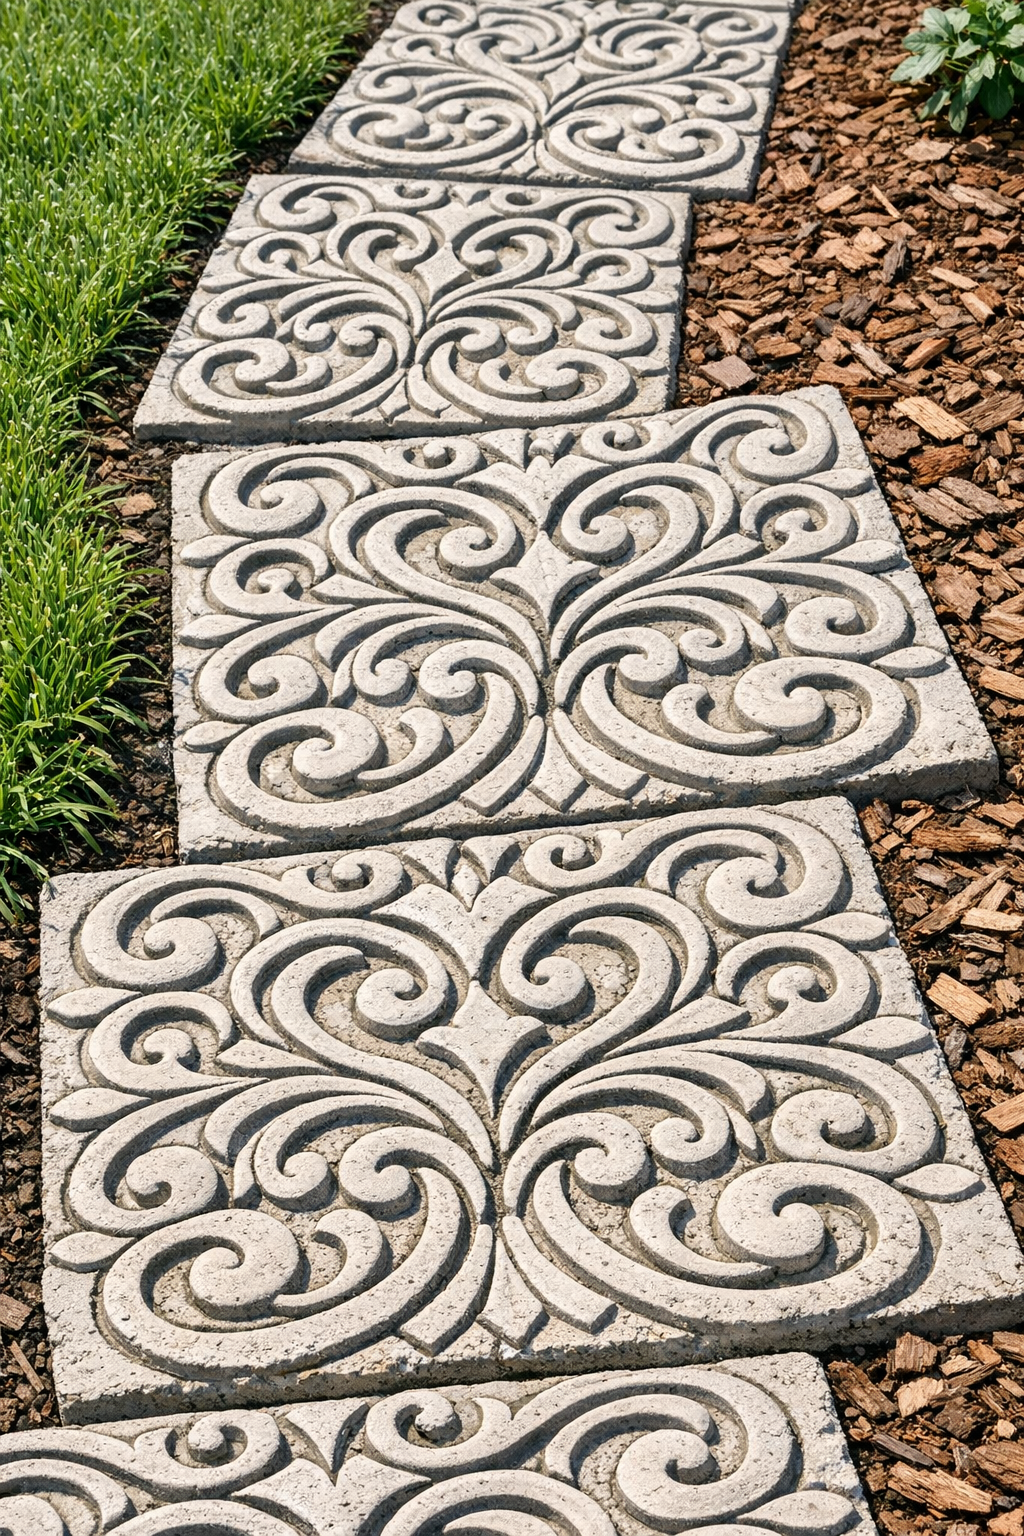
Variations & Tips
Make matching sets: If your mat is large enough, you can divide the cement into two smaller pours or make multiple stones one after another for a coordinated walkway.
Use quick-setting mix carefully: Fast-setting cement works if you're short on time, but you need to move quickly because it firms up much faster than standard mix.
Add color: For a more finished look, brush on a concrete stain or outdoor-safe masonry paint after curing to highlight the scroll pattern.
Keep the pattern crisp: The biggest trick is pressing the cement firmly into every raised part of the mat without making the mix too watery; too much water softens the detail.
Think about placement first: These stones are heavy, which I actually love because they feel substantial, but it’s easier to make them near the spot where you plan to use them.
Seal for longevity: If your patio stones will live through lots of rain, snow, and freeze-thaw cycles like ours do in the Midwest, a concrete sealer can help them last longer.