
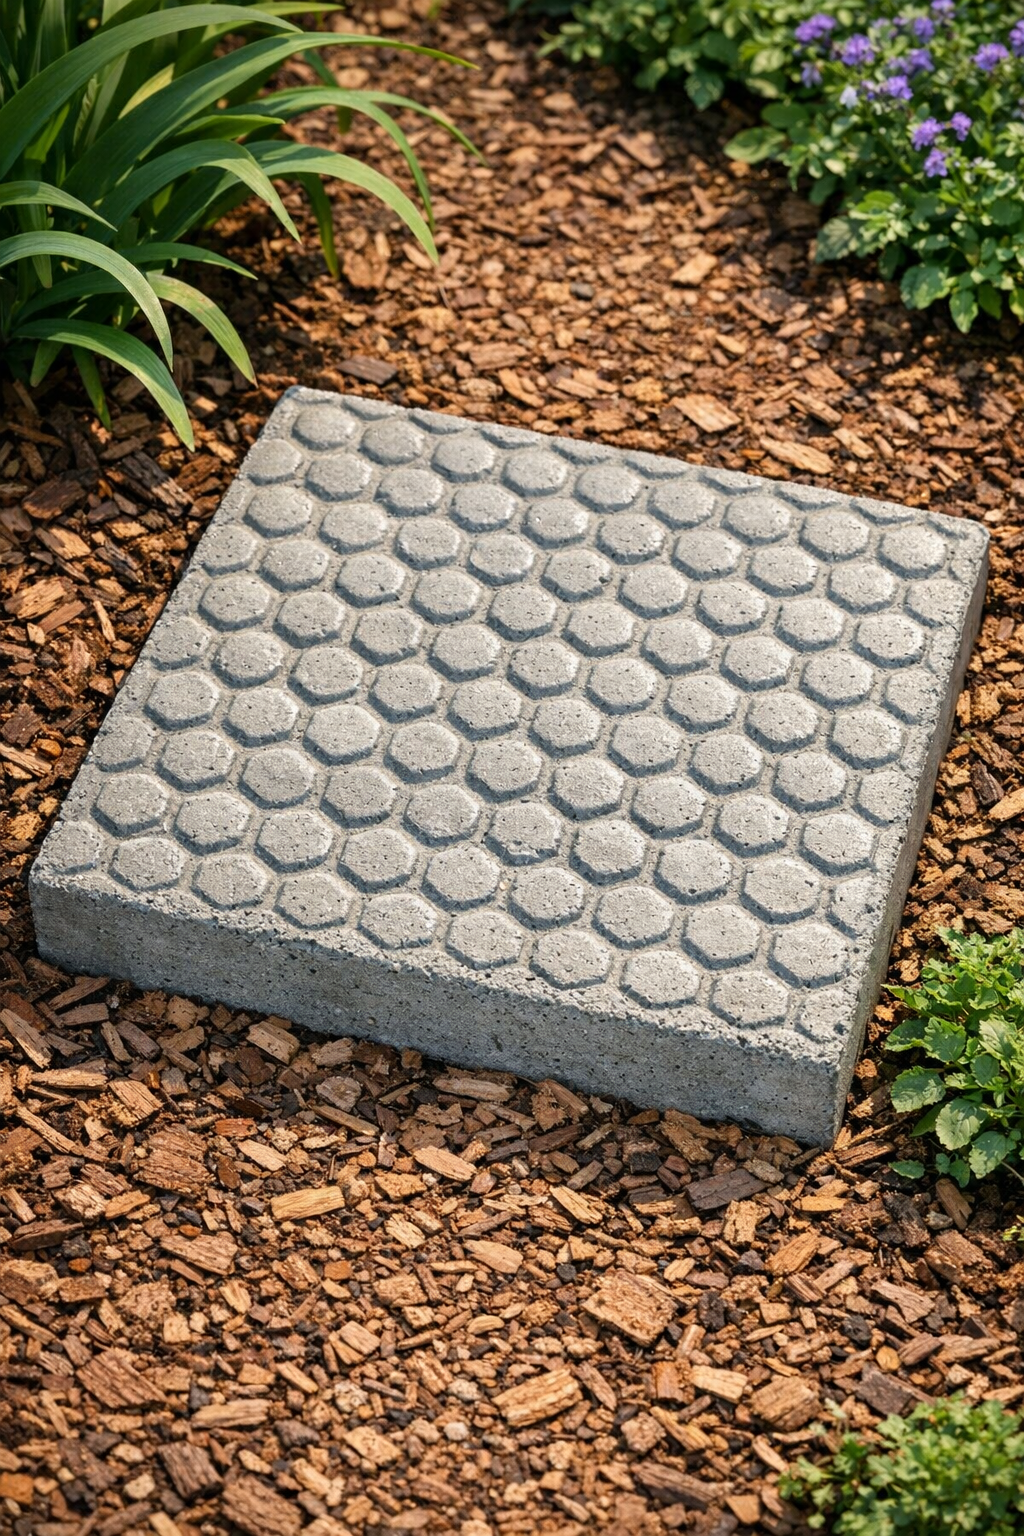
There’s something so satisfying about turning a few simple supplies into a garden feature that looks much fancier than it really is. These heavy honeycomb-style garden slabs are made by pressing thick plastic bubble wrap into wet cement, and the finished texture has that wonderful geometric look that catches light and shadow beautifully. I love projects like this because they feel sturdy, practical, and just a little bit magical when you peel the plastic away.
If you want an easy garden DIY that doesn’t require fancy tools or complicated cutting, this is a lovely one to try. These slabs work well as stepping stones, small patio accents, or decorative pads tucked between mulch and flowers. I’m especially fond of projects like this for busy families, because the process is simple, the materials are minimal, and the results look impressive even on a first try.
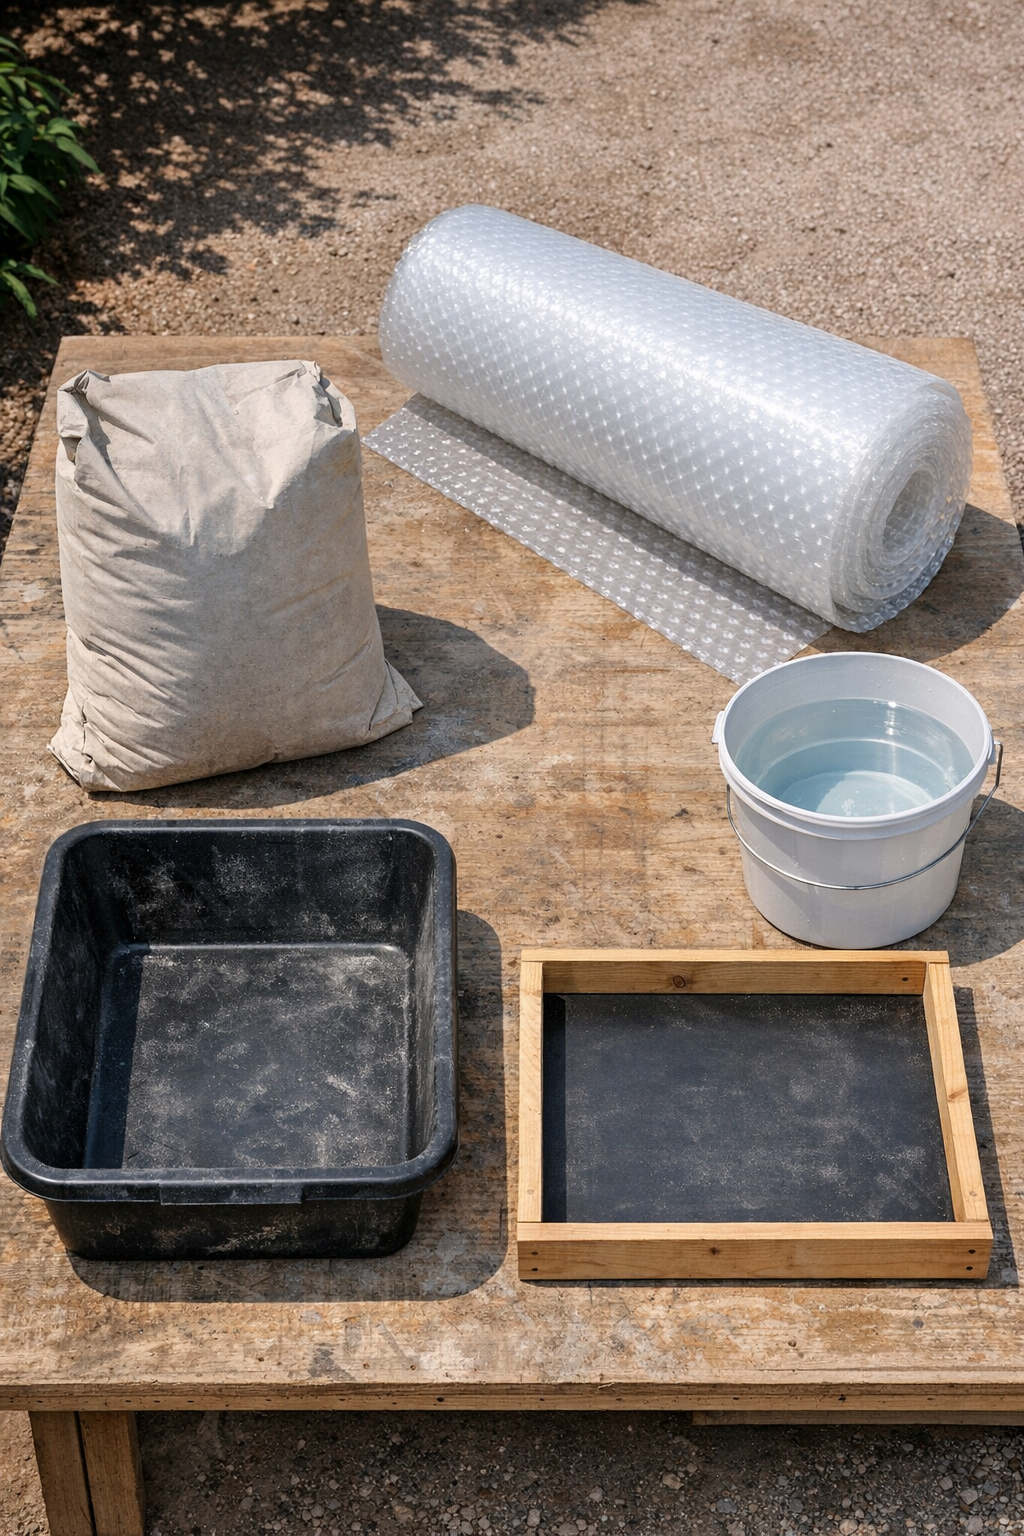
Materials
1 bag quick-setting cement mix, 50 pounds
Instructions
1. Choose a flat outdoor work area and set your mold on a level surface so the slab cures evenly. Lightly coat the inside of the mold with cooking oil or mold release to help the cement release later.
2. Cut the thick bubble wrap so it fits inside the mold with the bubbles facing down toward the wet cement. Set it aside nearby so you can place it quickly once the cement is poured.
3. Pour the dry cement mix into a bucket or mixing tub and add water a little at a time. Stir until the mix is thick like brownie batter, with no dry pockets and no runny liquid sitting on top.
4. Spoon or pour the wet cement into the prepared mold and tap the sides gently to settle it. Fill the mold to about 1 1/2 to 2 inches thick so the finished slab feels solid and heavy in the garden.
5. Smooth the top lightly with the mixing stick or a scrap board, but don’t overwork it. A slightly even surface is enough, since the texture side will be the showpiece.
6. Lay the bubble wrap over the wet cement with the bubble side touching the surface. Press it down evenly with your hands so the bubbles sink in and create a deep honeycomb pattern across the slab.
7. Leave the slab undisturbed until the cement firms up enough to hold the pattern, usually 2 to 4 hours for quick-setting mix. If the weather is hot or windy, check sooner so the plastic does not bond too tightly as it cures.
8. Peel the bubble wrap back slowly once the cement is set but still slightly green. If any area sticks, lift gently rather than tugging, so the pattern stays crisp.
9. Let the slab cure fully in the mold for 24 hours, then remove it carefully and place it on a flat surface. Keep it shaded and let it continue curing for another 2 to 5 days for better strength.
10. Set the finished slab into your garden path, beside raised beds, or near a watering area once fully cured. If the ground is uneven, scrape away a little soil so the slab sits flat and doesn’t rock.
Variations & Tips
Make a matching set: I like to make two or three slabs at once if I’m already mixing cement. A small group looks especially nice spaced through a flower bed or leading to a back gate.
For deeper texture: Use thicker bubble wrap and press it in while the cement is freshly poured. If the cement starts setting too fast, the pattern won’t sink in as clearly.
For picky gardeners about style: If someone in your family prefers a cleaner look, use a square mold for a more modern slab. Round molds feel softer and cottage-style, while square ones look neat and structured.
Add color later: Once the slab is fully cured, you can dry-brush the raised areas with outdoor masonry paint or concrete stain. I usually stick to soft grays or earthy tones so the texture stays the star.
Prevent cracks: Don’t make the slab too thin, especially for stepping-stone use. Around 1 1/2 to 2 inches thick gives you a much sturdier result that holds up better outdoors.
Easy release tip: If you’re worried about sticking, oil both the mold and the smooth side edges of the bubble wrap very lightly. That little step can save a lot of frustration when it’s time to unmold.
Best placement: These are prettiest where sunlight can hit the pattern from the side and show off the texture. I love tucking them where guests will notice them up close, because that honeycomb finish really is the part that makes people stop and look twice.