
There is something especially satisfying about turning two humble, overlooked materials into something sturdy enough to change a whole backyard. This project uses a heavy cement-based powder mix and stretched nylon pantyhose to make compact retaining wall blocks that are surprisingly strong, easy to handle, and useful for edging garden beds, holding back a small slope, or shaping a tidy planting area. It reminds me of the old Midwestern habit of wasting nothing and finding a practical use for whatever was on hand.
If you have a spot in the yard that keeps washing out, slumping, or just looking unfinished, this is a good weekend project for you. I like it for small retaining jobs and decorative garden borders where you want a rustic, hand-formed look without hauling home pallet after pallet of store-bought block.
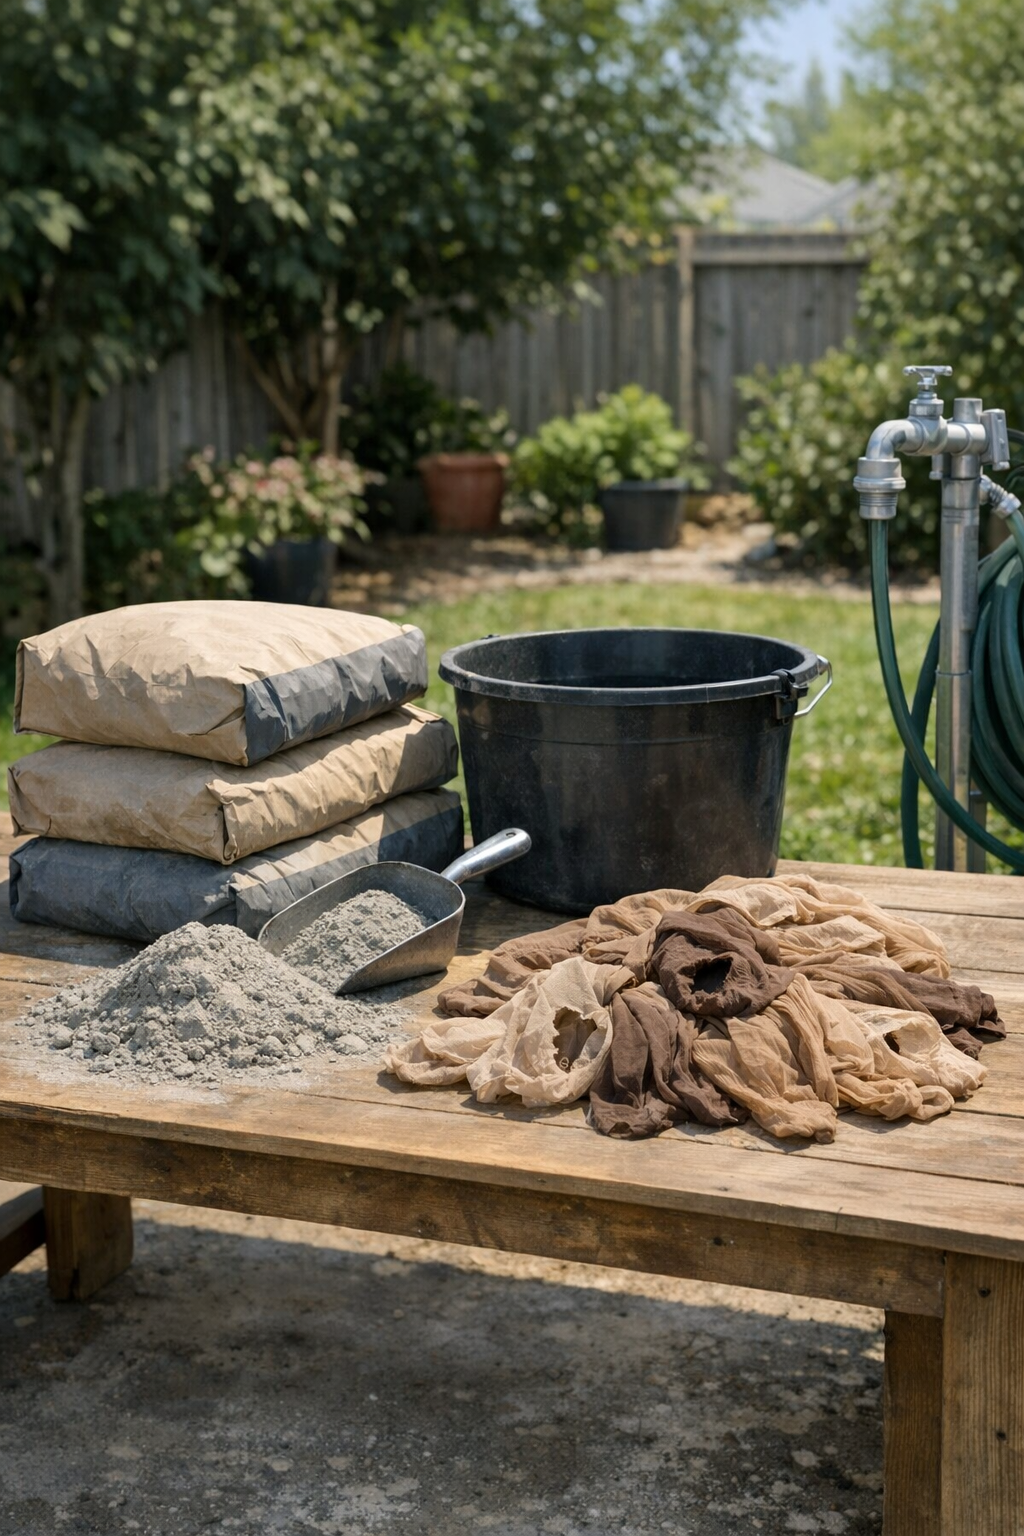
Materials
Instructions
1. Choose the area for your retaining wall and mark the line with a garden hose, string, or spray marker so you can see the shape before you build.
2. Dig a shallow trench 3 to 4 inches deep and about 12 inches wide along the marked line, then tamp the soil flat so the first row will sit level.
3. Pour the concrete mix into a wheelbarrow or large mixing tub, then add water a little at a time until it becomes thick and packable, like very stiff mashed potatoes.
4. Stretch one nylon pantyhose section open and fill it with the wet concrete mix, packing it tightly with your hands or a scoop until it forms a solid sausage-like block.
5. Twist or knot the open end tightly to hold the shape, then press and roll the filled nylon gently until the block is even and firm, about 10 to 12 inches long.
6. Repeat the filling process to make enough blocks for your wall, keeping the sizes as consistent as you can so they stack neatly later.
7. Set the filled nylon blocks in the trench side by side, pressing each one down into the soil so the first course sits snug and level.
8. Stack a second row on top in a staggered pattern, placing each block over the joint below it for better strength and a more stable wall.
9. Continue stacking until the wall reaches the height you need, but keep it to a low retaining wall suitable for a simple backyard bed or small slope.
10. Let the blocks cure in place for at least 24 to 48 hours before adding backfill, and longer if the weather is cool or damp.
11. Backfill behind the wall with soil a few inches at a time, pressing it in gently as you go so the wall stays aligned and supported.
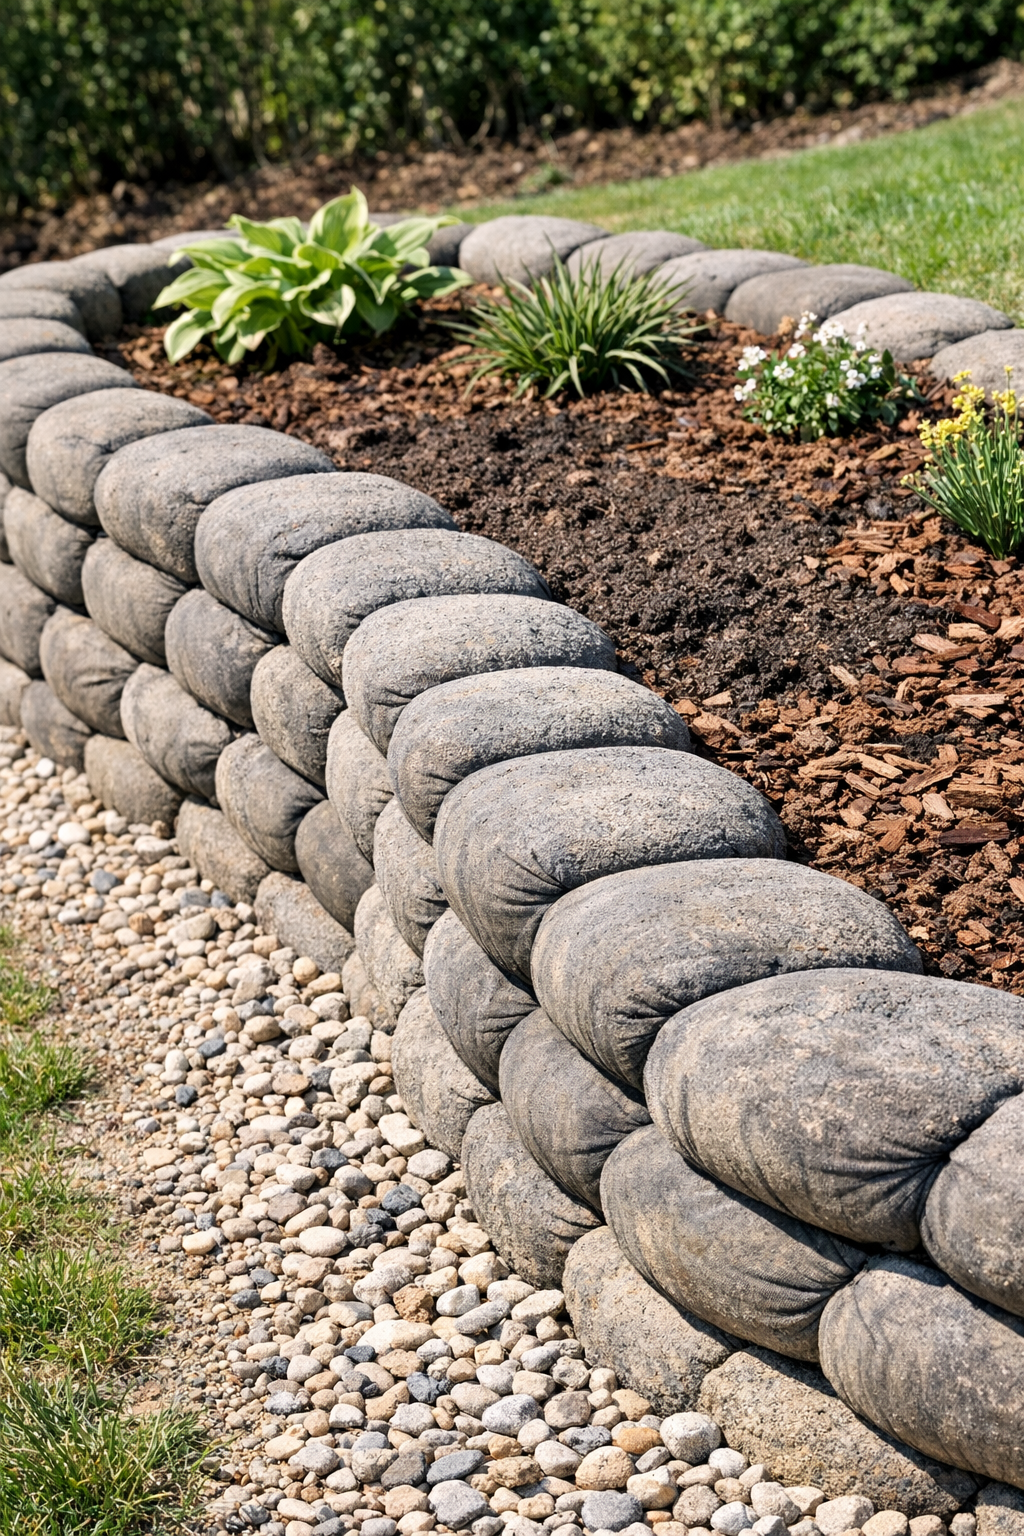
12. Trim any loose nylon ends if needed, then dress the front with soil, mulch, gravel, or plants to blend the wall into the yard.
Variations & Tips
For a straighter wall: Run a taut mason line along the front edge as you place the first course so the blocks stay even from one end to the other.
For a more natural shape: Make the blocks slightly uneven in length and nestle them into a gentle curve; that softer look fits cottage gardens and informal beds beautifully.
For added strength: Keep the concrete mix quite stiff, not soupy. A wet, loose mix is harder to pack tightly into the nylon and can make misshapen blocks.
For easier filling: Stand the nylon section inside a coffee can or cut-off plastic container while you scoop in the mix; that little trick saves a lot of fuss.
For small retaining jobs only: I recommend this method for low landscape walls, edging, and short garden terraces rather than tall structural retaining walls, especially where drainage or heavy loads are a concern.
For a tidier finish: Once cured, you can brush a little soil over visible nylon areas or tuck them to the back and underside where they are less noticeable.
My country tip: Make a few extra blocks while you already have the mix going. Around any rural yard, there is always another corner that needs a border, a bed edge, or a little help holding the soil in place.