
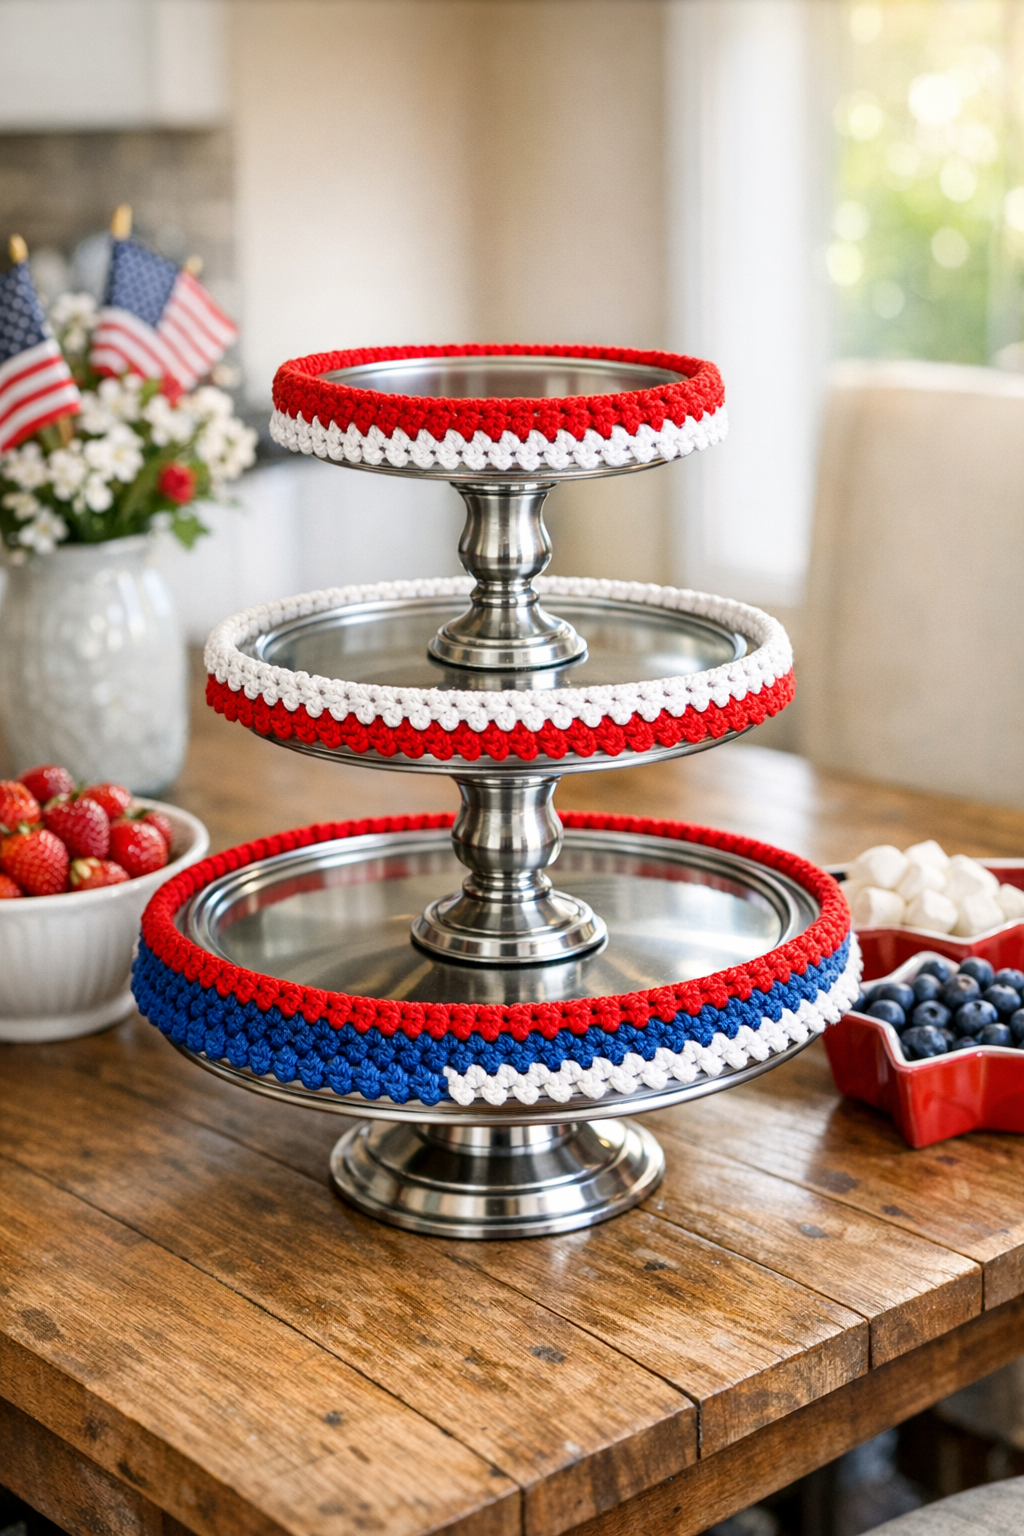
I love a project that turns a few forgotten kitchen odds and ends into something you’d be proud to set on the table, and this crochet patriotic dessert stand does exactly that. By wrapping and crocheting red, white, and blue cotton yarn through metal pot lids, then stacking them with old candlestick holders, you can make a sturdy three-tier stand that’s perfect for cookies, cupcakes, brownies, or little tea sandwiches.
This is a wonderful project for anyone who enjoys a little upcycling and wants a handmade centerpiece with plenty of charm. I especially like making pieces like this for summer gatherings, family cookouts, and holiday dessert tables, because it feels festive without being fussy, and you can easily adjust the colors if you want something that works year-round.
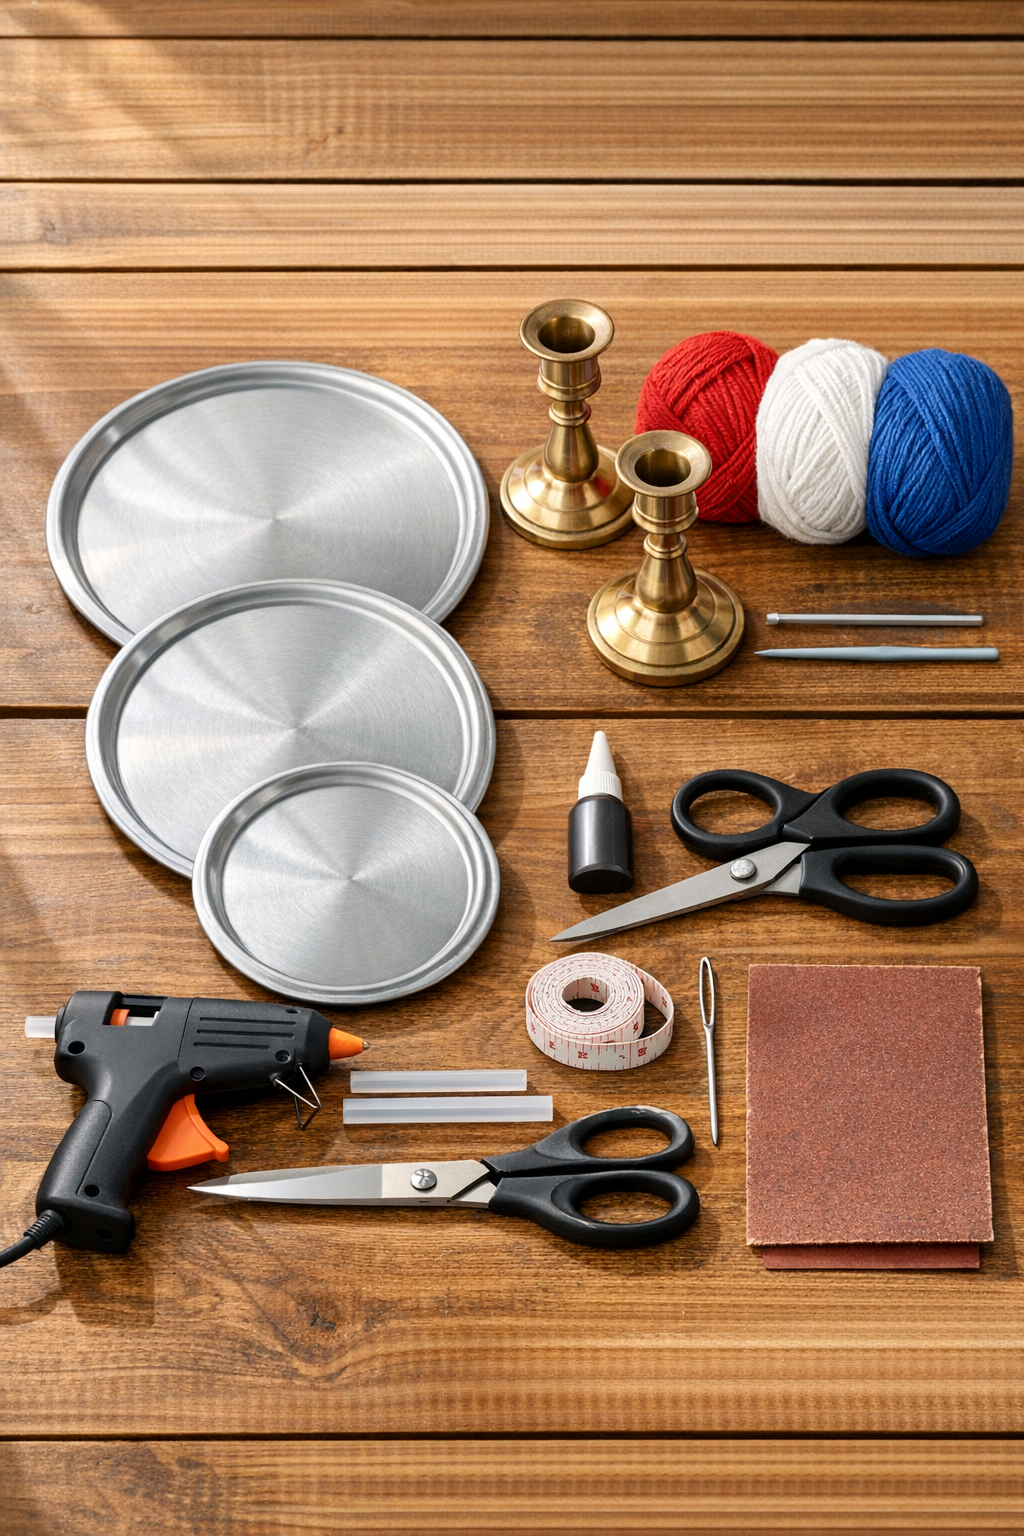
Materials
Instructions
1. Wash the pot lids well, remove any grease or dust, and take off the center knobs if they are still attached. Wipe the lids and candlestick holders with rubbing alcohol so the glue will bond cleanly.
2. Lightly sand any glossy spots on the tops and bottoms of the candlestick holders and the center area of each lid. Brush away the dust and dry-fit the pieces in a stack from largest to smallest so you can check the proportions before gluing.
3. Crochet a simple edging cover for each lid by working around the outer rim with cotton yarn, changing colors as you go for a patriotic striped look. I like to start with blue on the smallest lid, white on the middle, and red on the largest for a balanced stack.
4. To make each cover, crochet a chain long enough to fit around the lid rim, join it into a ring, and work single crochet rounds until the strip wraps snugly over the metal edge. Stitch the cover onto the lid by threading yarn through the lid’s vent or edge openings where available, or secure the crocheted band neatly with small dots of hot glue on the underside.
5. Repeat the crochet covering for all three lids, keeping the stitches fairly tight so the yarn sits smooth and doesn’t sag. Tuck in all yarn ends with a yarn needle so nothing catches when you place desserts on the stand.
6. Glue the first candlestick holder to the center of the large lid and let it set according to the adhesive directions. Center the medium lid on top of that candlestick holder, press firmly, and check from all sides that it sits level.
7. Glue the second candlestick holder to the center of the medium lid, then attach the small lid on top to complete the three tiers. Let the entire stand cure fully before moving it, because this step is what gives the piece its strength.
8. Add felt pads or circles of clear food-safe shelf liner to the underside where needed so the stand won’t scratch your table or slide around. If you plan to serve unwrapped treats, place paper doilies or food-safe plates on each tier before arranging desserts.
9. Fill the tiers with lightweight desserts like cupcakes, cookies, brownie bites, or fruit bars, starting with the largest treats on the bottom tier. I always give the stand one gentle wobble test before serving, just to be safe around excited little hands.
Variations & Tips
Color swap: If patriotic colors aren’t your style, use pastels for spring, orange and cream for fall, or simple neutrals for an everyday dessert stand.
For picky eaters: I like using the different tiers to separate treats by type, so one level can hold plain cookies, another can hold chocolate desserts, and another can hold fruit or snack-size muffins.
Lid selection: Choose lids with a slight rim and similar shape so the finished stand looks intentional. Mismatched sizes are fine, but keeping the lids evenly spaced makes the whole project feel more polished.
Adhesive tip: If your candlestick holders are heavy metal, epoxy usually gives the strongest hold. Let the stand cure overnight on a flat surface instead of rushing it.
Food-safe serving: Since the lids and yarn are decorative, I recommend placing cupcakes in liners and setting cookies or bars on doilies, parchment, or small dessert plates before serving.
Crochet shortcut: If you don’t want to crochet full rim covers, make a simple chain wrap in each color and glue it neatly around the lid edge for a similar look with less time.
Stability check: Keep the heaviest items on the bottom tier and avoid piling the top too high. A stand like this is prettiest when it’s full but not crowded.