
There is something about an outdoor shower in the summertime that takes me straight back to country afternoons with bare feet, a sun-warmed yard, and a hose turned into half the fun of the day. This project turns a simple wooden pallet and a garden hose into a clever backyard shower wall, and it is one of those upgrades that looks charming, works hard, and does not require a fancy budget.
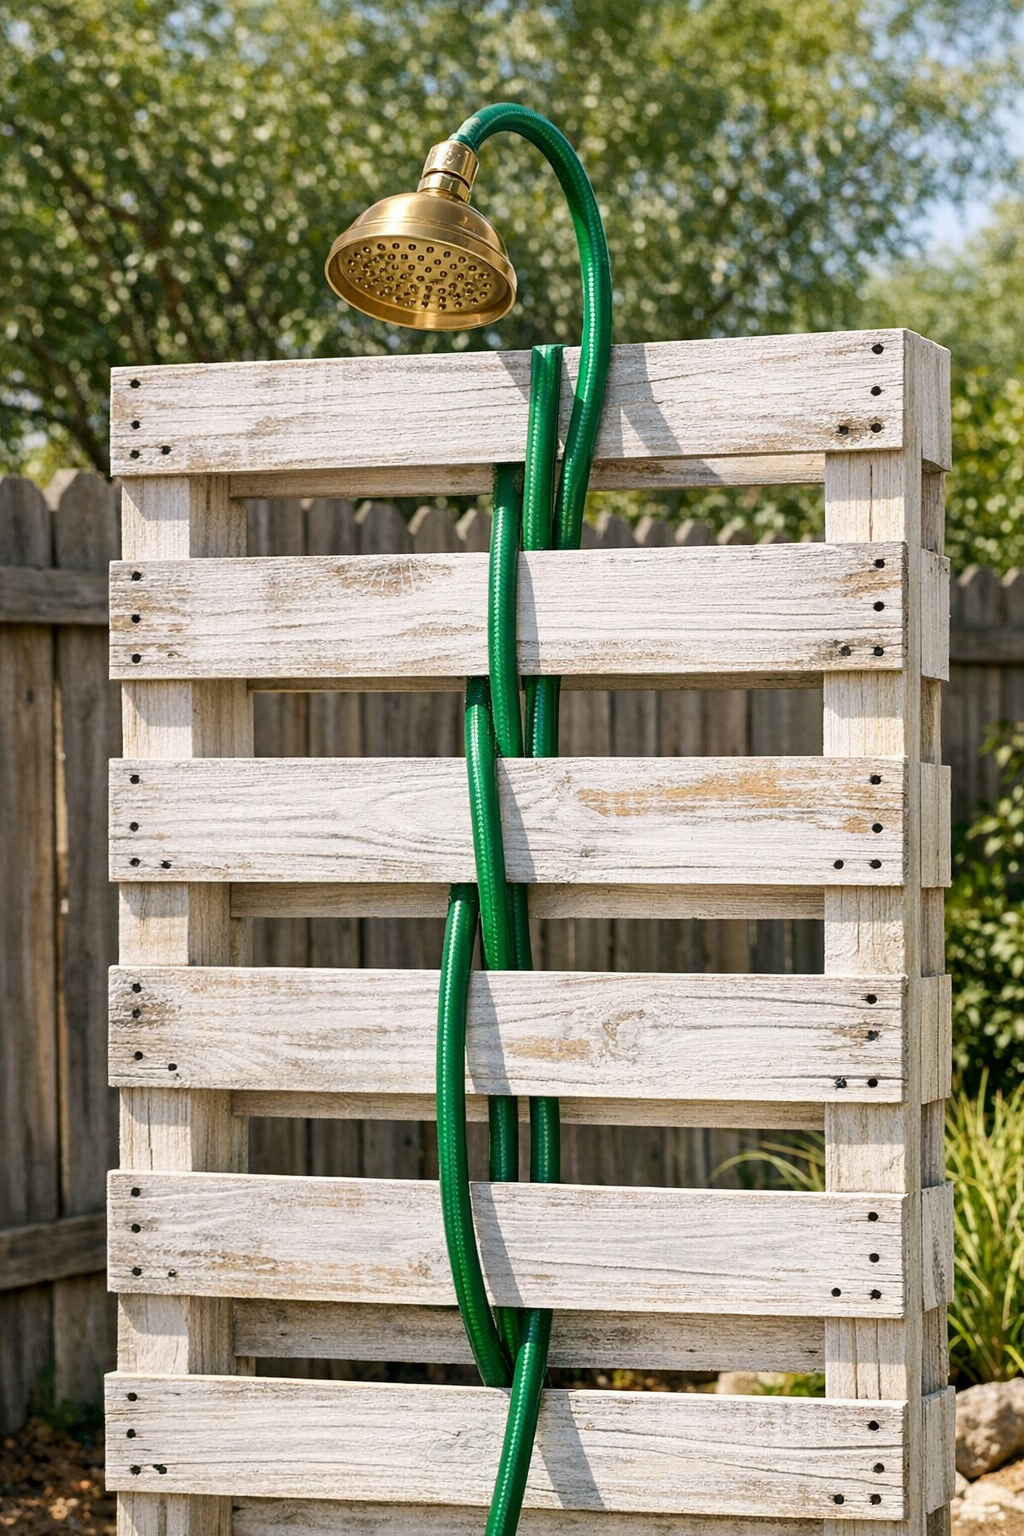
I especially like this for families with kids, gardeners who need a quick rinse, or anyone with a pool, lake cabin, or muddy dog to contend with. By threading the hose through the pallet slats and adding a showerhead attachment, you get a practical rinse station with a tidy, rustic look that fits right into a summer yard.
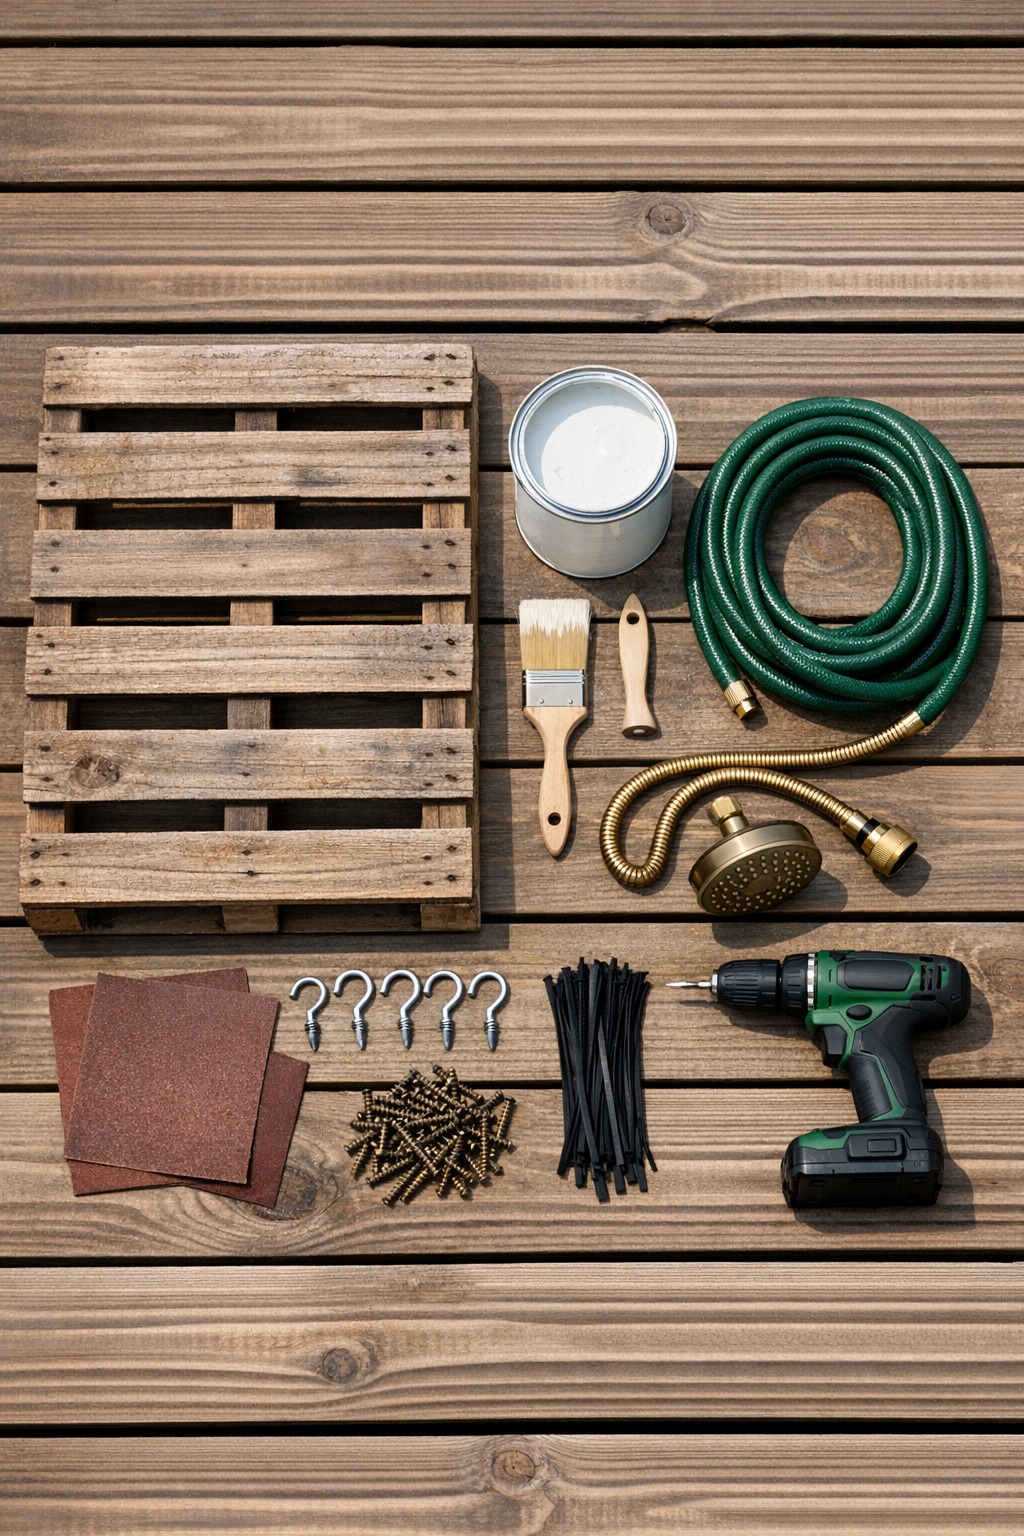
Materials
Instructions
1. Choose a level spot near a water spigot, and make sure runoff will drain away from your house or patio. I like placing this sort of shower near the garden edge where a little extra water is welcome.
2. Sand the pallet thoroughly, especially along the slats and edges, until it feels smooth to the touch. Wipe off all dust so the paint will stick well.
3. Paint or whitewash the pallet on all visible sides, then let it dry completely. Apply a second coat if needed for even coverage, followed by a coat of outdoor sealer once the paint has dried.
4. Attach the two 24-inch support boards to the back bottom of the pallet with exterior screws to create stable feet. If you plan to mount it to an existing fence instead, screw the pallet securely into fence posts at four points.
5. Thread the green garden hose in and out through the pallet slats, weaving it evenly from one side to the other. Leave about 2 to 3 feet free at the bottom for the spigot connection and about 1 foot free at the top for the showerhead attachment.
6. Secure the hose to the pallet with zip ties or screw hooks wherever it wants to shift or sag. Keep the loops tidy and fairly snug so the finished shower looks intentional and stays easy to use.
7. Wrap plumber's tape around the hose threads, then attach the brass showerhead fitting to the top free end of the hose. Hand-tighten firmly and give it a small final turn if needed so it does not drip.
8. Connect the bottom end of the hose to your spigot, using a brass hose splitter if you want to keep a second hose line available. Turn the water on slowly and check each connection for leaks.
9. Test the shower spray and adjust the hose placement or showerhead angle as needed. If the pallet wobbles, add another anchor point before regular use.
Variations & Tips
Add a base: Set a few flat pavers or a small cedar duckboard underneath if you want a cleaner place to stand. That keeps feet out of mud and gives the whole setup a more finished feel.
Use a fence mount: If your yard already has a sturdy fence, skip the support feet and mount the pallet directly to it. That is often the simplest route and makes the shower feel built-in.
Warm the water naturally: A dark hose left in the sun can give you pleasantly warm water for a quick rinse. In my experience, it is best to test it with your hand first on especially hot afternoons.
Choose the right pallet: Use only a clean, heat-treated pallet marked for safe handling, and avoid pallets that are broken, heavily stained, or rough with splinters. A good pallet saves a great deal of fuss later.
Dress it up: Screw in a small hook for a towel, hang a wire basket for soap, or plant a pot of herbs nearby. Little touches like that make a practical project feel welcoming, which is something I have always believed a backyard ought to be.