
There’s something mighty satisfying about turning what would usually get tossed aside into something sturdy and useful. In this project, I take deflated mylar party balloons and combine them with a simple paste to make a weather-resistant tarp that’s handy for covering small equipment, stacks of firewood, feed bins, garden supplies, or anything else that needs a little protection from rain and dust. Around here, I’ve always believed in using up what you have before running to the store, and this is just the kind of practical make-do project that feels right at home.
If you’ve got a pile of foil balloons left from birthdays, graduations, or baby showers, this is a fine way to give them a second life. This project is best for folks who don’t mind a bit of careful trimming and layering, and it works especially well for small to medium covers rather than heavy-duty construction tarps. The result is surprisingly strong, flexible, and shiny in that cheerful way only old party balloons can be.
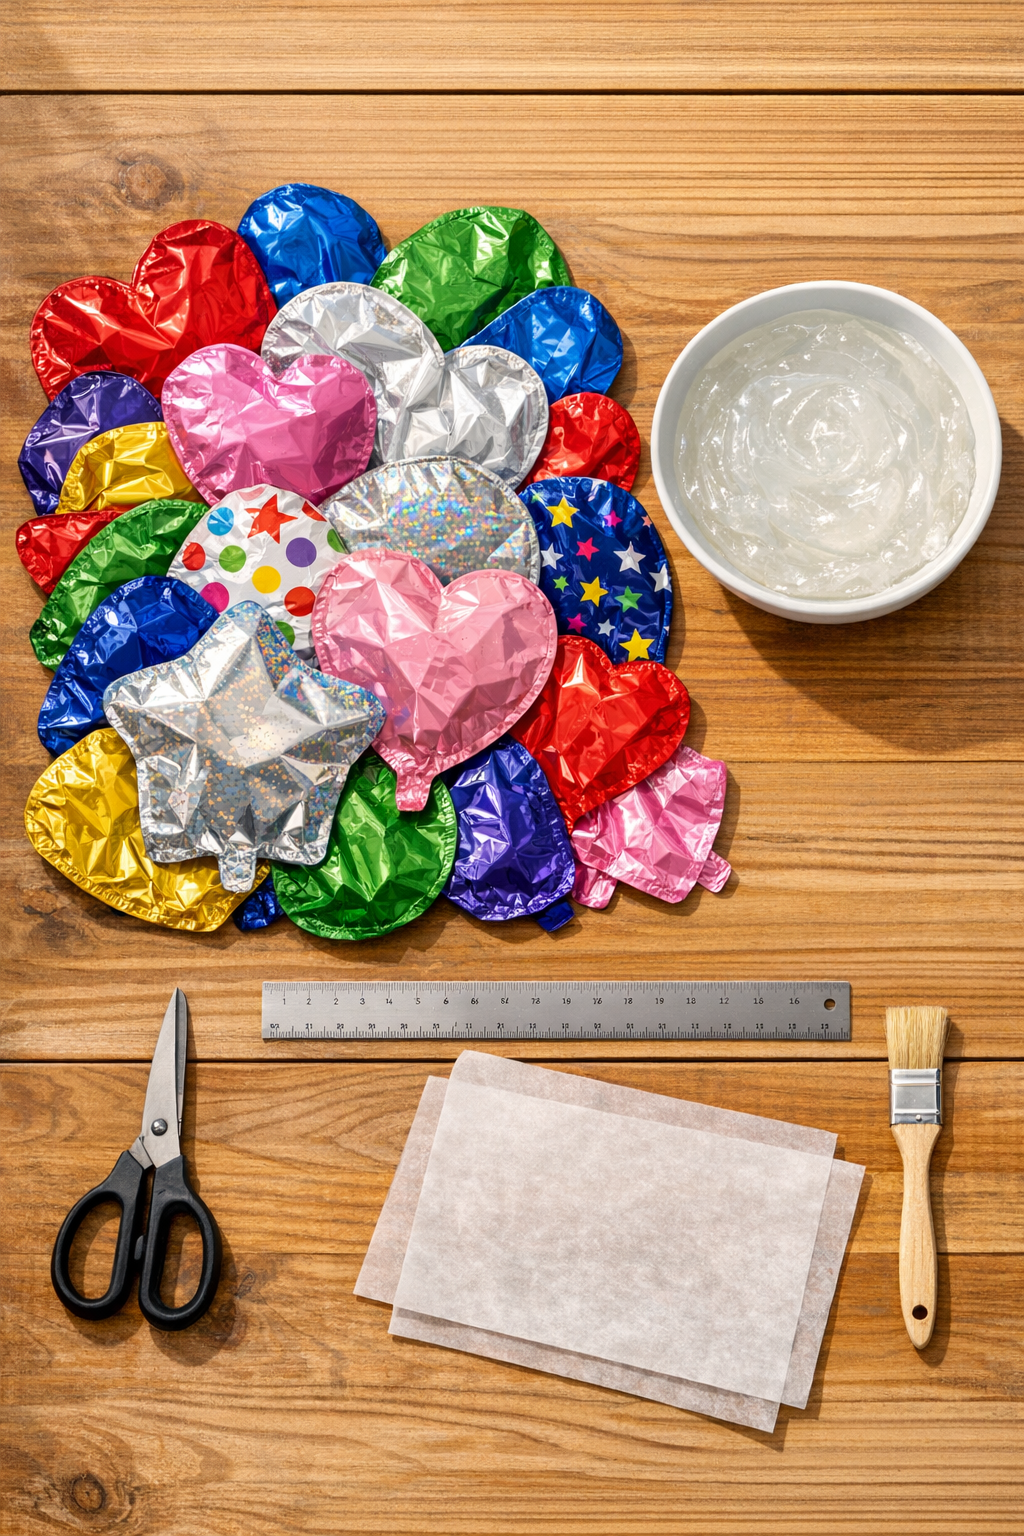
Materials
20 to 30 deflated mylar party balloons, cleaned and fully dry
Instructions
1. Cut the valve stems and crimped edges off each deflated mylar balloon, then cut straight up one side so each balloon opens into a flat sheet. Wipe each piece clean and let it dry completely if there is any stickiness on the surface.
2. Trim the balloon sheets into the largest possible rectangles or squares, removing curved edges so the pieces overlap neatly. Sort them by size and set aside a few of the largest pieces for the corners and outer edges of the tarp.
3. Spread one sheet of parchment paper on your work surface and arrange the mylar pieces shiny side down in your desired tarp size, overlapping each edge by 1/2 inch. For a small equipment cover, aim for a finished panel around 30 x 36 inches.
4. Lift one seam at a time and brush a thin, even layer of wallpaper paste between the overlaps, then press the pieces back together. Smooth each seam firmly with the rolling pin or glass jar to push out air pockets and help the paste bond.
5. Continue gluing all seams until the full panel is joined, then brush a very light coat of paste over the seam lines on the top side only. Wipe away any big smears with a damp cloth so the tarp stays flexible instead of stiff.
6. Place the second sheet of parchment paper over the assembled panel and press it flat with books or boards. Let it dry for 8 to 12 hours, or until the seams feel set and no longer cool or tacky.
7. Remove the weights and peel away the parchment paper carefully. If any seam edges lift, brush in a bit more paste, press again, and let that area dry another 2 to 4 hours.
8. Reinforce the perimeter by folding over a 1-inch border on all four sides, brushing a thin line of paste inside each fold before pressing it shut. This thickened edge helps the tarp resist tearing when tied down or tucked around equipment.
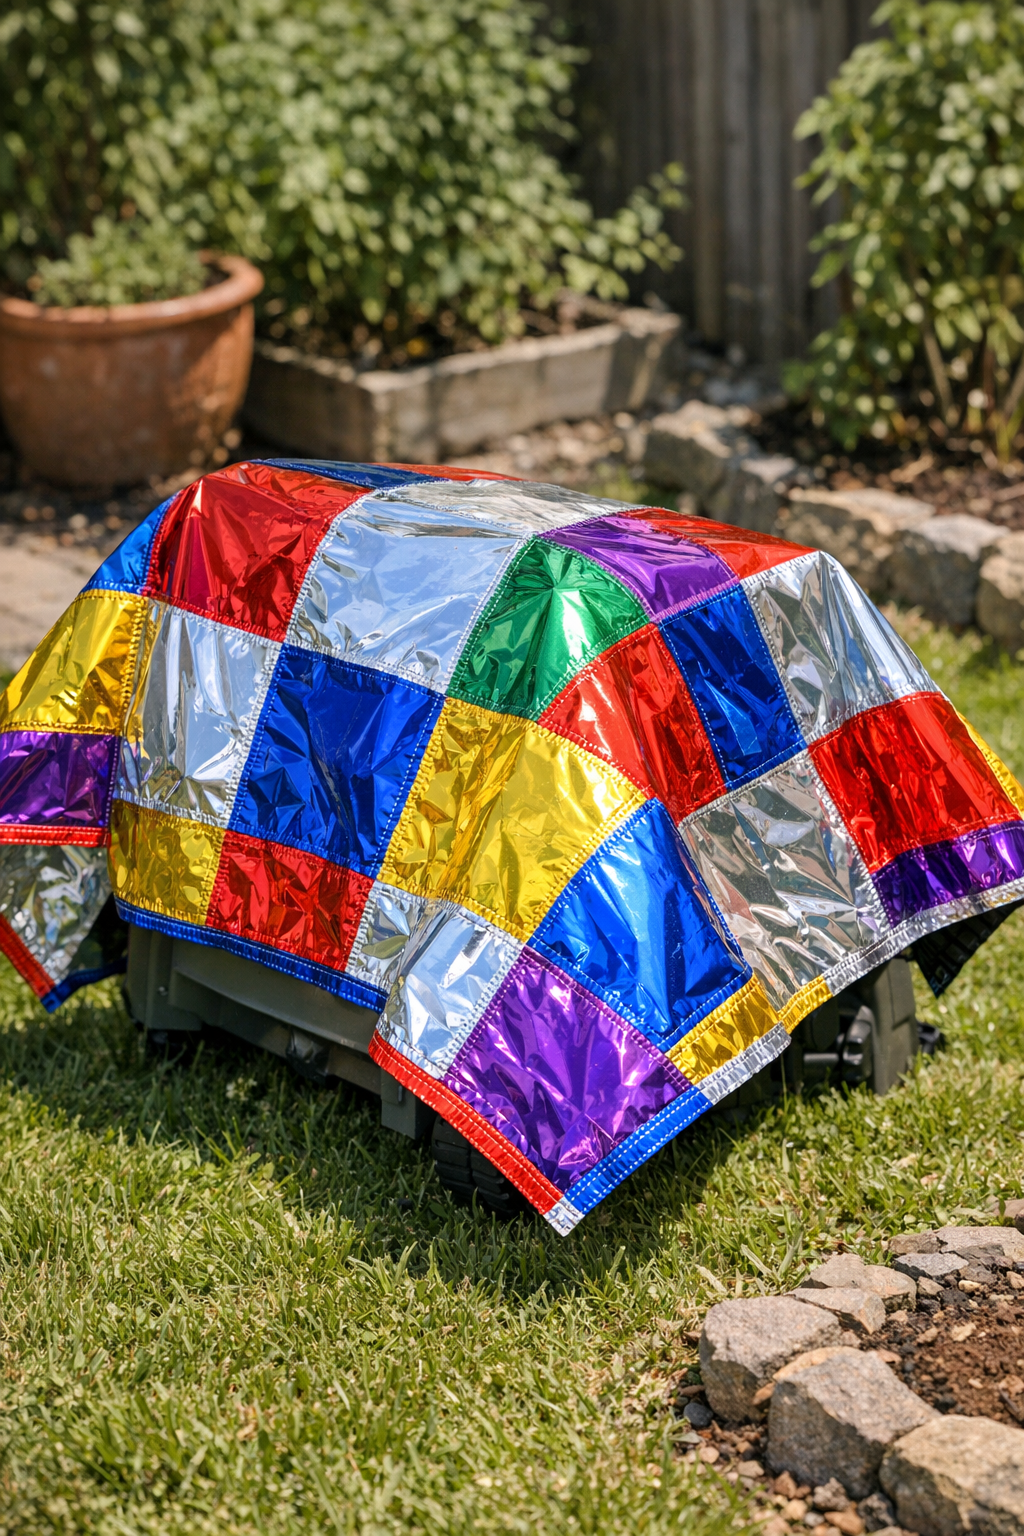
9. Let the finished tarp cure flat for another 12 hours before using it outdoors. Once dry, drape it over small equipment or supplies, shiny side out, and secure it with clips, cord, or weights rather than puncturing holes through it.
Variations & Tips
Make it larger: For a bigger tarp, build two or three smaller panels first, then join those panels with 1-inch overlaps. I find this easier than wrestling one large slippery sheet from the beginning.
Choose the right paste: Clear premixed wallpaper paste works best here because it stays flexible after drying. I would skip flour paste or school glue for an outdoor project, since those can soften with moisture or turn brittle over time.
Best uses: This tarp is wonderful for covering lightweight equipment, seed trays, kindling bins, potting soil bags, or stacked garden pots. I would not trust it for high-wind exposure, highway hauling, or anything with sharp corners unless you pad those corners first.
Patch repairs: If the tarp gets a tear, just cut another flat balloon piece 1 inch larger than the damaged spot on all sides and paste it over the area. Press it well and let it dry flat, and it’ll usually give you plenty more use.
Color planning: If you want a tidier finished look, sort your balloon pieces by color family before assembling. If you ask me, though, the cheerful patchwork of old birthday balloons has a charm all its own and reminds me that practical things don’t have to be plain.
Storage tip: Fold the tarp loosely and keep it in a dry shed or mudroom cabinet when not in use. Avoid leaving it tightly creased in extreme heat, because that can weaken the seams over the long haul.