
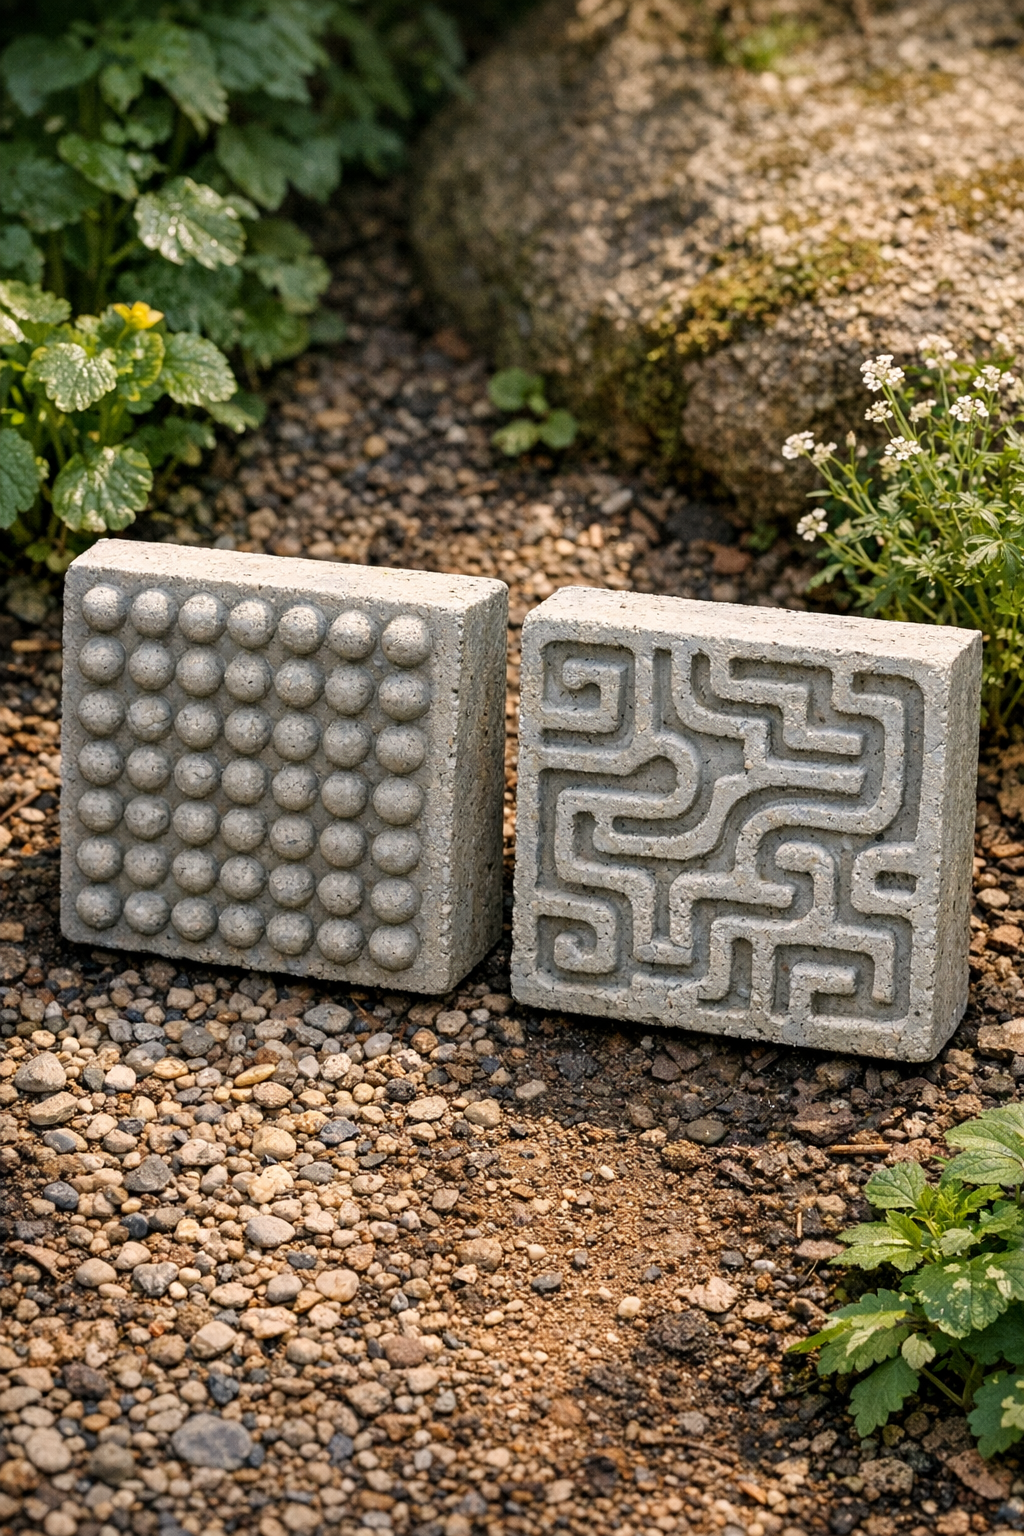
I love a project that looks far more expensive than it is, and these heavy textured garden tiles absolutely fit that category. By pressing thick cement into silicone dog lick mats, you get bold, high-relief patterns that look a little like custom cast stone pavers from a fancy garden center. The secret ingredient in this version is acrylic craft paint mixed into the cement for a soft, built-in tint that helps the texture stand out even before the tiles weather naturally outdoors.
This is a great weekend project if you want to dress up a small garden path, tuck something special between raised beds, or make a pair of decorative stepping tiles for a patio corner. I’m always looking for projects that feel creative without taking over my whole kitchen table for a week, and since these only make two tiles, they’re very manageable even with a busy schedule.
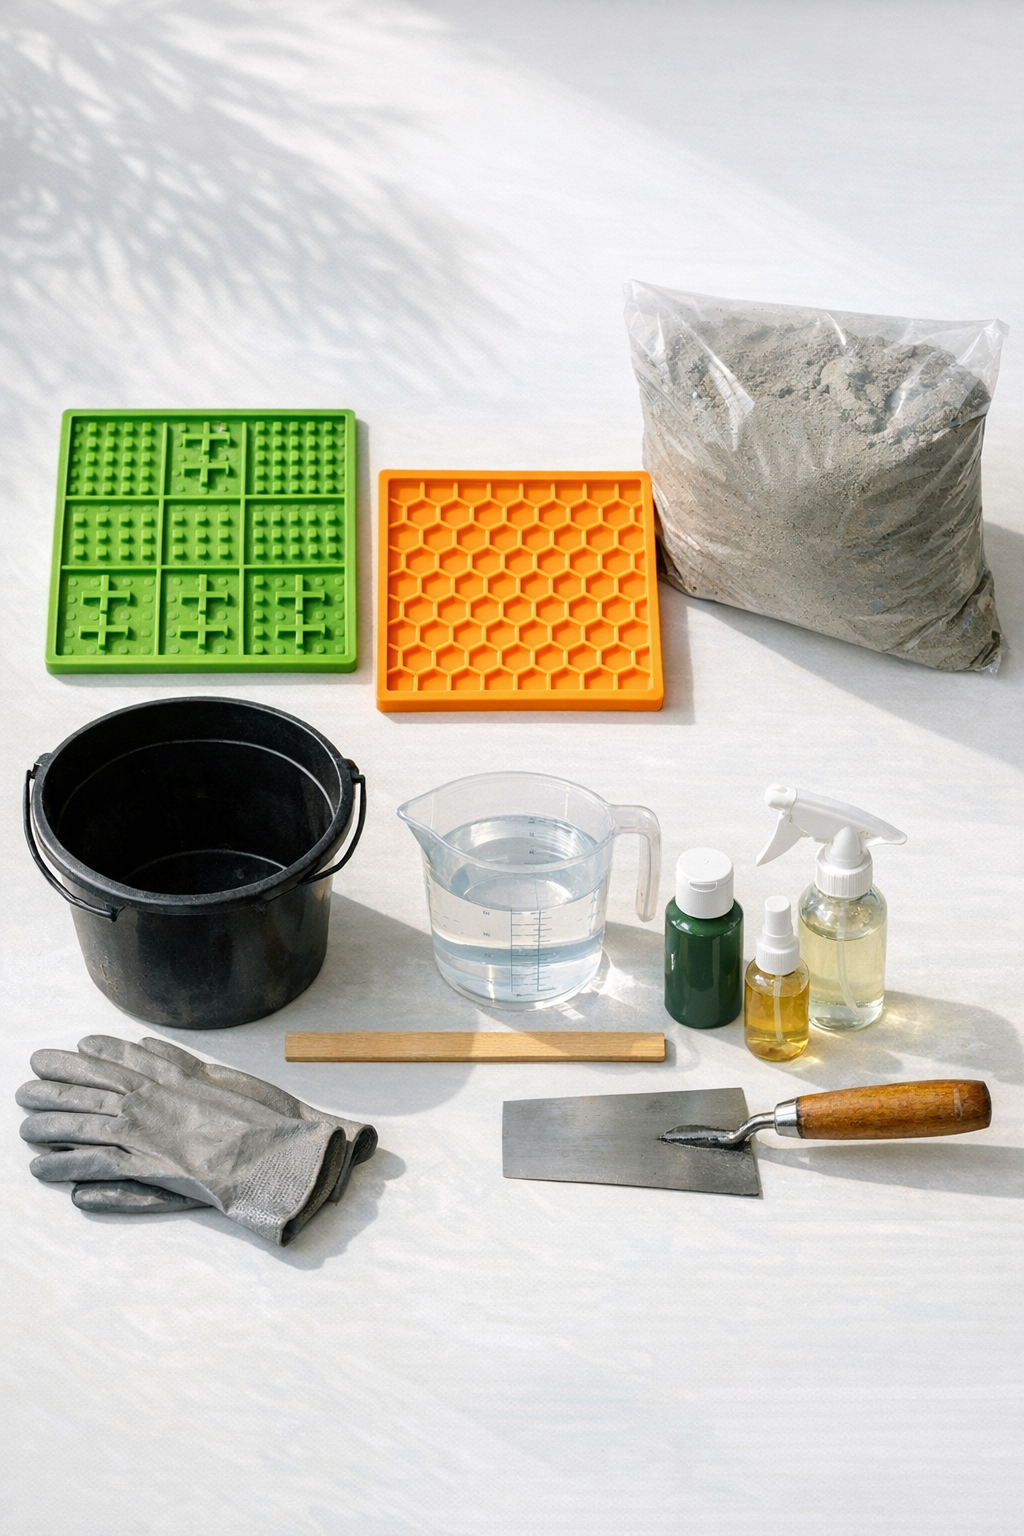
Materials
Instructions
1. Cover your work surface with the plastic drop cloth and set the plywood or rigid board on top so the tiles can cure completely flat.
2. Lightly coat the inside of both silicone lick mats with vegetable oil; if the texture is especially deep, rub a very thin layer of petroleum jelly into the pattern and wipe away the excess.
3. In a bucket, combine the sand topping mix and Portland cement until the color looks even all the way through.
4. Stir the acrylic craft paint into 1 1/4 cups of water, then pour it into the dry mix a little at a time until you get a thick, peanut-butter-like consistency that holds its shape.
5. Scoop half of the cement mixture into the first mat and half into the second, then press it firmly into every groove with a gloved hand or small trowel so no air pockets remain.
6. Add more mix as needed and level the backs of the tiles to about 1 to 1 1/2 inches thick, pressing and smoothing so each tile feels solid and evenly packed.
7. Tap the mats gently against the board a few times to help release trapped air, then smooth the back surface again with the trowel.
8. Let the tiles sit undisturbed for 24 hours in a shaded, well-ventilated spot until they are firm enough to handle.
9. Flex the silicone mats slowly to release the tiles, peeling the mold away instead of pulling on the cement.
10. Cure the unmolded tiles for another 5 to 7 days, lightly misting them once daily for the first 2 days if the weather is hot or dry.
11. Once fully cured, place the tiles in the garden on compacted soil, gravel, or sand so they stay level and the heavy texture stays visible.
Variations & Tips
Color variation: Try black, brown, terracotta, or olive acrylic craft paint for a more natural stone look. I like muted colors here because they age well in the garden instead of looking too bright.
Mix thickness: The cement should be thick enough to press, not pour. If it’s too wet, the details soften; if that happens, sprinkle in a little more dry mix before filling the mats.
Pattern choice: Deep, geometric, or maze-style lick mats usually give the best result. Very shallow textures can still work, but they won’t create that dramatic carved-stone effect.
Outdoor durability: These are best used as decorative stepping tiles or accents, not for supporting vehicle weight. For colder climates like ours in the Midwest, placing them on a well-draining base helps them last longer through freeze-thaw cycles.
Easy release: Don’t rush unmolding. I’ve learned the hard way with molded projects that giving cement that extra day of patience usually means cleaner edges and much sharper texture.
Placement tip: Set the finished tiles where the texture can catch angled light, like near a flower bed edge or along a short path. That’s when all the little ridges and grooves really show off.